Plumbing issues can be daunting, but many common problems can be tackled with some basic tools and a bit of know-how. Whether you’re dealing with a leaky faucet or a running toilet, there are several DIY fixes that homeowners can handle themselves. This guide will provide you with step-by-step instructions, tips, and preventive measures to help you address these issues and maintain your plumbing system efficiently.
Key Takeaways
- Many common plumbing problems can be fixed by homeowners with basic tools and knowledge.
- Always turn off the water supply before starting any plumbing repair to avoid flooding or further damage.
- Preventive maintenance can save you time, money, and stress by avoiding major plumbing issues.
- Using the right tools and following step-by-step instructions can make DIY plumbing tasks manageable and effective.
- When in doubt, don’t hesitate to call a professional plumber to handle more complicated issues.
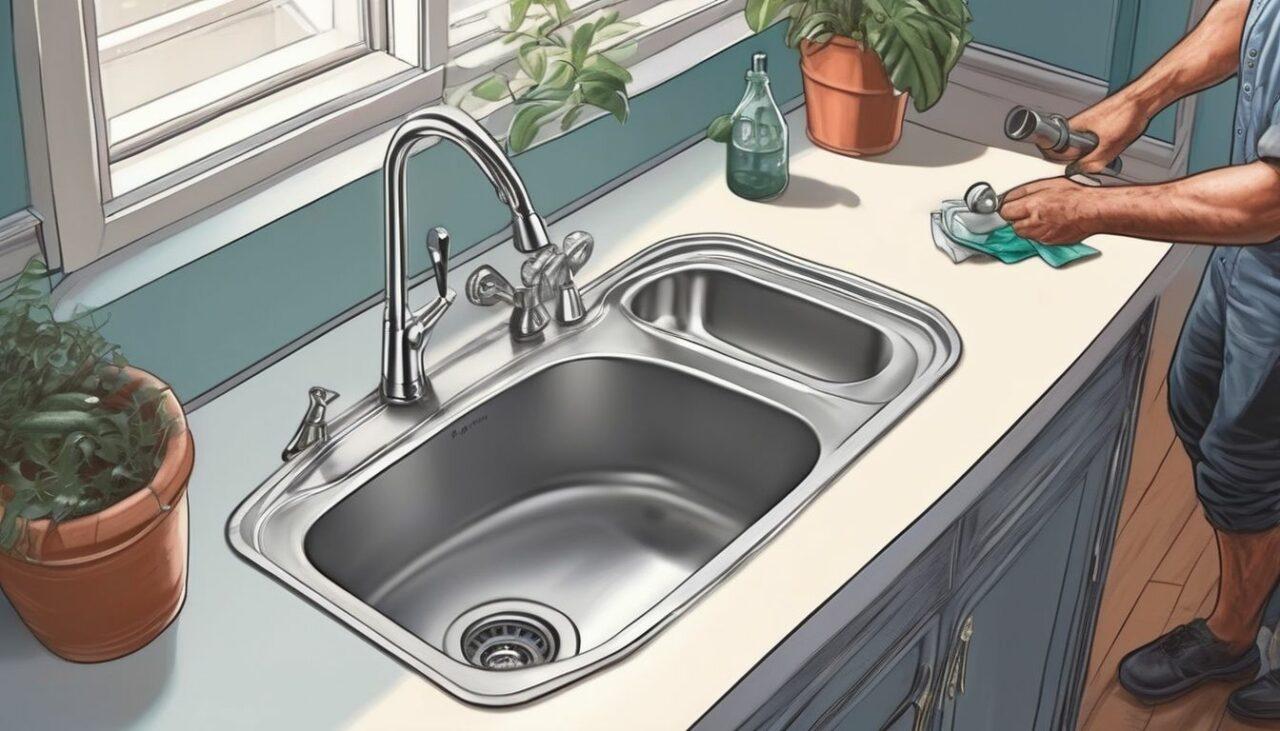
Fixing a Leaky Faucet
Fixing a leaky faucet yourself is not only cost-effective but also quite manageable with the right guidance. Learn to fix a leaky faucet with step-by-step guidance from Mavyn, blending AI and human expertise.
Unclogging a Sink Drain
A clogged sink drain is a common issue in many households. If sinks become slow to drain, or stop draining completely, there’s likely to be a blockage somewhere in the waste pipe. The likely cause of slow draining is an accumulation of grease or fibres caught below the grid on the plug hole. If water doesn’t drain away at all, then there’s a complete blockage and an obstruction in the waste pipe. There are different ways you can try to solve the situation which we’ll talk you through below.
Repairing a Running Toilet

A running toilet is often caused by faulty components within the tank. Start by inspecting these parts to identify the problem. Fortunately, most issues can be fixed by adjusting the float level or replacing worn-out flappers/valves. Just remember to turn off the water supply to your toilet!
Identifying the Problem
A running toilet can often be fixed by adjusting the float that controls the water level in the tank. Remove the toilet tank lid and check the fill tube length first. It should be just above the overflow tube. If that’s fine, check the float. It might be too high. If it is, the water in the tank will overflow, and the fill valve will continue to fill the tank. Adjust the float to the correct level. If the issue persists, consider replacing the fill valve.
Replacing the Flapper
Follow the instructions included with your new parts, and keep your thread sealant tape handy, as you will also need it to complete this project. Contrary to what you may think, jiggling the handle will not fix your running toilet. If your toilet is running, it’s probably caused by a faulty floater valve or stop valve (also called a float cup or floater switch). That large bulb floating in the toilet tank prevents the continuous flow of fresh water into your toilet once the tank is filled, but if the valve is old and no longer functions properly, it will need to be replaced.
Adjusting the Float
A running toilet can often be fixed by adjusting the float that controls the water level in the tank. Remove the toilet tank lid and check the fill tube length first. It should be just above the overflow tube. If that’s fine, check the float. It might be too high. If it is, the water in the tank will overflow, and the fill valve will continue to fill the tank. Adjust the float to the correct level. If the issue persists, consider replacing the fill valve.
Installing a New Showerhead
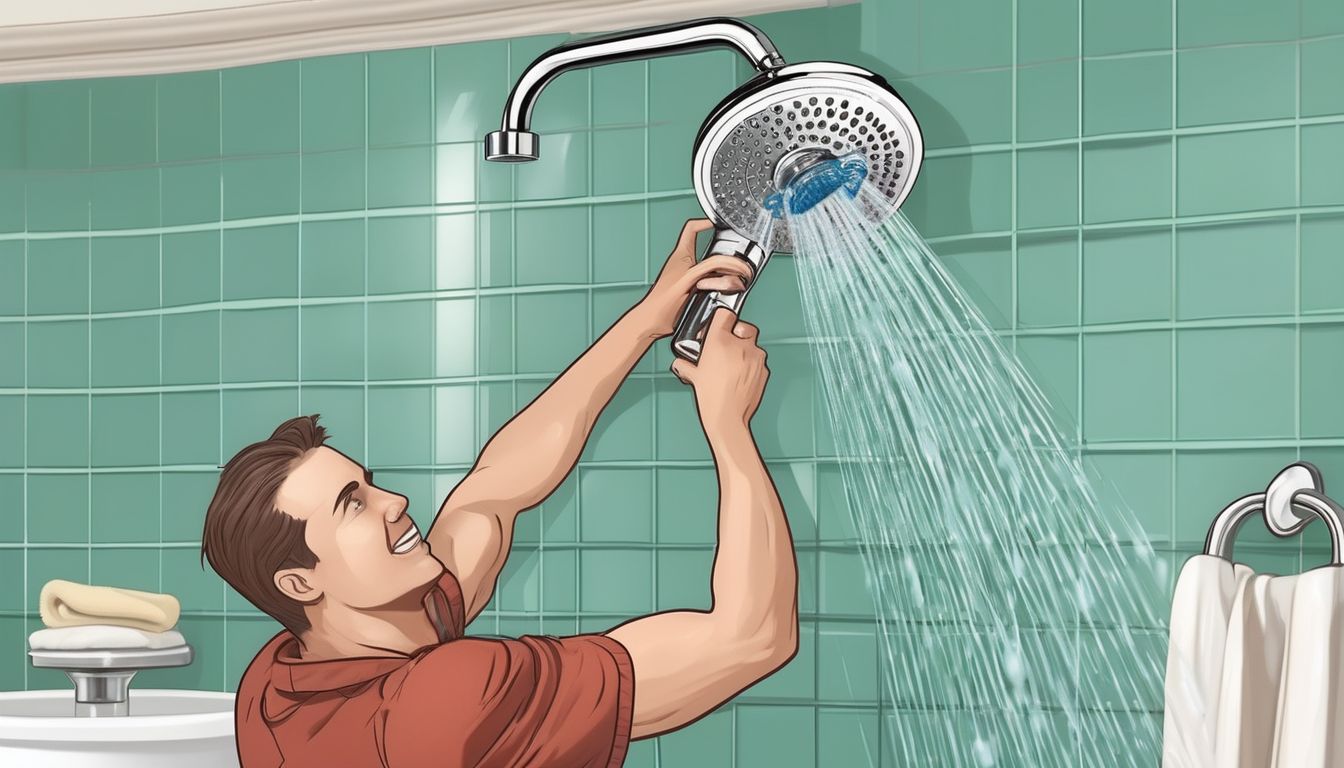
Upgrading faucets and showerheads can enhance your bathroom’s look and improve its functionality. To replace them, turn off your home’s water supply and unscrew/disconnect old fixtures. Follow manufacturer instructions when attaching fixtures to ensure proper instalment.
Choosing the Right Showerhead
When selecting a new showerhead, consider the following factors:
- Type: Handheld, rain shower, or standard wall-mounted.
- Water Pressure: Ensure compatibility with your home’s water pressure.
- Features: Look for additional features like massage settings or water-saving options.
Installation Steps
- Remove the old showerhead: Use a wrench if necessary.
- Clean the shower arm threads: Remove any old thread sealant or debris.
- Apply thread sealant tape: Wrap thread sealant tape clockwise several revolutions around to fully cover the threads. Clockwise is the same direction you will be screwing on the showerhead, so applying the tape the same direction prevents the new showerhead from catching the end of the tape and unraveling it.
- Attach the new showerhead: Screw it on by hand and then tighten with a wrench if needed.
- Check for leaks: Turn the water supply back on and ensure there are no leaks.
Tip: If your showerhead is malfunctioning, or you just want an upgrade, this is a simple fix. A necessary product for this task — or to fix a leaky faucet — is thread sealant. This will help ensure you won’t have future leaks.
Maintenance Tips
- Regular Cleaning: Remove mineral deposits by soaking the showerhead in vinegar.
- Check for Leaks: Periodically inspect the connections for any signs of leakage.
- Replace When Needed: Over time, even the best showerheads may need replacement to maintain optimal performance.
Fixing Low Water Pressure

Common Causes
Low water pressure can be caused by several factors, including clogged pipes, faulty fixtures, or issues with the main water supply. Identifying the root cause is essential for effective troubleshooting.
Cleaning the Aerator
One of the simplest fixes for low water pressure is cleaning the aerator. The aerator can become clogged with mineral deposits over time. To clean it:
- Unscrew the aerator from the faucet.
- Soak it in vinegar for a few hours to dissolve the deposits.
- Rinse it thoroughly and screw it back onto the faucet.
When to Call a Professional
If you’ve tried basic troubleshooting and the problem persists, it may be time to call a professional. Persistent low water pressure could indicate a more serious issue, such as a leak in the main water line or a significant blockage in the pipes.
The mains pressure should force the air out of the system, but if this doesn’t work, you may have to repeat the process a couple more times.
Sealing a Bathtub or Shower
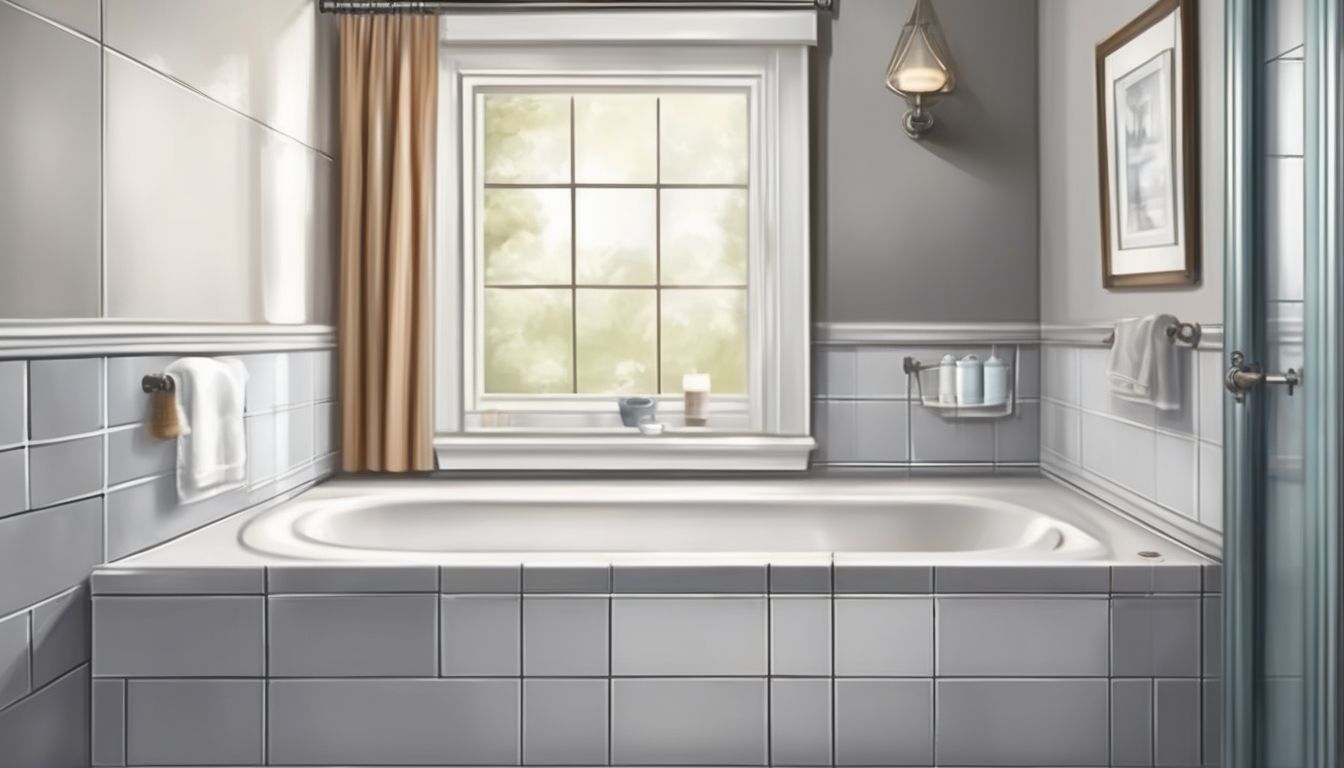
Sealing your bathtub or shower is an essential task to prevent water damage and mold growth. With a high-quality, waterproof silicone sealant, you can keep bathrooms safe from bacteria and mold. Here’s a comprehensive guide to help you through the process.
Materials Needed
- Waterproof silicone sealant
- Caulking gun
- Utility knife
- Masking tape
- Rubbing alcohol
- Clean cloth
Proper Sealing Technique
- Prepare the Area: Clean the surface thoroughly with rubbing alcohol and a clean cloth to remove any soap scum, mold, or mildew.
- Apply Masking Tape: Place masking tape on both sides of the seam to ensure a straight line and prevent excess sealant from spreading.
- Cut the Sealant Tube: Use a utility knife to cut the tip of the sealant tube at a 45-degree angle for better control.
- Apply the Sealant: Load the tube into a caulking gun and apply the sealant smoothly along the seam. Keep the gun at a consistent angle and speed.
- Smooth the Sealant: Use a wet finger or a smoothing tool to smooth out the sealant, ensuring it fills the seam completely.
- Remove the Tape: Carefully remove the masking tape before the sealant dries to achieve clean edges.
- Let it Cure: Allow the sealant to cure for at least 24 hours before using the bathtub or shower.
How Often to Reseal
Regular maintenance is key to keeping your bathroom in top condition. It’s recommended to reseal your bathtub or shower every 1-2 years, depending on usage and wear. Seal your bathrooms the right way the first time to avoid frequent repairs.
Proper sealing not only enhances the appearance of your bathroom but also extends the life of your fixtures. Make it a part of your regular home improvement routine.
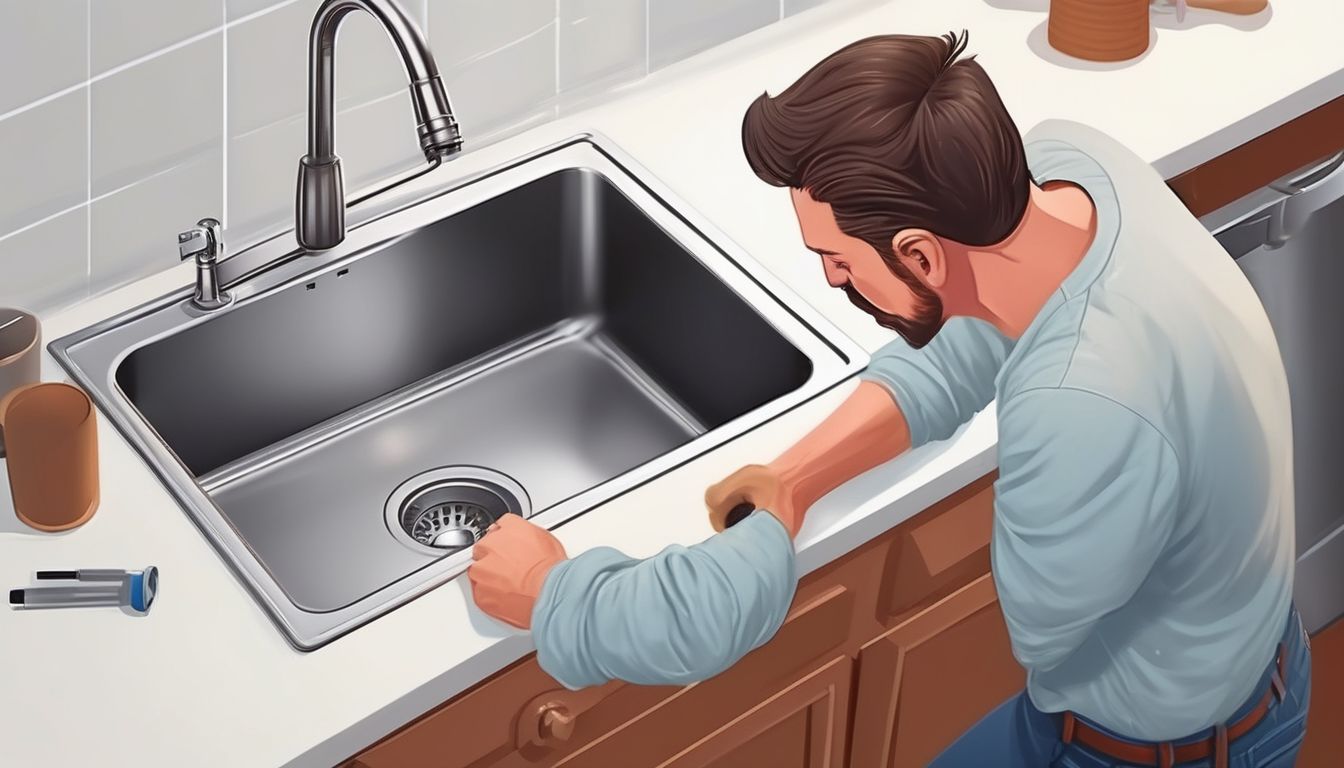
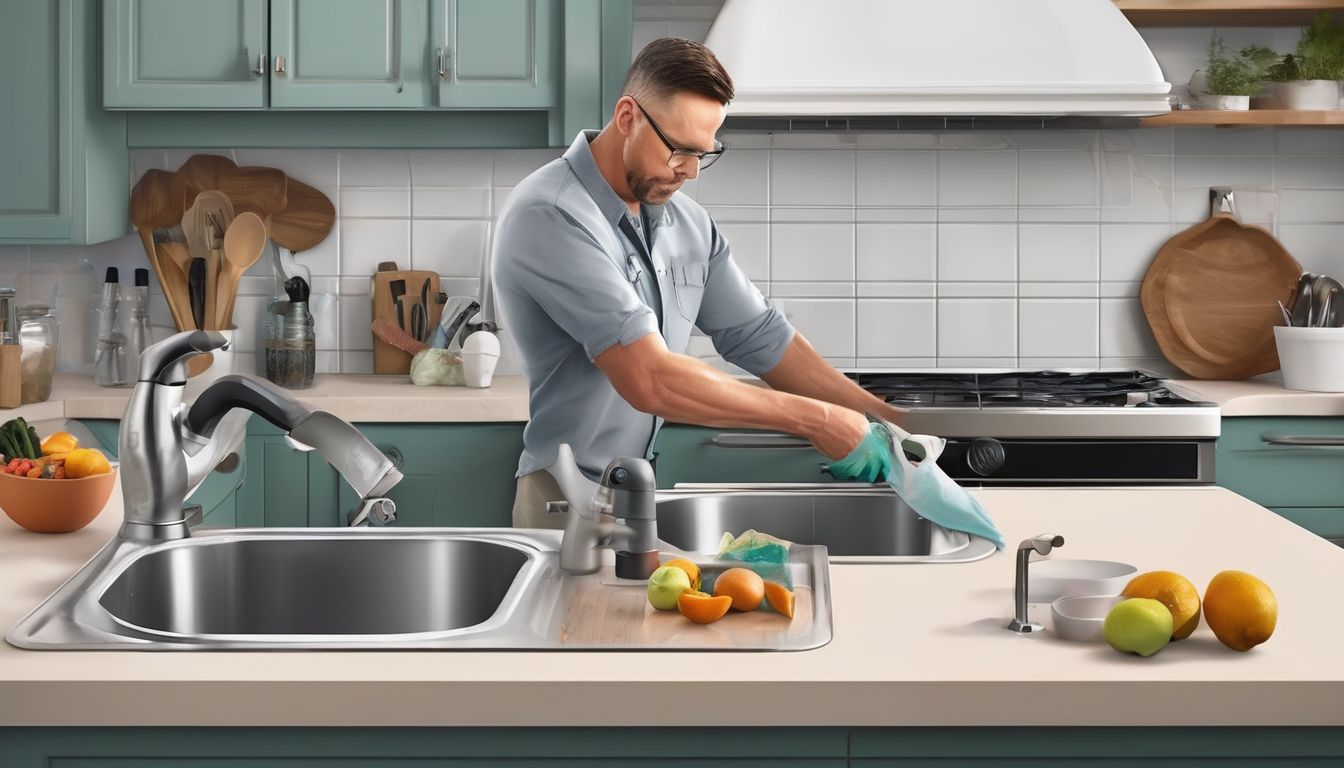
Replacing a Kitchen Faucet
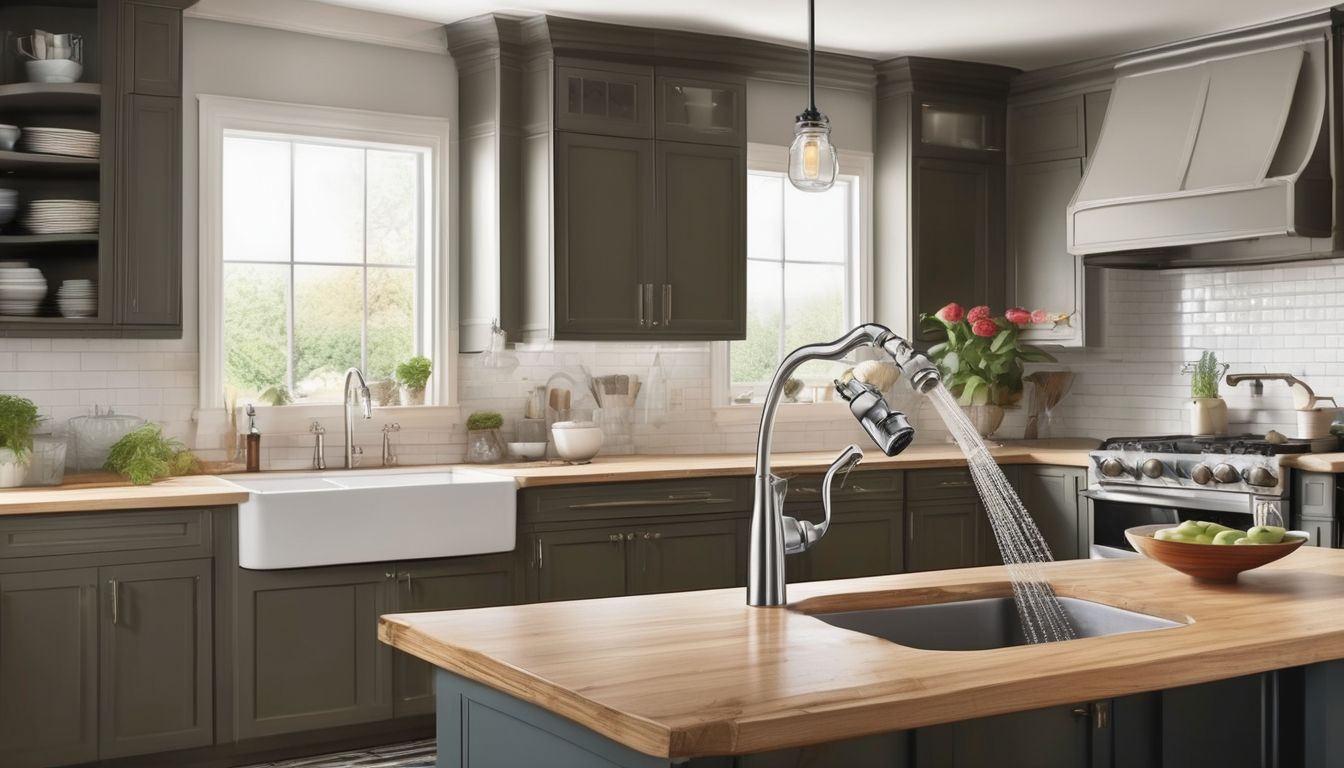
Replacing a kitchen faucet can seem daunting, but with the right tools and a bit of patience, you can do it yourself. Follow these steps to ensure a smooth installation process.
Fixing a Leaky Pipe
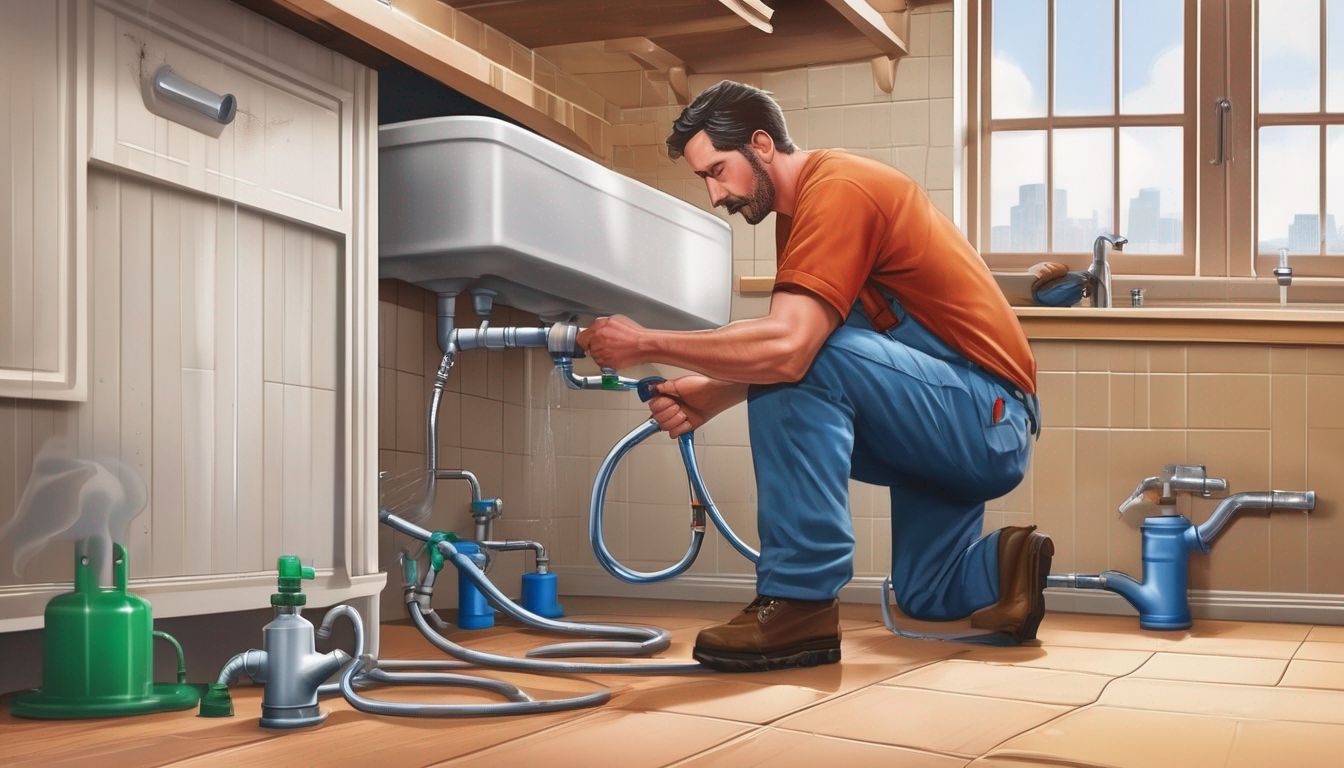
Leaks in your pipe can lead to expensive damage if left untreated. Here’s how you can temporarily fix a leaky pipe:
Temporary Fixes
- First, turn off the water supply.
- Dry the area around the leak, then apply a pipe repair clamp or use a waterproof tape or compound that hardens when it dries.
Remember, this is a temporary solution, and it’s crucial to contact a professional plumber to make a more permanent repair.
Permanent Solutions
Remaking a soldered pipe joint that’s leaking requires some skill, but it’s much easier to use repair putty, which will stop the leak permanently. Then, when the putty’s hard, you can sand, smooth, and paint it.
Steps to use repair putty:
- Shut off the water supply to the affected section of pipe and drain it.
- Dry the pipe with a cloth, then key the area that needs to be repaired with a wire brush.
- Press the repair putty around the joint, forcing it into the gap between the pipe and fitting. Smooth it as much as possible, but work quickly, as the putty dries rapidly.
- Leave for 24 hours to harden fully before reconnecting the water supply and checking for leaks.
Preventing Future Leaks
- Regularly inspect your pipes for signs of wear and tear.
- Insulate pipes to prevent freezing and bursting.
- Ensure proper installation and maintenance of plumbing fixtures.
Regular maintenance and timely repairs can save you from costly home repair tips and refurbishment services in london.
Maintaining Your Water Heater
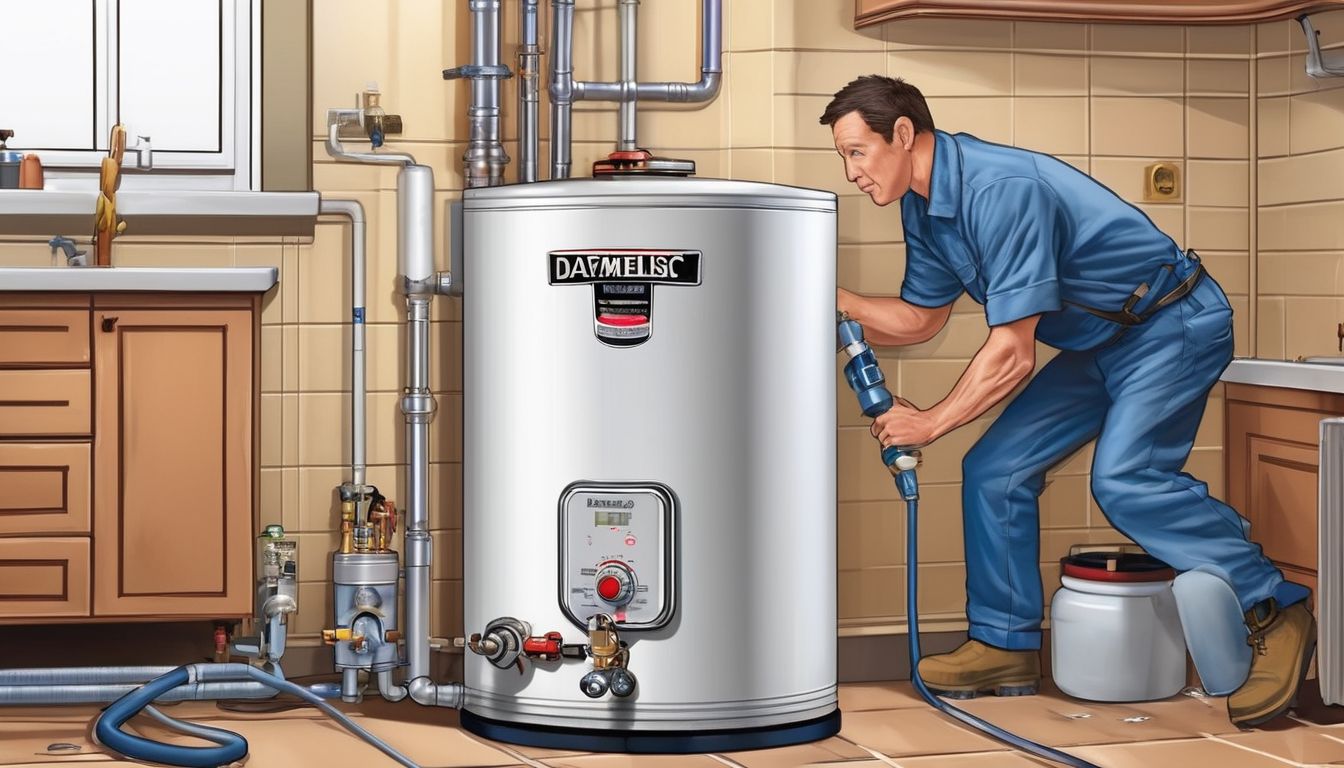
Your water heater can also be a source of plumbing problems. Learn how to flush it out once a year and have the anode rod changed every few years. You’ll likely need a plumber to do anode rod work unless you’re very familiar with the process. Paying a plumber to maintain your water heater almost always costs less than the problems created by water heater failures.
Dealing with Frozen Pipes

Thawing Techniques
During the winter months, pipes are vulnerable to freezing, which causes problems like burst pipes and lack of running water. In some cases, you only need to wait for a warmer day to let the pipes thaw themselves. It’s also common to take it upon yourself to use a heat source to thaw the pipes.
To thaw a frozen pipe, warm it with a hair dryer, gradually working along its length from the tap or valve until the water starts to flow again. Alternatively, drape a hot water bottle over the pipe or soak hand towels in hot water, wring them out and wrap them around it. But whatever you do, don’t use a blowtorch.
Preventing Future Freezes
All the pipes in your loft, under your ground floor, in your garage or any other areas where they’re exposed to very low temperatures should be lagged to protect them against freezing. However, lagging will only delay the onset of freezing. If the temperature is low enough for long enough, ice may still develop and stop the flow of water to your taps and other outlets. At worst, the ice may actually split your pipe or force apart a joint.
- Insulate pipes with foam rubber or fiberglass sleeves.
- Keep garage doors closed if there are water supply lines inside.
- Let cold water drip from the faucet served by exposed pipes.
When to Seek Help
If you cannot locate the frozen section of the pipe, or if the pipe is split or burst, it’s time to call a professional. The cycle of freezing and thawing can weaken the pipes, making them vulnerable enough to burst. Quality home / office refurbishment services in London offer 24/7 emergency service, including certified experts who can handle such situations efficiently.
In severe cases, professional intervention is crucial to prevent extensive water damage and ensure the safety of your home.
Installing a New Toilet
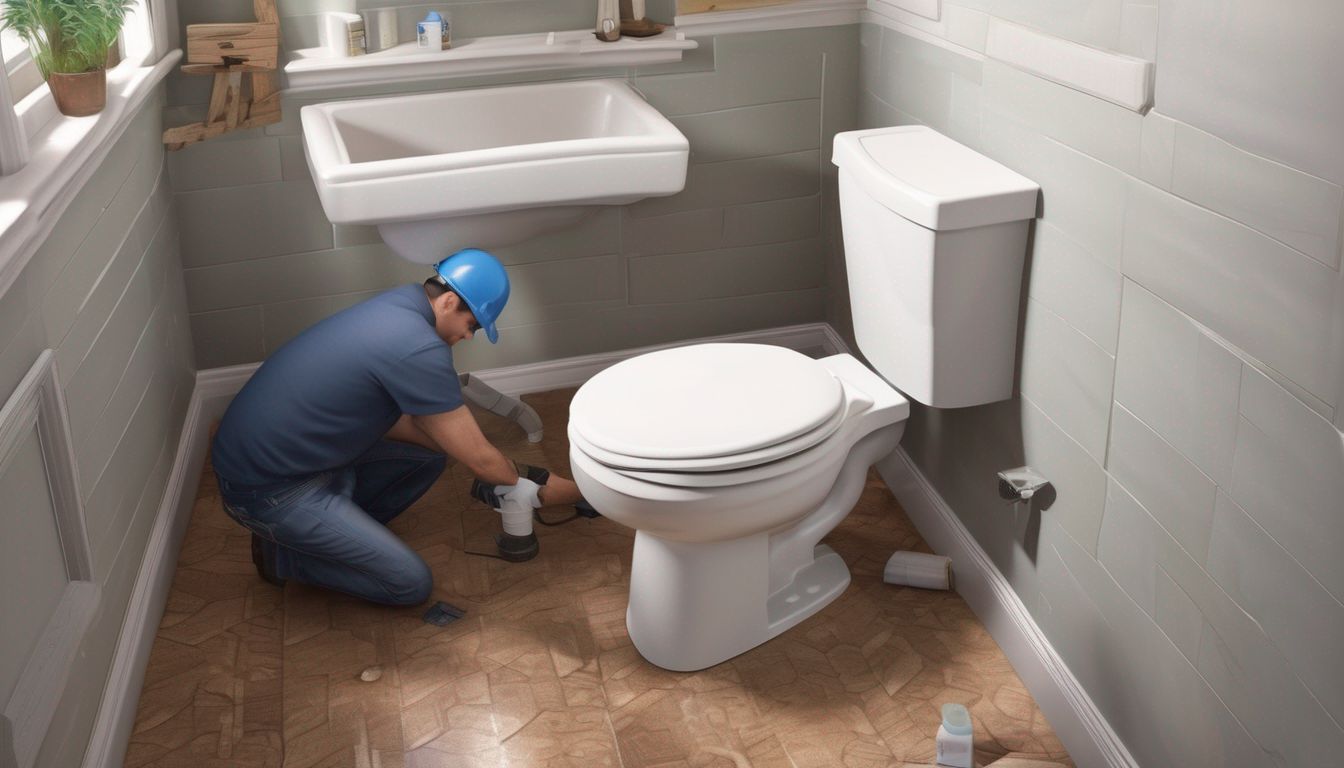
Installing a new toilet can seem daunting, but with the right tools and a bit of patience, it can be a straightforward process. Follow the instructions included with your new parts, and keep your thread sealant tape handy, as you will also need it to complete this project.
Clearing a Blocked Garbage Disposal
Safety Precautions
Before attempting to clear a blocked garbage disposal, ensure the unit is turned off and unplugged to avoid any accidents. Never put your hand inside the disposal unit. Use tools like tongs or pliers to remove any visible obstructions.
Manual Reset
If the disposal is not working, it might need a manual reset. Locate the reset button, usually found at the bottom of the unit, and press it. This can often resolve minor issues without further intervention.
Using a Hex Wrench
For more stubborn clogs, use a hex wrench to manually turn the disposal’s motor. Insert the wrench into the hex-shaped hole at the bottom of the unit and turn it back and forth to dislodge any blockages. This method is particularly effective if the clog is because of food waste buildup.
If the side of the sink that has the disposal doesn’t drain, plunge it first to remove the clog or force it down the drain.
Conclusion
Tackling DIY plumbing fixes can be a rewarding and cost-effective way to maintain your home. From fixing leaky faucets to unclogging drains, there are numerous tasks that you can handle with basic tools and a bit of know-how. Remember, the key to successful DIY plumbing is preparation and safety—always turn off the water supply before starting any project and follow the instructions carefully. While these simple fixes can solve many common issues, don’t hesitate to call a professional for more severe or persistent problems. Regular maintenance and timely repairs can save you from bigger headaches down the line, ensuring your plumbing system runs smoothly for years to come.
Frequently Asked Questions
What plumbing tasks can you do yourself?
Surprisingly, there are many plumbing tasks that you can accomplish yourself. With a few inexpensive tools, even a novice can save big bucks by clearing clogged drains, fixing faucets, repairing leaks under a sink, or taming uncooperative toilet issues.
What tools are needed for DIY plumbing?
Basic tools needed for DIY plumbing include a wrench, pliers, a plunger, a drain snake, Teflon tape, and a pipe wrench. Depending on the job, you might also need a screwdriver, a utility knife, and a bucket.
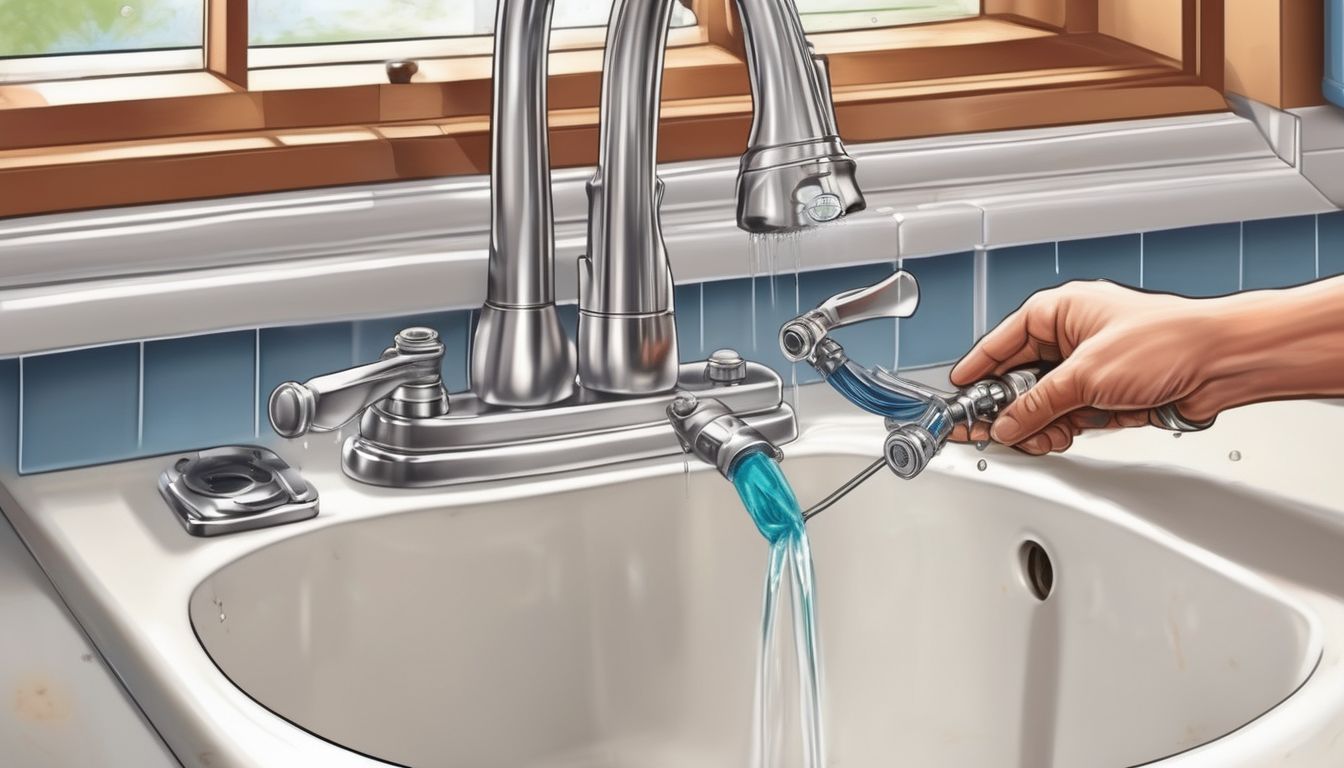
How do you fix a leaky faucet?
To fix a leaky faucet, first turn off the water supply. Disassemble the faucet to find the faulty component, usually a washer or O-ring, and replace it. Reassemble the faucet and turn the water back on to check if the leak is fixed.
How can you unclog a sink drain without chemicals?
You can unclog a sink drain without chemicals by using a plunger or a drain snake. For minor clogs, a mixture of baking soda and vinegar followed by hot water can also be effective.
What should you do if your toilet keeps running?
If your toilet keeps running, check the flapper, float, and fill valve. Often, replacing a worn-out flapper or adjusting the float can solve the issue. If these fixes don’t work, you may need to replace the fill valve.
How do you increase water pressure in your home?
To increase water pressure, first check for any leaks and ensure the main water valve is fully open. Cleaning the aerators on faucets and showerheads can also help. If the issue persists, consult a professional plumber as it could be a sign of a more significant problem.
Can you install a new showerhead yourself?
Yes, installing a new showerhead is a straightforward DIY task. Unscrew the old showerhead, apply Teflon tape to the threads of the shower arm, and screw on the new showerhead. Make sure to check for leaks after installation.
When should you call a professional plumber?
You should call a professional plumber for severe or persistent plumbing issues, such as major leaks, sewer line problems, or when you can’t identify the source of a problem. Professional plumbers have the expertise and tools to handle complex issues safely and effectively.