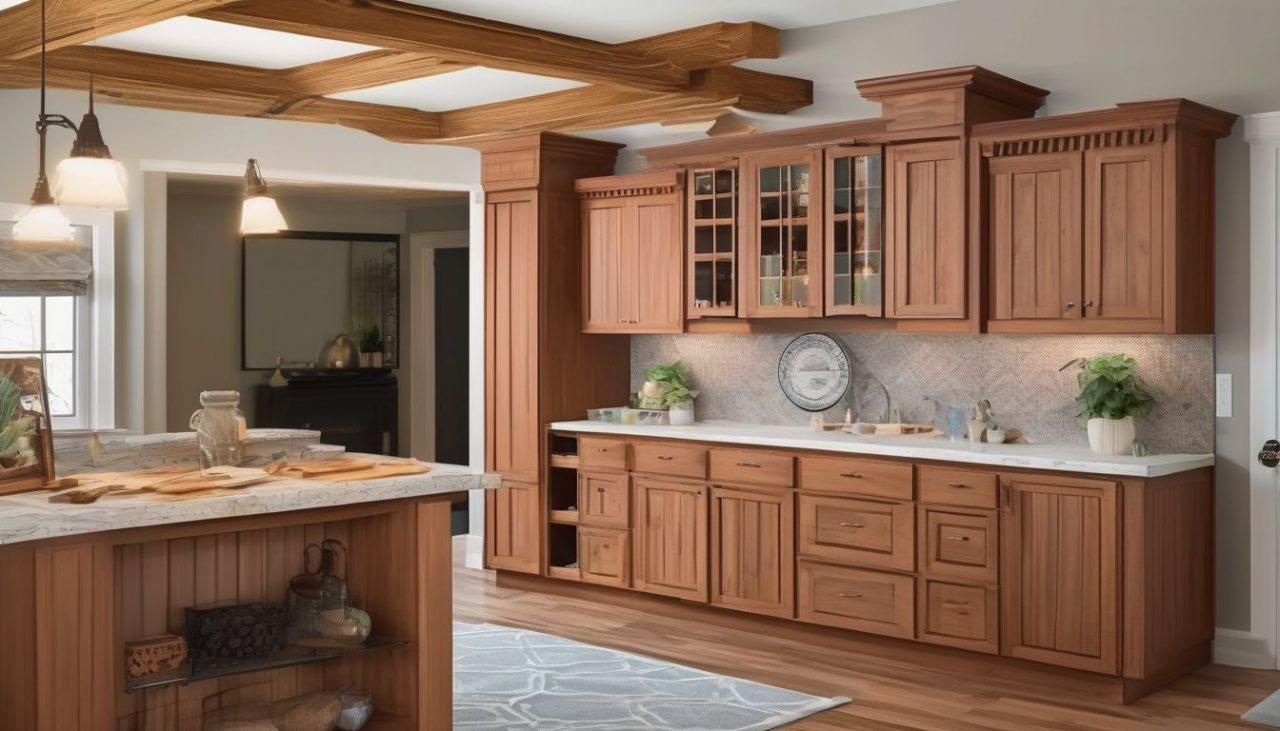
London DIY enthusiasts, whether you’re a novice or looking to refine your skills, beginner carpentry projects offer a fantastic way to get hands-on experience with woodworking. From simple shelves to intricate picture frames, these projects not only enhance your home but also provide a sense of accomplishment. In this guide, we will explore a variety of beginner-friendly projects that you can undertake, each designed to help you build confidence and proficiency in carpentry.
Key Takeaways
- Beginner carpentry projects are a great way to gain hands-on experience and improve woodworking skills.
- Simple projects like wooden shelves and stools can be both functional and aesthetically pleasing.
- Each project requires basic materials and tools, making them accessible for DIY enthusiasts.
- Step-by-step instructions ensure that even novices can successfully complete these woodworking projects.
- Personalizing your projects with finishes and decorations can enhance their appearance and make them unique.
Building a Simple Wooden Shelf
Creating a wooden shelf is an excellent starting point for those new to carpentry projects. This project is perfect for beginners and provides a practical addition to any home or office space.
Crafting a Basic Wooden Stool
Tools Required
To start your wooden stool project, you’ll need a few essential tools. These include:
- Measuring tape
- Carpenter’s square
- Hand saw or circular saw
- Chisel
- Hammer
- Drill with bits
- Sandpaper (various grits)
- Clamps
Having these tools on hand will make the process smoother and more efficient.
Cutting and Assembling the Pieces
- Measure and mark your timber accurately using the measuring tape and carpenter’s square.
- Cut the wood according to your measurements. You’ll need four legs, a seat, and support pieces.
- Use a chisel to create grooves in the legs where the support pieces will fit.
- Assemble the legs and support pieces first, ensuring they are securely joined.
- Attach the seat to the assembled legs and supports using screws and wood glue.
- Clamp the stool together and let the glue dry completely.
Tip: Double-check all measurements before cutting to avoid mistakes and ensure a sturdy stool.
Sanding and Painting
Once the stool is assembled, it’s time to sand and paint:
- Start with coarse-grit sandpaper to smooth out any rough edges.
- Progress to finer grits for a polished finish.
- Apply a primer if you plan to paint the stool.
- Paint or stain the stool in your desired color, allowing each coat to dry thoroughly.
- Finish with a clear sealant to protect the wood and enhance durability.
By following these steps, you’ll create a functional and attractive wooden stool perfect for any room in your home.
Constructing a Wooden Picture Frame
Choosing the Right Wood
Selecting the appropriate wood is crucial for a successful picture frame project. Opt for hardwoods like oak or maple for durability, or choose softwoods like pine for a more rustic look. Ensure the wood is straight and free from knots or defects.
Measuring and Cutting
Accurate measurements are essential in woodworking for beginners: simple projects to get started. Measure the dimensions of your picture and add allowances for the frame width. Use a miter saw to cut the wood at 45-degree angles for perfect corners. Double-check your cuts to ensure they fit together snugly.
Assembling the Frame
Lay out the cut pieces to form the frame. Apply wood glue to the joints and use clamps to hold them in place. For added strength, consider using corner brackets or nails. Allow the glue to dry completely before handling the frame.
Taking your time with each step ensures a professional-looking finish and helps you learn essential skills like crafting a wooden picture frame.
Once assembled, you can sand the edges for a smooth finish and apply your choice of paint or stain to match your decor. Emphasizes simplicity, tools, and safety throughout the process.
Making a Wooden Toolbox
Creating a wooden toolbox is a fantastic project for beginners. To get started, you’ll need some basic tools. Here’s a list of essentials:
- Hammer
- Nails
- Wood glue
- Saw
- Measuring tape
- Sandpaper
- Clamps
- Measure and Cut the Wood: Start by measuring and cutting the wood to the desired dimensions for your toolbox. Precision is key, so take your time with this step.
- Assemble the Base and Sides: Use wood glue and nails to attach the sides to the base. Ensure everything is aligned properly before the glue sets.
- Attach the Handle: Cut a piece of wood for the handle and attach it securely to the sides of the toolbox. Clamps can be helpful to hold it in place while the glue dries.
- Sand the Edges: Once the glue is dry, sand all the edges to remove any rough spots and ensure a smooth finish.
After assembling your toolbox, you can add some personal touches to make it unique. Consider painting or staining the wood to give it a finished look. You can also add decorative elements or even your initials to make it truly yours.
Mastering essential hardware tools and techniques is crucial for successful DIY projects. Quality home/office refurbishment services in London by emergencyservice24.co.uk – Power of London Ltd. can provide additional inspiration and support for your woodworking endeavors.
Creating a Wooden Birdhouse
Materials List
To start your birdhouse project, gather the following materials:
- Softwood planks
- Nails or screws
- Wood glue
- Sandpaper
- Paint or wood stain
Building the Birdhouse
- Measure and cut the wood planks according to your design. Ensure all pieces fit together snugly.
- Assemble the base and sides using nails or screws. Apply wood glue for extra strength.
- Attach the roof, making sure it has a slight overhang to protect from rain.
- Sand all edges to remove splinters and rough spots.
This project is perfect for those looking to hone their woodworking skills and create something functional.
Decorating Ideas
Once your birdhouse is assembled, you can add personal touches:
- Paint it in vibrant colors to attract birds.
- Use wood stain for a natural look.
- Add decorative elements like small perches or carved designs.
Creating a birdhouse is a rewarding project that combines creativity with practical skills. It’s an excellent addition to any garden and a great way to practice basic carpentry techniques.
Designing a Wooden Planter Box
Choosing the right wood is crucial for a durable planter box. Cedar and redwood are excellent choices due to their natural resistance to rot and insects. Ensure the wood is untreated to avoid harmful chemicals leaching into the soil.
- Measure and cut the wood to your desired dimensions.
- Assemble the sides using screws or nails, ensuring the corners are square.
- Attach the bottom panel, leaving small gaps for drainage.
- Reinforce the structure with additional supports if necessary.
A well-built planter box can enhance your garden’s aesthetics and provide a sturdy home for your plants.
To extend the life of your planter box, apply a waterproof sealant to the wood. This will protect it from moisture and decay. You can also paint or stain the box to match your garden decor. Remember to line the inside with landscape fabric to prevent soil from escaping and to improve drainage.
Assembling a Wooden Bench
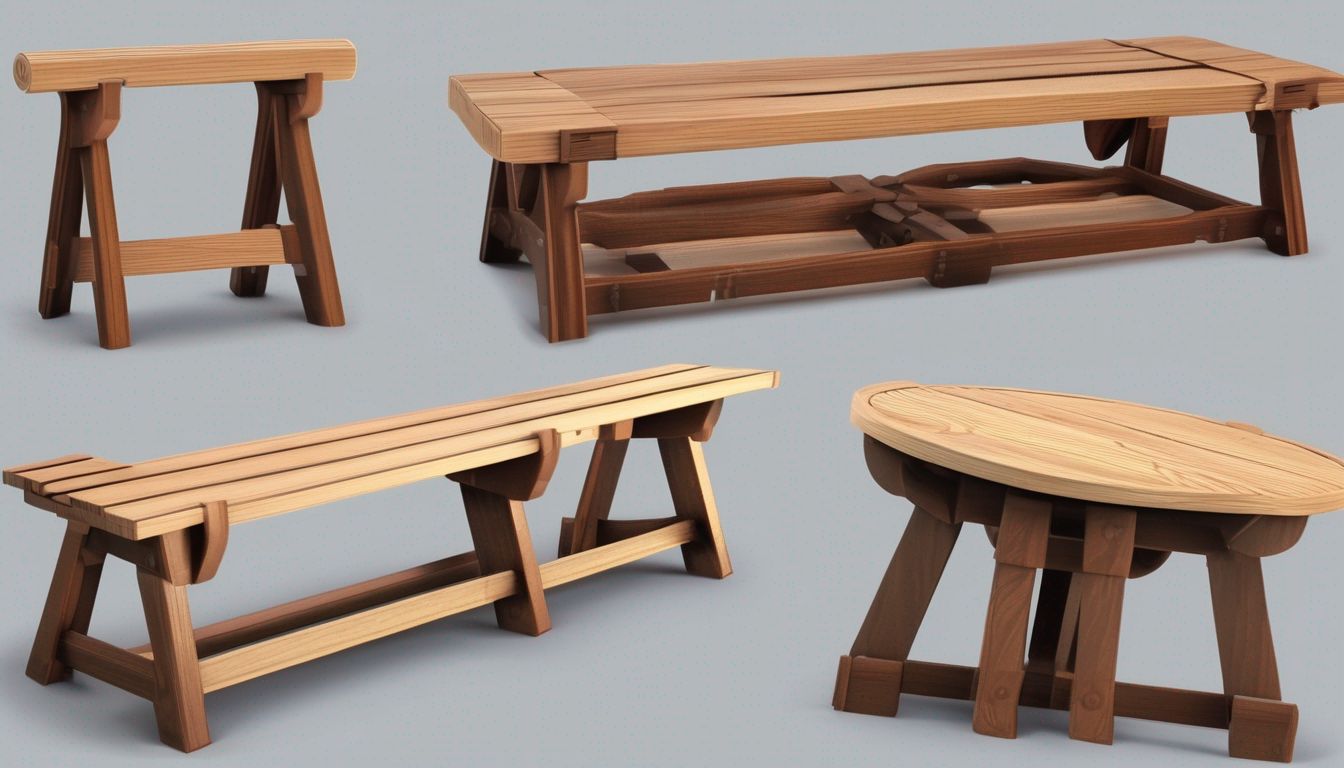
Tools and Materials
To get started on your wooden bench project, you’ll need the following tools and materials:
- Tools: Handsaw, chisel, plane, drill, screwdriver, measuring tape, and clamps.
- Materials: Softwood planks, wood screws, wood glue, sandpaper, and wood finish.
Cutting and Assembly
- Measure and Cut: Begin by measuring and cutting the wood planks to the desired dimensions for the seat, legs, and supports.
- Create Joints: Use a chisel to carve out mortise and tenon joints for a sturdy assembly.
- Assemble the Frame: Apply wood glue to the joints and clamp the pieces together. Secure with wood screws for added strength.
- Attach the Seat: Once the frame is dry, attach the seat plank to the frame using screws.
Tip: Ensure all pieces are aligned properly before the glue sets to avoid a wobbly bench.
Finishing and Maintenance
- Sanding: Smooth all surfaces with sandpaper to remove any rough edges or splinters.
- Finishing: Apply a wood finish of your choice to protect the bench and enhance its appearance.
- Maintenance: Regularly check for loose screws and reapply finish as needed to keep your bench in top condition.
Crafting a Wooden Coat Rack
Creating a wooden coat rack is a rewarding project for any DIY enthusiast. This project combines functionality with a touch of rustic charm, making it a perfect addition to any home. Below are the steps and materials needed to craft your own wooden coat rack.
Building a Simple Wooden Table
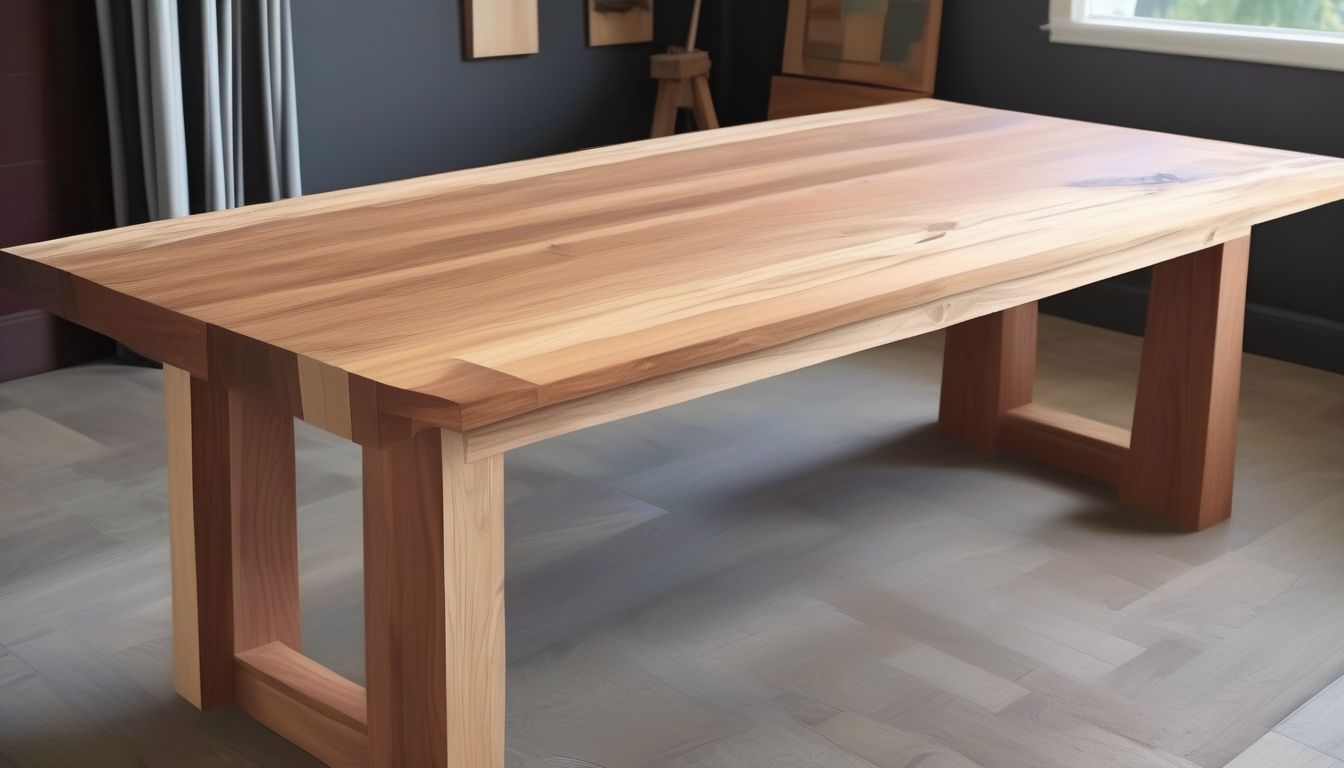
Creating a wooden table is an excellent project for beginners, offering a blend of functionality and craftsmanship. This project will guide you through the process step-by-step, ensuring a sturdy and attractive piece of furniture.
Making a Wooden Jewelry Box
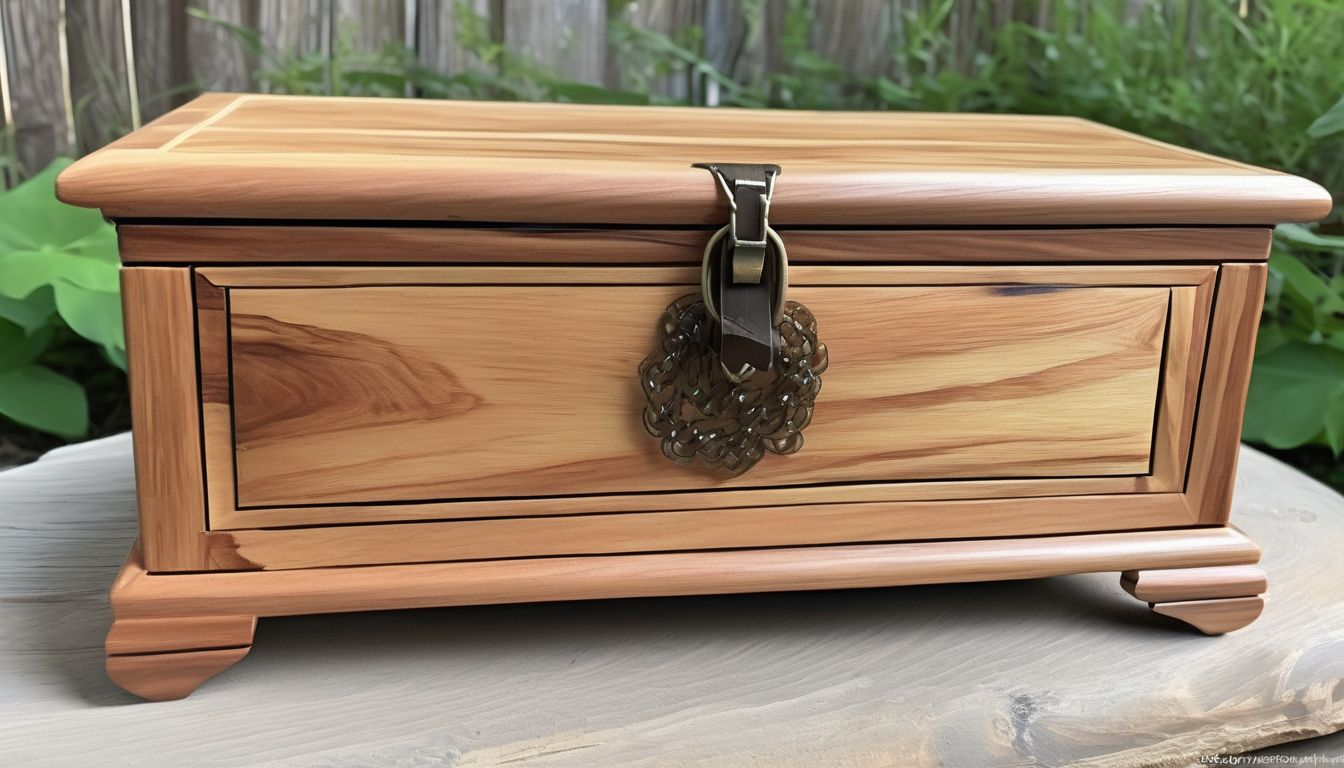
Materials and Tools
To start your wooden jewelry box project, gather the following materials and tools:
- Hardwood (e.g., oak, maple, or cherry)
- Plywood for the base
- Wood glue
- Sandpaper (various grits)
- Hinges and a clasp
- Wood finish (varnish or paint)
- Measuring tape
- Saw (hand saw or table saw)
- Chisels
- Clamps
- Drill and drill bits
Building the Box
- Measure and cut the hardwood to create the sides, top, and bottom of the box. Ensure all pieces fit together snugly.
- Assemble the sides using wood glue and clamps. Allow the glue to dry completely before proceeding.
- Attach the bottom piece of plywood to the assembled sides with wood glue and clamps.
- Once the glue is dry, sand all surfaces to remove any rough edges and ensure a smooth finish.
- Install the hinges on the back of the box and attach the top lid. Add the clasp to the front for secure closure.
Adding Compartments
To create compartments inside the jewelry box:
- Measure and cut small pieces of hardwood to fit inside the box as dividers.
- Use wood glue to attach the dividers in the desired configuration. Clamps can help hold them in place while the glue dries.
- Sand the dividers to ensure they are smooth and free of splinters.
Finding the perfect carpenter for your home projects can be crucial if you need assistance with more complex tasks.
Finishing Touches
- Apply a wood finish to protect the jewelry box and enhance its appearance. You can choose between varnish, paint, or stain.
- Allow the finish to dry completely before using the box.
- Optionally, line the inside of the box with felt or fabric for a more polished look.
Creating a wooden jewelry box is a rewarding project that combines functionality with craftsmanship. With the right materials and tools, you can craft a beautiful and personalized piece to store your treasures.
Constructing a Wooden Wine Rack
Materials List
To build a wooden wine rack, you’ll need the following materials:
- Wooden boards (preferably hardwood)
- Wood screws
- Wood glue
- Sandpaper
- Wood stain or paint
- Brushes or rags for applying stain/paint
Building the Rack
- Measure and cut the wooden boards to the desired dimensions for your wine rack.
- Assemble the frame by attaching the boards using wood screws and wood glue. Ensure the structure is sturdy and level.
- Create the individual slots for the wine bottles by adding horizontal and vertical dividers within the frame.
- Sand all surfaces to smooth out any rough edges and prepare the wood for finishing.
Tip: Use a clamp to hold the pieces together while the glue dries for a stronger bond.
Finishing and Staining
- Choose a wood stain or paint that complements your home decor.
- Apply the stain or paint evenly across the entire wine rack, using brushes or rags.
- Allow the finish to dry completely before placing any wine bottles in the rack.
- Optionally, apply a clear sealant to protect the wood and enhance its durability.
By following these steps, you’ll create a beautiful and functional wooden wine rack that showcases your craftsmanship and adds a touch of elegance to your home.
Creating a Wooden Wall Shelf
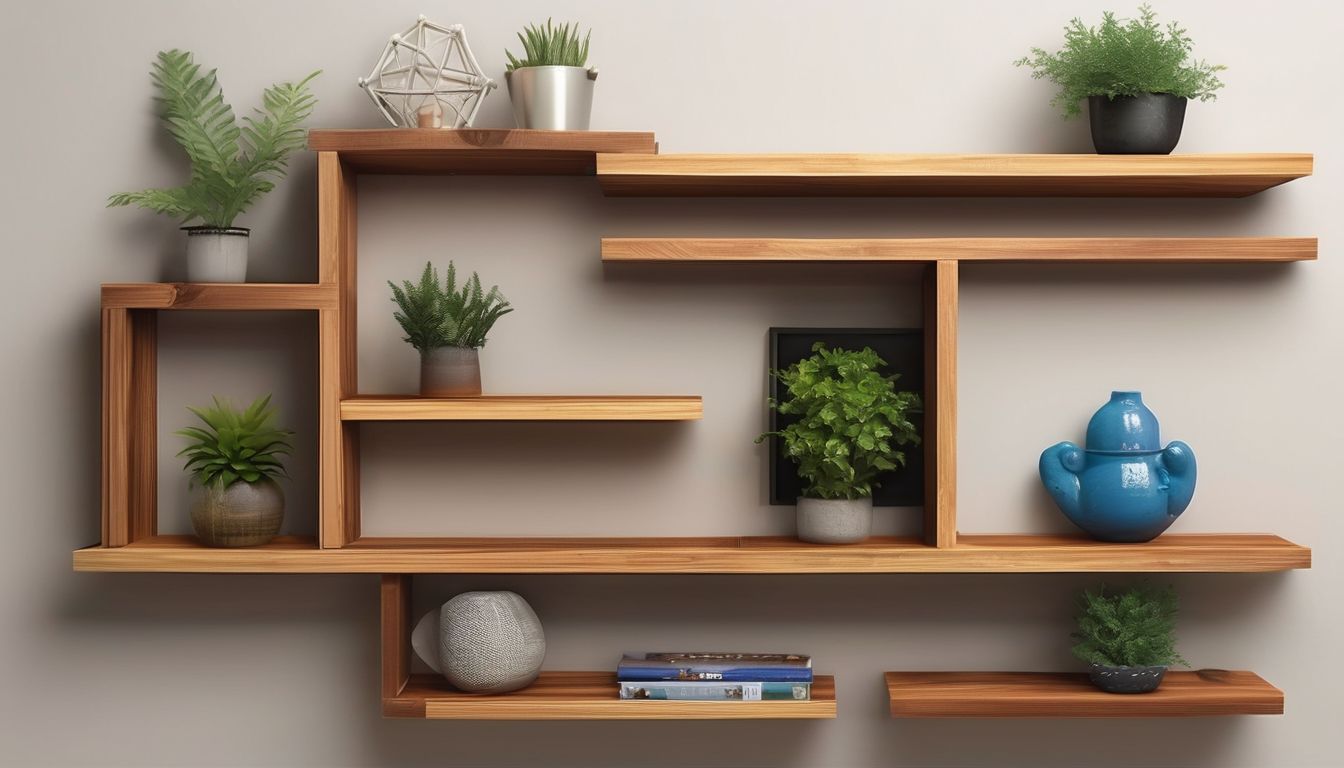
Materials Needed
To start your wooden wall shelf project, gather the following materials:
- Softwood planks
- Brackets
- Screws
- Wood glue
- Sandpaper
- Wood finish or paint
Step-by-Step Instructions
- Measure and Cut: Begin by measuring the length of the wall where you want to place the shelf. Cut the softwood planks to the desired length using a handsaw.
- Smooth the Edges: Use a plane to smooth the edges of the cut planks. This will ensure a polished look and prevent any splinters.
- Attach the Brackets: Position the brackets on the wall and mark the drilling points. Drill holes and secure the brackets with screws.
- Assemble the Shelf: Apply wood glue to the edges of the planks and place them on the brackets. Secure with additional screws if necessary.
- Finishing Touches: Sand the entire shelf to remove any rough spots. Apply a wood finish or paint to protect the wood and enhance its appearance.
Mounting the Shelf
Once your shelf is assembled and finished, it’s time to mount it on the wall. Ensure the brackets are level and securely fastened. Double-check the stability before placing any items on the shelf.
This project is a great way to hone your woodworking skills and create a functional piece for your home. Whether you’re a beginner or looking to refine your techniques, building a wooden wall shelf is a rewarding endeavor.
Conclusion
Embarking on beginner carpentry projects in London can be a rewarding and enriching experience. With a variety of workshops and courses available, from one-day shelf and bracket workshops to comprehensive twelve-week carpentry programs, there is something for every aspiring woodworker. These projects not only teach essential skills but also provide a sense of accomplishment and creativity. Whether you are looking to learn the basics or refine your existing skills, London’s vibrant DIY community offers ample opportunities to grow and succeed in your woodworking journey. So, pick up your tools, join a workshop, and start creating your own wooden masterpieces today!
Frequently Asked Questions
What are some good beginner carpentry projects?
Simple projects like building a wooden shelf, crafting a basic stool, or making a picture frame are great for beginners.
What materials do I need to build a simple wooden shelf?
You’ll need wood planks, screws, brackets, a saw, a drill, sandpaper, and paint or varnish.
Do I need any special tools to start woodworking?
Basic tools like a saw, hammer, drill, screwdriver, measuring tape, and sandpaper are essential for most beginner projects.
Where can I find woodworking tutorials?
You can watch woodworking tutorials on our YouTube channel, where we also host live tutorials during term time.
Are there any workshops for beginners in London?
Yes, we offer several beginners workshops in London, including a one-day shelf and brackets workshop and a six-week evening course on making a wooden table.
What type of wood is best for beginner projects?
Softwoods like pine or fir are generally easier to work with and are a good choice for beginners.
Can I hire a professional for carpentry services in North London?
Yes, you can schedule a professional tradesperson for carpentry and handyman services in North London through our website.
How can I add a personal touch to my woodworking projects?
You can add personal touches by painting, staining, or decorating your projects to match your style and preferences.