If you’re a DIY enthusiast in London looking to dive into carpentry, there are plenty of exciting beginner projects to try. This article will guide you through various simple woodwork tasks that not only help you develop your skills but also allow you to create beautiful and functional items for your home. Whether you’re after a new shelf, a birdhouse, or even a wooden bench, these projects are perfect for those starting their woodworking journey.
Key Takeaways
- Beginner carpentry projects are great for learning basic skills.
- Essential tools include saws, drills, and chisels.
- Safety is crucial; always wear protective gear while working.
- Choosing the right wood can impact your project’s quality.
- Finishing touches like sanding and painting enhance your creations.
Getting Started with Basic Woodwork
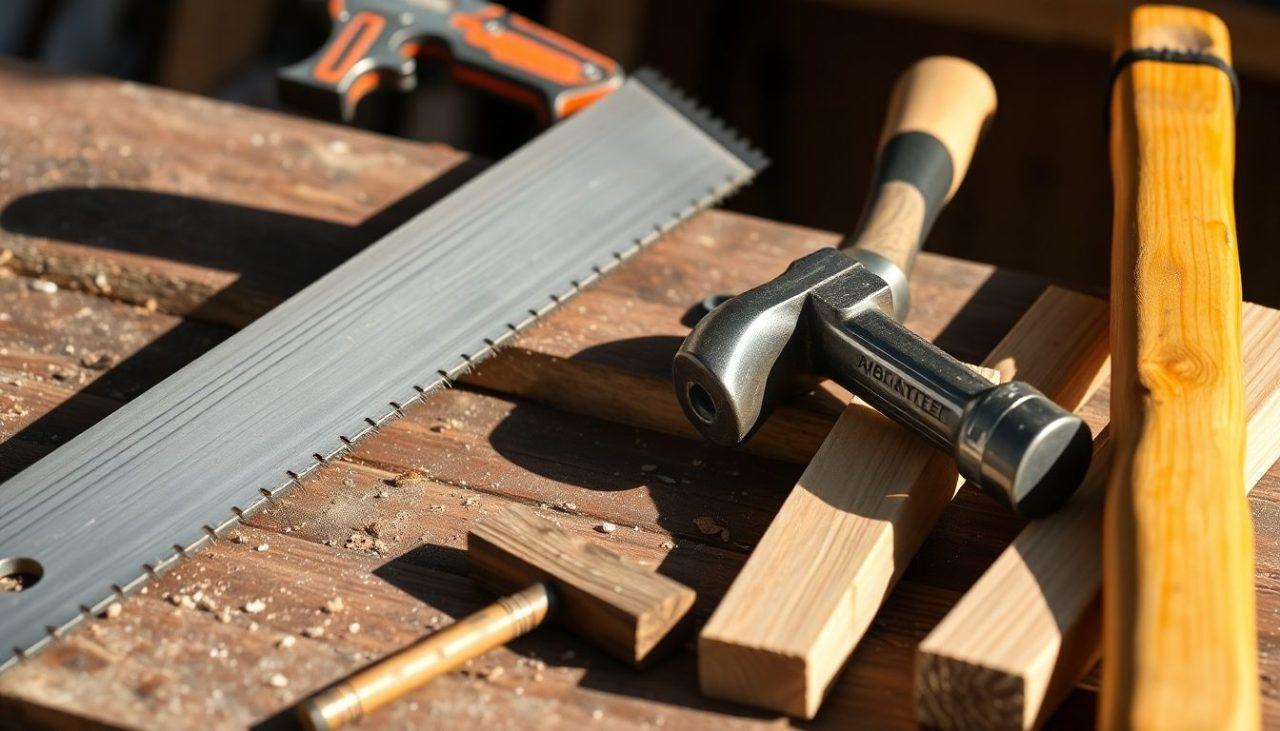
Essential Tools for Beginners
If you’re diving into the world of woodwork, having the right tools is key. Here’s a quick list of essentials:
- Saw: For cutting wood.
- Chisel: For shaping and carving.
- Hammer: For driving nails.
- Measuring Tape: To ensure accuracy.
- Square: For making right angles.
Remember, investing in good quality tools will make your projects easier and more enjoyable!
Understanding Different Types of Wood
When starting out, it’s important to know the types of wood you’ll be working with. Here’s a simple table to help you:
| Type of Wood | Characteristics | Best For |
|---|---|---|
| Pine | Soft, easy to work with | Furniture, shelves |
| Oak | Strong, durable | Tables, cabinets |
| Plywood | Versatile, made of layers | Shelving, crafts |
| MDF | Smooth, easy to paint | Indoor projects |
Safety Tips for New Woodworkers
Safety should always come first! Here are some tips to keep in mind:
- Wear safety goggles to protect your eyes.
- Use ear protection when using loud tools.
- Keep your workspace tidy to avoid accidents.
Always remember: A safe workshop is a happy workshop!
With these basics, you’re well on your way to starting your woodwork journey. Happy crafting!
Creating Your First Wooden Shelf
Building your first wooden shelf is a fantastic way to dive into the world of carpentry. It’s simple, practical, and super rewarding! Here’s how to get started:
Materials You Will Need
- Wood: Choose a sturdy type like pine or plywood.
- Screws: Make sure they’re suitable for wood.
- Brackets: These will support your shelf.
- Sandpaper: For smoothing the edges.
- Paint or Stain: Optional, for finishing touches.
Step-by-Step Guide to Building a Shelf
- Measure Your Space: Decide where you want the shelf and measure the area.
- Cut the Wood: Use a saw to cut your wood to the desired length.
- Sand the Edges: Smooth out any rough edges with sandpaper.
- Attach Brackets: Secure the brackets to the wall using screws.
- Place the Shelf: Set the shelf on the brackets and ensure it’s level.
- Finish It Off: If you want, paint or stain the shelf for a polished look.
Finishing Touches and Installation
- Check Stability: Make sure everything is secure before placing items on the shelf.
- Decorate: Add books, plants, or photos to make it your own!
Remember, woodworking is all about practise. Don’t worry if it’s not perfect the first time; just enjoy the process!
Building a Simple Wooden Stool
Choosing the Right Wood
When it comes to making your stool, selecting the right wood is key. Here are some popular options:
- Pine: Affordable and easy to work with.
- Oak: Strong and durable, but a bit pricier.
- Plywood: Great for beginners, as it’s stable and comes in various thicknesses.
Cutting and Assembling the Pieces
Once you’ve got your wood, it’s time to cut and assemble! Follow these steps:
- Measure your pieces carefully. You’ll need a top, four legs, and support beams.
- Cut the wood using a saw. Make sure your cuts are straight!
- Assemble the pieces using wood glue and screws for a sturdy finish.
Sanding and Finishing Your Stool
After assembly, it’s time to make your stool look great:
- Sand all surfaces to remove rough edges.
- Finish with paint or varnish to protect the wood and add a personal touch.
Remember, building your own stool is not just about the end product; it’s about enjoying the process and learning new skills!
Crafting a Wooden Birdhouse
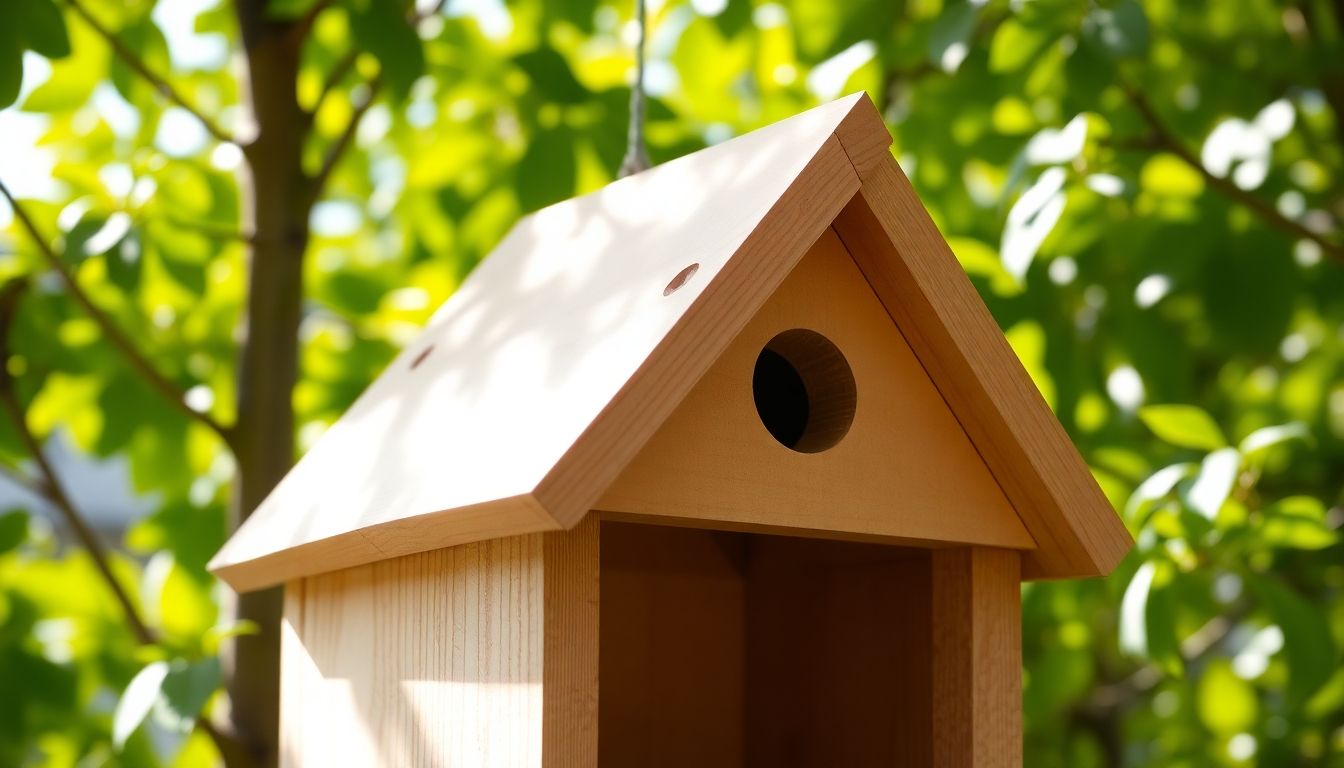
Designing Your Birdhouse
Creating a birdhouse is a fantastic way to start your woodworking journey. It’s not just fun; it’s also rewarding! You can design your birdhouse to suit the birds in your area. Here are some design ideas:
- Traditional style with a sloped roof
- Modern minimalist design
- Rustic look using reclaimed wood
Tools and Materials Required
Before you start, gather your tools and materials. Here’s a quick list:
- Tools:
- Saw (hand saw or jigsaw)
- Drill
- Screwdriver
- Sandpaper
- Materials:
- Untreated wood (like pine or cedar)
- Wood screws
- Wood glue
- Non-toxic paint or wood stain (optional)
Assembly and Decoration Tips
Once you have your design and materials, it’s time to assemble your birdhouse. Follow these steps:
- Cut the wood according to your design measurements.
- Assemble the pieces using wood screws and glue for extra strength.
- Sand the edges to make it safe for birds.
- Paint or stain your birdhouse if you want to add some colour.
- Mount it in a safe location, away from predators.
Remember, a well-built birdhouse can attract many feathered friends to your garden!
Making a Wooden Picture Frame
Creating a wooden picture frame is a fantastic way to start your woodworking journey. It’s simple, fun, and you get to showcase your favourite memories! Here’s how to get started:
Selecting the Wood and Tools
- Wood Types: Choose from softwoods like pine or hardwoods like oak. Softwoods are easier to work with, while hardwoods offer durability.
- Tools Needed: You’ll need a saw, a measuring tape, wood glue, clamps, and sandpaper. If you have a mitre saw, that’s a bonus!
Cutting and Joining the Frame
- Measure Your Picture: Start by measuring the dimensions of the picture you want to frame.
- Cut the Wood: Cut four pieces of wood to the correct lengths, making sure to cut at a 45-degree angle for the corners.
- Join the Pieces: Apply wood glue to the edges and clamp them together. Let it dry for a few hours.
Adding the Finishing Touches
- Sanding: Once the glue is dry, sand the edges to make them smooth.
- Staining or Painting: You can stain or paint your frame to match your decor.
- Hanging: Attach a hanging mechanism on the back, and you’re ready to display your masterpiece!
Remember, woodworking is all about practise. Don’t worry if your first frame isn’t perfect; just enjoy the process!
By following these steps, you’ll have a lovely wooden picture frame that not only looks great but also gives you a sense of accomplishment. Happy woodworking!
Constructing a Basic Wooden Table
Building your own table can be a rewarding experience, and it’s not as hard as you might think! Here’s how to get started.
Planning Your Table Design
- Decide on the size: Measure the space where you want to place the table.
- Choose a style: Think about whether you want a modern or rustic look.
- Sketch your design: A simple drawing can help you visualise the final product.
Gathering Materials and Tools
Here’s a quick list of what you’ll need:
- Wood: Choose a sturdy type like pine or oak.
- Tools: You’ll need a saw, drill, screws, and sandpaper.
- Finishing supplies: Paint or varnish to protect your table.
Step-by-Step Construction Process
- Cut the wood: Measure and cut your pieces according to your design.
- Assemble the frame: Use screws to join the legs and the tabletop.
- Sand the edges: Make sure everything is smooth to avoid splinters.
- Finish your table: Apply your chosen paint or varnish for a polished look.
Remember, patience is key! Take your time to ensure everything is done right.
By following these steps, you’ll have a beautiful table that you made yourself. Plus, it’s a great way to dive into the world of carpentry projects!
DIY Wooden Planter Box
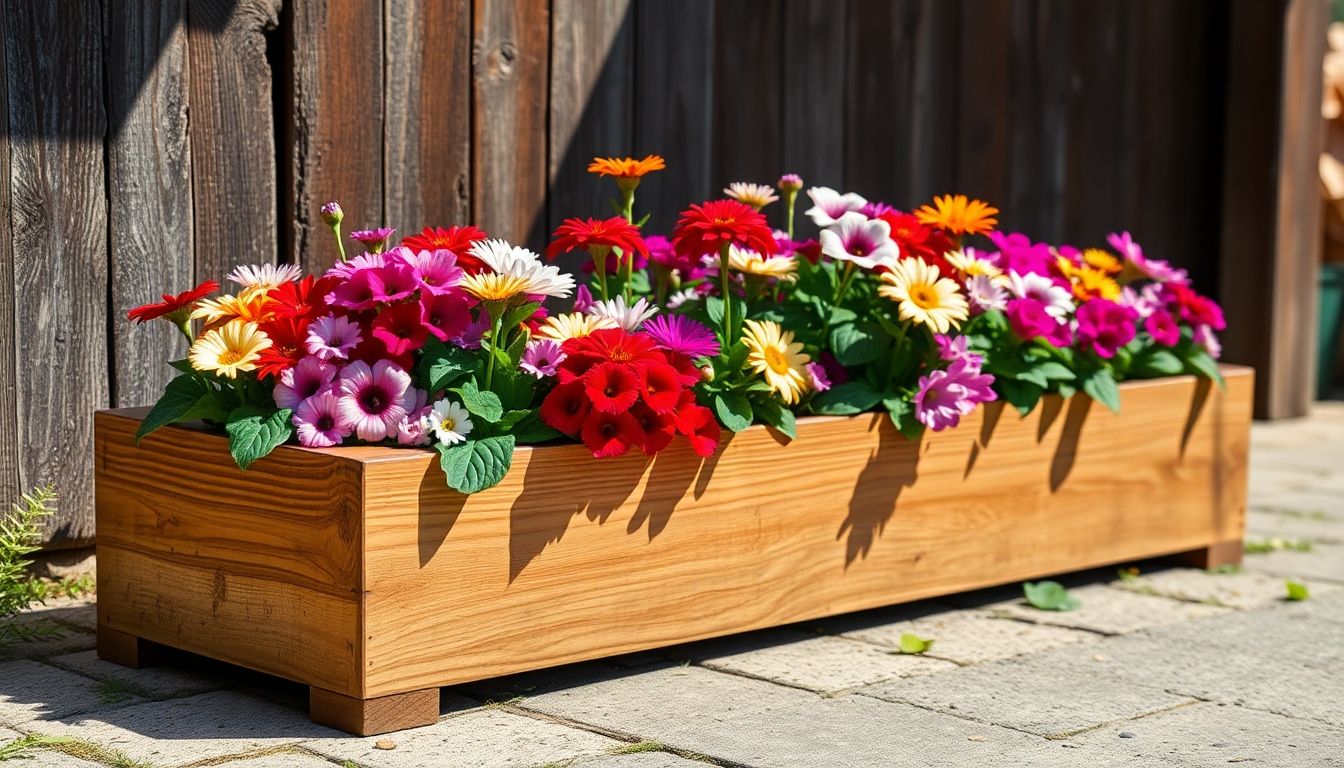
Creating a wooden planter box is a fantastic way to add some greenery to your space, and it’s a project that’s perfect for beginners. You don’t need to be a pro to make something beautiful! Here’s how to get started:
Materials and Tools Needed
- Wood: Choose treated timber or cedar for durability.
- Screws: Galvanised screws to prevent rust.
- Wood Glue: For extra strength.
- Sandpaper: To smooth out rough edges.
- Paint or Stain: Optional, for a personal touch.
Building the Planter Box
- Measure and Cut: Cut your wood to the desired size. A common size is 1m x 0.5m x 0.5m.
- Assemble the Sides: Use screws and wood glue to attach the sides together.
- Add the Base: Secure a base to hold the soil in place.
- Drill Drainage Holes: Make sure to drill holes in the bottom for water drainage.
- Finish Up: Sand down any rough edges and apply paint or stain if desired.
Painting and Sealing for Outdoor Use
- Choose Outdoor Paint: Make sure it’s suitable for wood and weather-resistant.
- Apply a Sealant: This will help protect your planter from the elements.
Remember, a well-made planter box can last for years, so take your time and enjoy the process!
With these steps, you’ll have a lovely planter box ready for your favourite plants. Happy woodworking!
Creating a Wooden Coat Rack
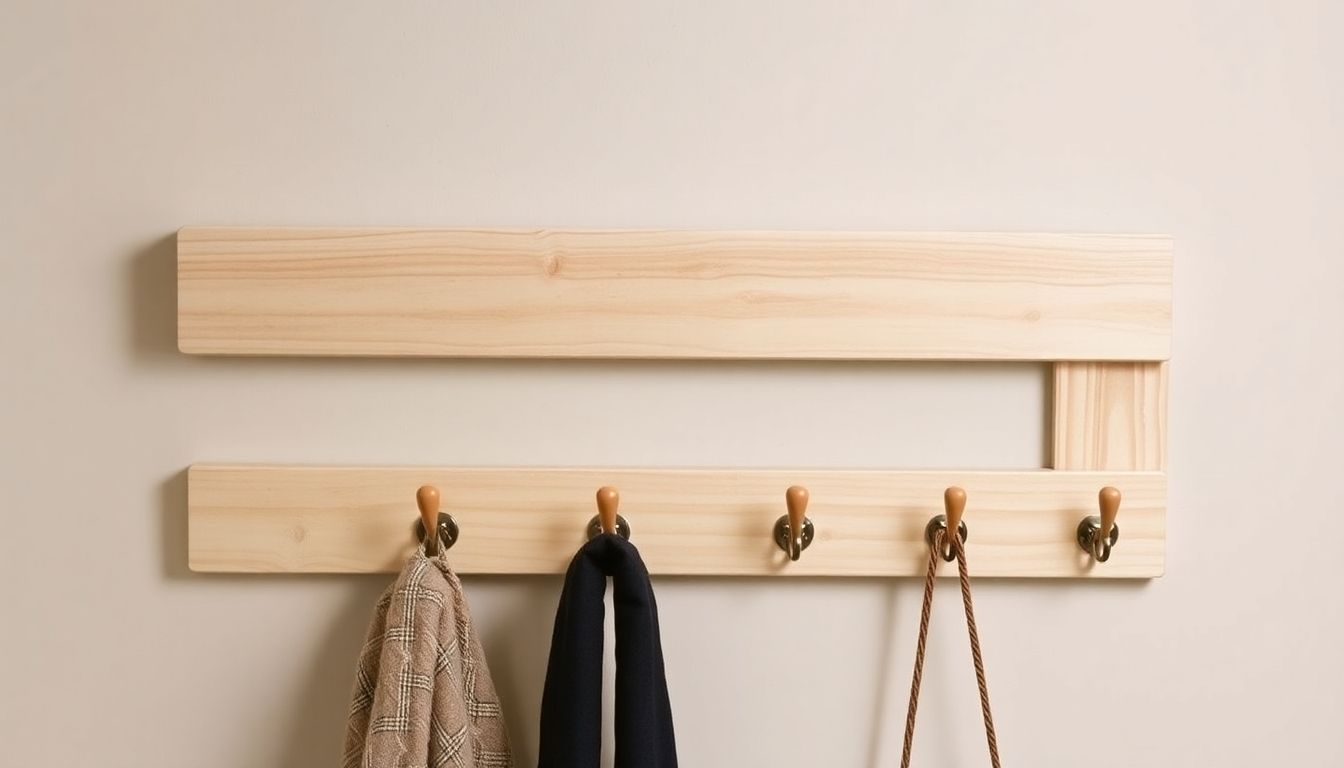
Design Ideas for Coat Racks
When it comes to coat racks, the options are endless! Here are a few ideas to get your creativity flowing:
- Wall-mounted racks: Perfect for saving space.
- Freestanding racks: Great for entryways.
- Combination racks: Include shelves or hooks for added functionality.
Tools and Materials List
Before you start, gather these essentials:
- Wood: Choose a sturdy type like pine or oak.
- Screws and nails: For assembly.
- Wood glue: To strengthen joints.
- Sandpaper: For a smooth finish.
- Paint or varnish: To protect and beautify your coat rack.
Assembly and Mounting Instructions
Follow these steps to create your coat rack:
- Cut the wood: Measure and cut your pieces to size.
- Assemble the frame: Use wood glue and screws to join the pieces.
- Sand the edges: Make sure everything is smooth to avoid splinters.
- Finish the wood: Apply paint or varnish for a polished look.
- Mount it securely: Use wall anchors if you’re hanging it on a wall.
Building your own coat rack is not just practical; it’s a fun way to add a personal touch to your home. Plus, it’s a great project to show off to friends!
Building a Simple Wooden Bench
Choosing the Right Design
When it comes to building a bench, the design is key. You can go for a classic look or something more modern. Here are a few ideas:
- Traditional garden bench
- Minimalist style
- Storage bench
Cutting and Assembling the Bench
Once you’ve picked your design, it’s time to get to work! Here’s a simple step-by-step guide:
- Gather your materials: You’ll need wood, screws, and wood glue.
- Measure and cut: Use a saw to cut your wood to the right lengths.
- Assemble: Start by attaching the legs to the seat, then add any backrest if needed.
Finishing and Weatherproofing
To make sure your bench lasts, you’ll want to finish it properly. Here’s how:
- Sand the surfaces: This helps to remove any rough edges.
- Apply a wood stain or paint: Choose a colour that fits your style.
- Seal it: Use a weatherproof sealant to protect it from the elements.
Building a bench can be a fun project that adds charm to your garden or home. Plus, it’s a great way to practise your carpentry skills!
Making a Wooden Toy Box
Designing a Safe Toy Box
Creating a toy box is a fun project that not only helps you organise toys but also adds a personal touch to your child’s room. Make sure to design it with safety in mind! Here are some key points to consider:
- No sharp edges: Round off corners to prevent injuries.
- Sturdy construction: Ensure it can hold up to rough play.
- Non-toxic finishes: Use safe paints or stains to protect your little ones.
Materials and Tools Required
Before you start, gather your materials and tools. Here’s a quick list:
- Materials:
- Tools:
Building and Finishing the Toy Box
Follow these steps to create your toy box:
- Measure and cut the wood: Cut pieces for the base, sides, and lid according to your design.
- Assemble the box: Use screws to attach the sides to the base, then add the lid.
- Sand the edges: Smooth out any rough spots to ensure safety.
- Paint or finish: Apply your chosen finish and let it dry completely.
- Add a safety hinge: This will prevent the lid from slamming down.
Remember, building a toy box is not just about storage; it’s about creating a safe space for your child to play and explore!
Crafting a Wooden Wine Rack
Creating a wooden wine rack is a fun project that can add a personal touch to your home. Plus, it’s a great way to show off your wine collection! Let’s dive into how you can make your very own wine rack.
Designing Your Wine Rack
- Think about how many bottles you want to store.
- Decide on the style: wall-mounted or freestanding.
- Sketch a simple design to guide you.
Tools and Materials Needed
| Tool/Material | Purpose |
|---|---|
| Wood (Pine or Oak) | Main structure |
| Wood Glue | Joining pieces together |
| Saw | Cutting wood to size |
| Drill | Making holes for screws |
| Sandpaper | Smoothing edges |
| Paint or Stain | Finishing touch |
Step-by-Step Assembly Guide
- Cut the wood to your desired lengths based on your design.
- Assemble the pieces using wood glue and screws for extra strength.
- Sand the edges to make sure everything is smooth and safe.
- Finish with paint or stain to protect the wood and enhance its look.
- Mount or place your wine rack in your chosen spot.
Remember, the best part of DIY is making it your own! Don’t be afraid to add personal touches or adjustments to your design.
Creating a Wooden Jewellery Box
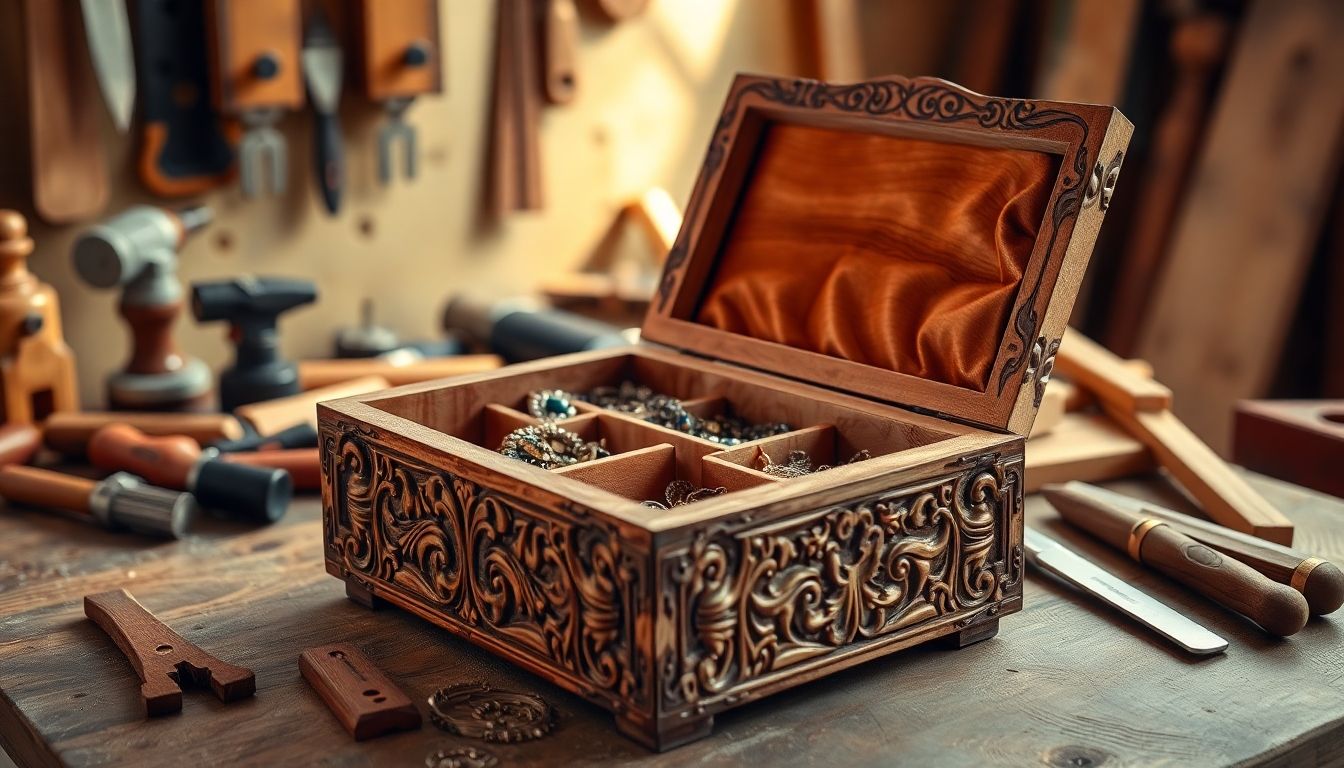
Choosing the Wood and Design
When it comes to making a jewellery box, the choice of wood can really make a difference. Here are some popular options:
- Pine: Affordable and easy to work with.
- Oak: Strong and durable, perfect for a long-lasting box.
- Mahogany: Beautiful grain and colour, but pricier.
Think about the design too! You can go for a simple rectangular box or something more intricate with curves and compartments.
Cutting and Assembling the Box
- Measure and Cut: Start by measuring your wood pieces. You’ll need a base, sides, and a lid. Use a saw to cut them accurately.
- Join the Pieces: Use wood glue and clamps to hold the pieces together. You can also use screws for extra strength.
- Check for Stability: Make sure everything is aligned and sturdy before moving on.
Adding Compartments and Finishing
- Create Compartments: Use smaller pieces of wood to divide the inside of your box. This helps keep your jewellery organised.
- Sand the Edges: Smooth out any rough edges with sandpaper to avoid splinters.
- Finish It Off: Apply a wood finish or varnish to protect the wood and give it a nice shine. You can also paint or stain it for a personal touch.
Making a jewellery box is not just about storage; it’s a way to express your creativity and style. Enjoy the process!
If you’re looking to craft a beautiful wooden jewellery box, now is the perfect time to start! Visit our website for step-by-step guides and tips that will help you create a stunning piece. Don’t miss out on the chance to make something special!
Wrapping It Up
So there you have it! If you’re in London and fancy giving carpentry a go, there are loads of fun projects waiting for you. Whether you’re making a simple shelf or trying your hand at a fancy dovetail box, these beginner-friendly classes will set you on the right path. Plus, you’ll get to meet other DIY fans and learn from skilled tutors who are there to help you every step of the way. So grab your tools, unleash your creativity, and who knows? You might just discover a new hobby or even a future career in woodworking!
Frequently Asked Questions
What tools do I need to start woodworking?
To begin woodworking, you’ll need some basic tools like a saw, hammer, chisel, and measuring tape. As you progress, you might want to invest in more advanced equipment.
Is woodworking safe for beginners?
Yes, woodworking can be safe for beginners if you follow safety guidelines, wear protective gear, and use tools correctly.
What type of wood is best for beginners?
Softwoods like pine or cedar are great for beginners since they are easier to cut and shape compared to hardwoods.
Can I learn woodworking without any experience?
Absolutely! Many workshops cater to beginners and provide step-by-step guidance to help you learn.
How long does it take to complete a woodworking project?
The time it takes to finish a woodworking project varies. Simple projects like shelves may take a few hours, while more complex items can take days or weeks.
Do I need to take a class to learn woodworking?
While taking a class can be very helpful, you can also learn through online tutorials, books, or by practising on your own.
What are some easy projects for beginners?
Some easy projects include making a wooden shelf, birdhouse, or picture frame. These projects help you learn basic skills.
Where can I find woodworking classes in London?
You can find woodworking classes in various community centres, studios, and specialised schools throughout London.