If you’re a homeowner in London looking to dip your toes into carpentry, there are plenty of beginner-friendly projects to get you started. These projects not only enhance your living space but also give you a sense of achievement. Whether you’re crafting a bookshelf or a picture frame, these tasks are manageable and rewarding. Let’s explore some simple carpentry ideas that will help you develop your skills while adding a personal touch to your home.
Key Takeaways
- Start with simple projects like bookshelves or picture frames to build confidence.
- Gather essential tools before beginning any project to ensure a smooth process.
- Choose the right type of wood for your projects to enhance durability and appearance.
- Follow step-by-step instructions carefully for best results.
- Enjoy the process and take pride in creating something unique for your home.
Building Your First Bookshelf
Creating your very own bookshelf is a fantastic way to dive into carpentry. Not only will it help you organise your books, but it also adds a personal touch to your home. Let’s get started!
Choosing the Right Wood
When picking wood for your bookshelf, consider these options:
- Pine: Affordable and easy to work with.
- Oak: Durable and looks great, but pricier.
- Plywood: Good for a budget-friendly option.
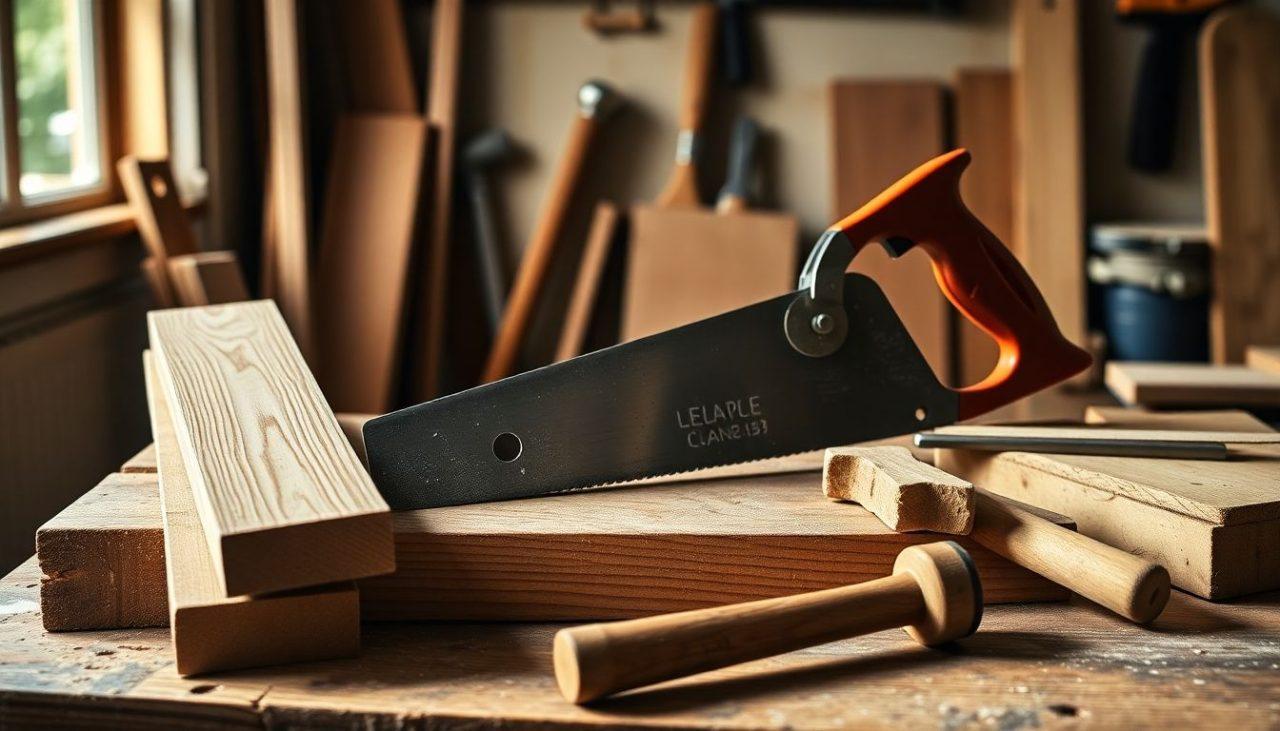
Basic Tools You’ll Need
Before you start, gather these essential tools:
- Saw: For cutting the wood.
- Drill: To make holes for screws.
- Screwdriver: For assembling the pieces.
- Measuring tape: To ensure everything fits.
- Sandpaper: To smooth out rough edges.
Step-by-Step Guide to Assembly
Follow these steps to build your bookshelf:
- Measure and cut your wood to the desired size.
- Assemble the frame using screws and a drill.
- Add shelves at your preferred heights.
- Sand down any rough edges for a smooth finish.
- Finish with paint or varnish if desired.
Building your first bookshelf is not just about the end product; it’s about enjoying the process and learning new skills!
Creating Custom Picture Frames
Materials and Tools Required
To get started on your custom picture frame, you’ll need a few basic materials and tools. Here’s a quick list:
- Wood: Choose a type that suits your style, like pine or oak.
- Glass: For the front of the frame.
- Backing Board: To hold your picture in place.
- Adhesive: Wood glue works well.
- Tools: A saw, measuring tape, and a hammer.
Measuring and Cutting the Wood
- Measure your picture: Get the dimensions right.
- Cut the wood: Use a saw to cut the pieces to size. Remember, you’ll need four pieces for the frame.
- Sand the edges: Smooth out any rough edges to avoid splinters.
Assembling and Finishing Touches
- Join the corners: Use wood glue to attach the corners together. You can also use nails for extra strength.
- Insert the glass and backing: Once the frame is dry, place the glass and backing board in.
- Add a hook: If you want to hang it, attach a hook to the back.
Creating your own picture frame is a fun way to showcase your memories! It’s a simple project that lets you express your creativity while learning some basic woodworking skills.
By following these steps, you’ll have a beautiful custom frame in no time!
Constructing a Simple Coffee Table
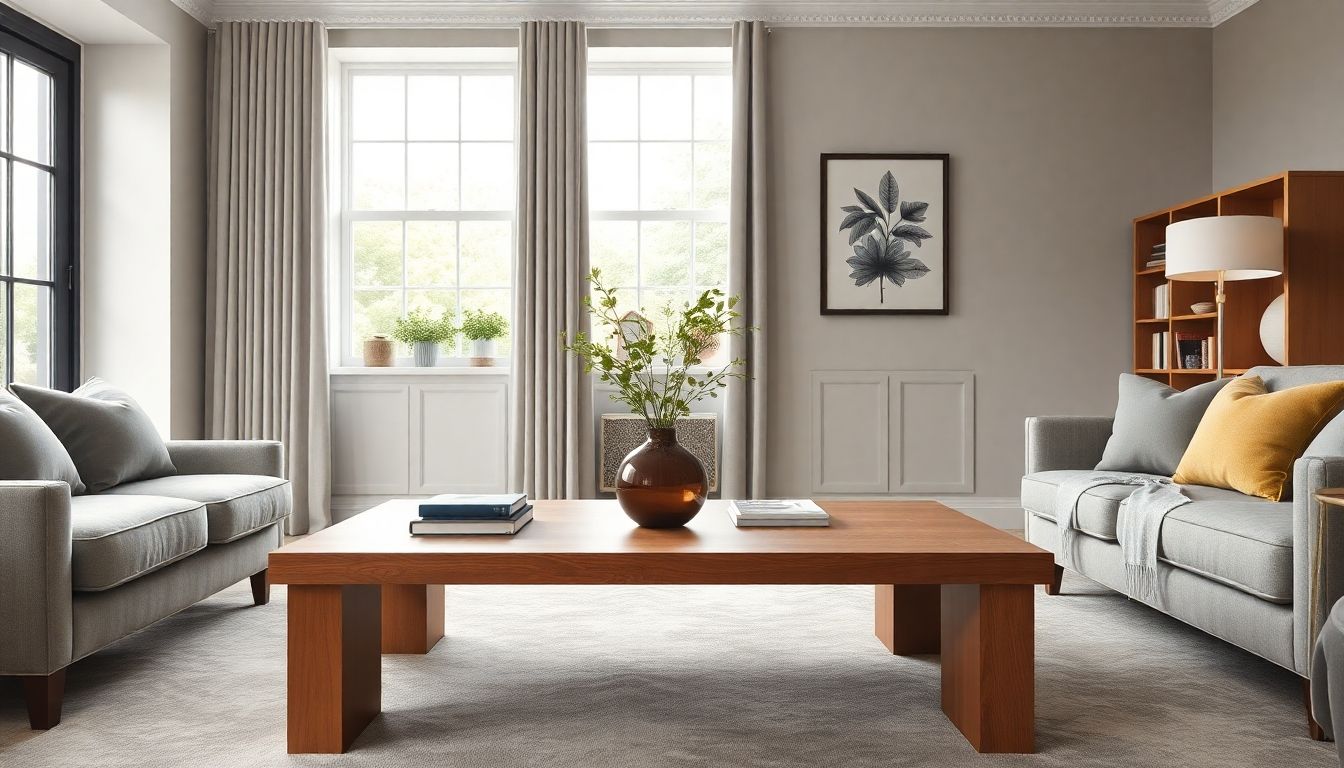
Building your own coffee table can be a fun and rewarding project. Plus, it’s a great way to add a personal touch to your living room. Let’s dive into the basics!
Selecting the Perfect Wood
When choosing wood for your coffee table, consider the following options:
- Pine: Affordable and easy to work with.
- Oak: Durable and has a beautiful grain.
- Plywood: Great for a budget-friendly option.
Essential Tools for the Job
Here’s a quick list of tools you’ll need:
- Saw: For cutting the wood to size.
- Drill: To make holes for screws.
- Screwdriver: For assembling the pieces.
- Sandpaper: To smooth out rough edges.
Detailed Construction Steps
Follow these steps to build your coffee table:
- Measure and Cut: Start by measuring your space and cutting the wood to the desired size.
- Assemble the Frame: Use screws to attach the legs to the tabletop.
- Sand and Finish: Smooth the surfaces and apply a finish to protect the wood.
Building your own furniture not only saves money but also gives you a sense of accomplishment. Plus, you can customise it to fit your style!
Now you’re ready to create a stunning coffee table that will impress your guests!
Making a Wooden Planter Box
Creating a wooden planter box is a fantastic project for beginners. Not only does it add charm to your garden, but it’s also a great way to get your hands dirty and learn some basic carpentry skills. Let’s dive into the essentials!
Types of Wood to Use
When choosing wood for your planter box, consider the following options:
- Cedar: Naturally resistant to rot and insects.
- Redwood: Durable and has a beautiful finish.
- Pine: Affordable but may need treatment to resist decay.
Tools and Materials Checklist
Before you start, gather these tools and materials:
- Tools:
- Saw (hand saw or power saw)
- Drill
- Screwdriver
- Sandpaper
- Materials:
- Wood planks (your choice)
- Wood screws
- Wood glue (optional)
- Outdoor wood finish (for protection)
Step-by-Step Building Instructions
- Measure and Cut: Decide on the size of your planter box and cut the wood accordingly.
- Assemble the Sides: Use screws to attach the sides together, forming a rectangular shape.
- Add the Base: Cut a piece of wood for the bottom and secure it to the sides.
- Sand and Finish: Smooth out any rough edges with sandpaper and apply a protective finish.
- Plant Away: Fill it with soil and your favourite plants!
Building a planter box is not just about the end product; it’s about enjoying the process and learning along the way. Don’t rush it!
Now you’re ready to create your very own wooden planter box. Happy building!
Crafting a Wooden Headboard
Choosing Your Wood and Design
When it comes to making a wooden headboard, the choice of wood can really make a difference. Here are some popular options:
- Pine: Affordable and easy to work with.
- Oak: Strong and durable, perfect for a classic look.
- Plywood: Great for a modern design and budget-friendly.
Tools and Supplies Needed
Before you start, gather these essential tools:
- Saw: For cutting your wood to size.
- Drill: To make holes for screws.
- Sandpaper: To smooth out rough edges.
- Wood Glue: For extra strength in joints.
Assembly and Installation Tips
Follow these steps for a successful build:
- Measure your bed: Ensure the headboard fits perfectly.
- Cut the wood: Use your saw to get the right dimensions.
- Assemble: Use wood glue and screws to put it all together.
- Finish: Sand it down and apply a wood finish for protection.
Building your own headboard not only saves money but also adds a personal touch to your bedroom. Plus, it’s a great way to learn some basic carpentry skills!
Designing and Building Floating Shelves
Floating shelves are a fantastic way to add style and storage to your home without taking up too much space. They can really transform a room! Here’s how to get started:
Wood Selection and Preparation
- Choose the Right Wood: Opt for sturdy woods like pine, oak, or plywood. These are strong and easy to work with.
- Measure Your Space: Before buying wood, measure the area where you want to install the shelves. This ensures a perfect fit.
- Prepare the Wood: Sand the wood to make it smooth and ready for finishing. This step is crucial for a professional look.
Tools and Hardware Needed
| Tool/Hardware | Purpose |
|---|---|
| Drill | For making holes in the wall |
| Level | To ensure your shelves are straight |
| Brackets | To support the shelves |
| Sandpaper | For smoothing the wood |
| Wood Glue | For extra stability |
Installation Guide
- Mark the Wall: Use a pencil to mark where the brackets will go. Make sure they are level!
- Drill Holes: Carefully drill holes into the wall at your marked spots.
- Attach Brackets: Secure the brackets to the wall using screws. Make sure they are tight and stable.
- Place the Shelves: Finally, place your shelves on the brackets and check that everything is level.
Floating shelves are not just practical; they can also showcase your favourite books and decor, making your space feel more personal.
Now you’re ready to enjoy your new floating shelves! Happy building!
Creating a Wooden Bench for Your Garden
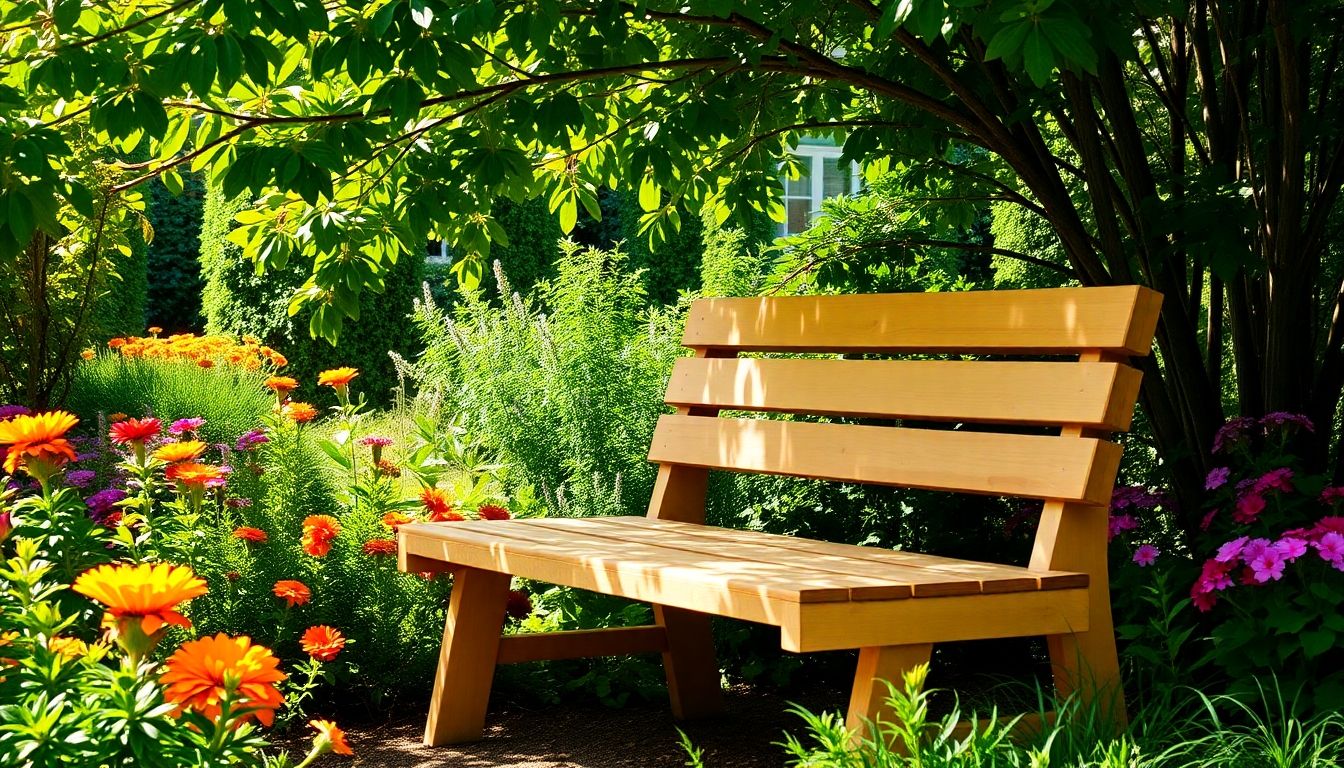
Building a wooden bench for your garden is a fantastic way to add a personal touch to your outdoor space. It’s not just functional; it can also be a beautiful addition to your garden. Here’s how to get started!
Selecting Durable Wood
When choosing wood for your bench, consider the following options:
- Teak: Great for outdoor use, resistant to water and insects.
- Cedar: Naturally resistant to decay and has a lovely scent.
- Pine: Affordable and easy to work with, but treat it for outdoor use.
Tools and Materials List
Here’s what you’ll need:
| Tool/Material | Purpose |
|---|---|
| Saw | Cutting the wood |
| Drill | Making holes for screws |
| Sandpaper | Smoothing edges |
| Wood screws | Assembling the bench |
| Wood finish | Protecting the wood |
Step-by-Step Construction Guide
- Measure and Cut: Start by measuring the space where you want the bench. Cut your wood to size.
- Assemble the Frame: Use screws to attach the pieces together, forming the base of the bench.
- Add the Seat: Secure the seat planks on top of the frame.
- Sand and Finish: Smooth out any rough edges and apply a wood finish to protect it from the elements.
Building your own bench can be a rewarding experience. Not only do you get a place to sit, but you also create something unique for your garden!
Now you’re ready to enjoy your new garden bench! Happy woodworking!
Building a Simple Wooden Desk
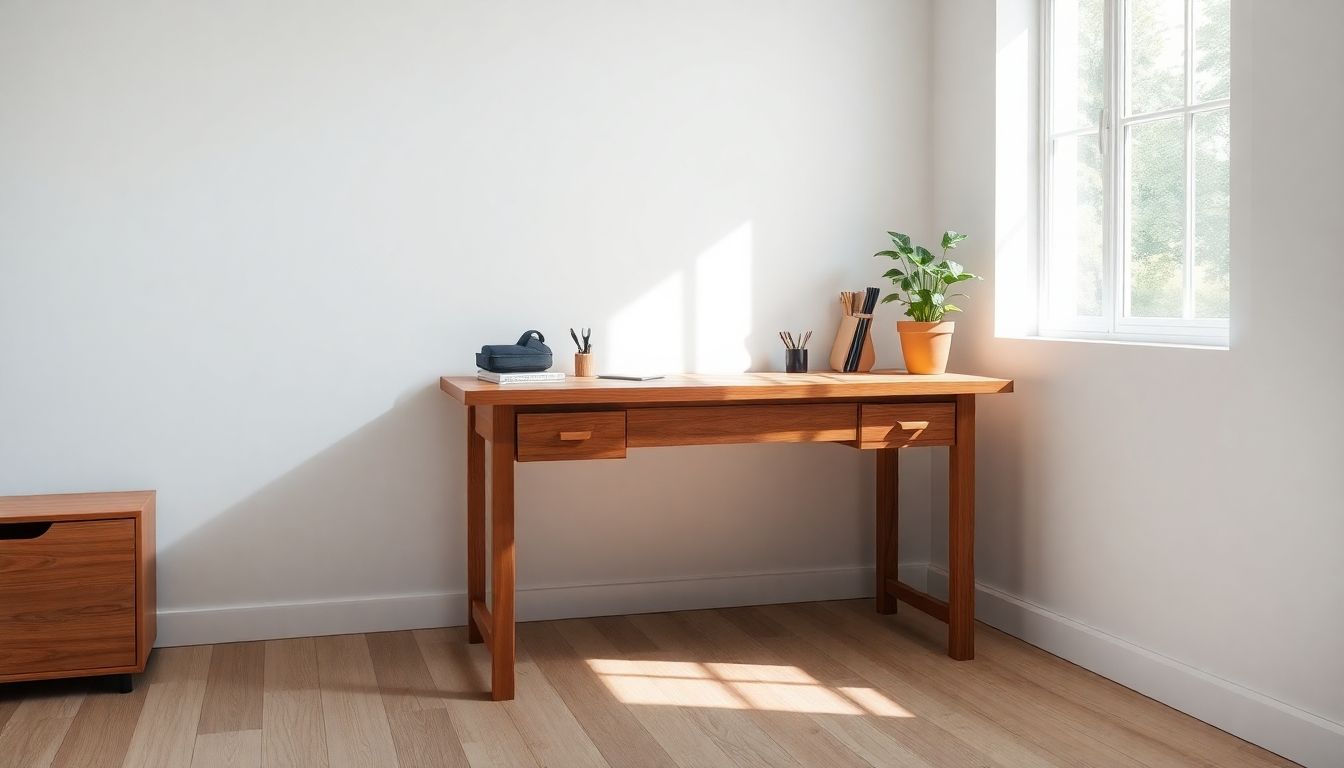
Creating your own desk can be a fun and rewarding project. Not only will you have a unique piece of furniture, but you’ll also gain some handy skills along the way. Let’s dive into how you can build a simple wooden desk that fits perfectly in your space!
Choosing the Right Wood
When selecting wood for your desk, consider the following options:
- Pine: Affordable and easy to work with.
- Oak: Durable and has a beautiful grain.
- Plywood: Great for a budget-friendly option.
Tools and Materials Required
Here’s a quick list of what you’ll need:
- Tools:
- Saw (hand saw or circular saw)
- Drill
- Sandpaper
- Screwdriver
- Materials:
- Wood planks (for the top and legs)
- Screws
- Wood glue
Assembly Instructions
Follow these steps to put your desk together:
- Cut the wood to your desired dimensions for the top and legs.
- Sand the edges to avoid splinters.
- Attach the legs to the underside of the desk top using screws and wood glue.
- Let it dry for a few hours before using.
Building your own desk not only saves money but also allows you to customise it to your liking. Plus, it’s a great way to learn some basic carpentry skills!
Now you’re ready to get started on your desk! Happy woodworking!
Making a Wooden Shoe Rack
Creating a wooden shoe rack is a fantastic project for beginners. Not only does it help you organise your shoes, but it also adds a personal touch to your home. Let’s dive into how you can make your very own!
Selecting the Best Wood
When choosing wood for your shoe rack, consider the following options:
- Pine: Affordable and easy to work with.
- Oak: Durable and looks great, but a bit pricier.
- Plywood: Good for a budget-friendly option.
Tools and Supplies Needed
Here’s a quick list of what you’ll need:
- Saw (hand saw or power saw)
- Drill
- Screws
- Sandpaper
- Wood glue
- Measuring tape
Step-by-Step Guide
- Measure your space: Decide where you want to place the shoe rack and measure the area.
- Cut the wood: Based on your measurements, cut the wood to size.
- Assemble the pieces: Use wood glue and screws to put the pieces together.
- Sand the edges: Make sure to sand down any rough edges for a smooth finish.
- Finish it off: You can paint or stain your shoe rack to match your decor.
Making your own shoe rack not only saves money but also gives you a sense of accomplishment. Plus, it’s a great way to learn basic carpentry skills!
Now you’re ready to tackle this project and enjoy a tidy space for your shoes!
Constructing a Wooden Wine Rack
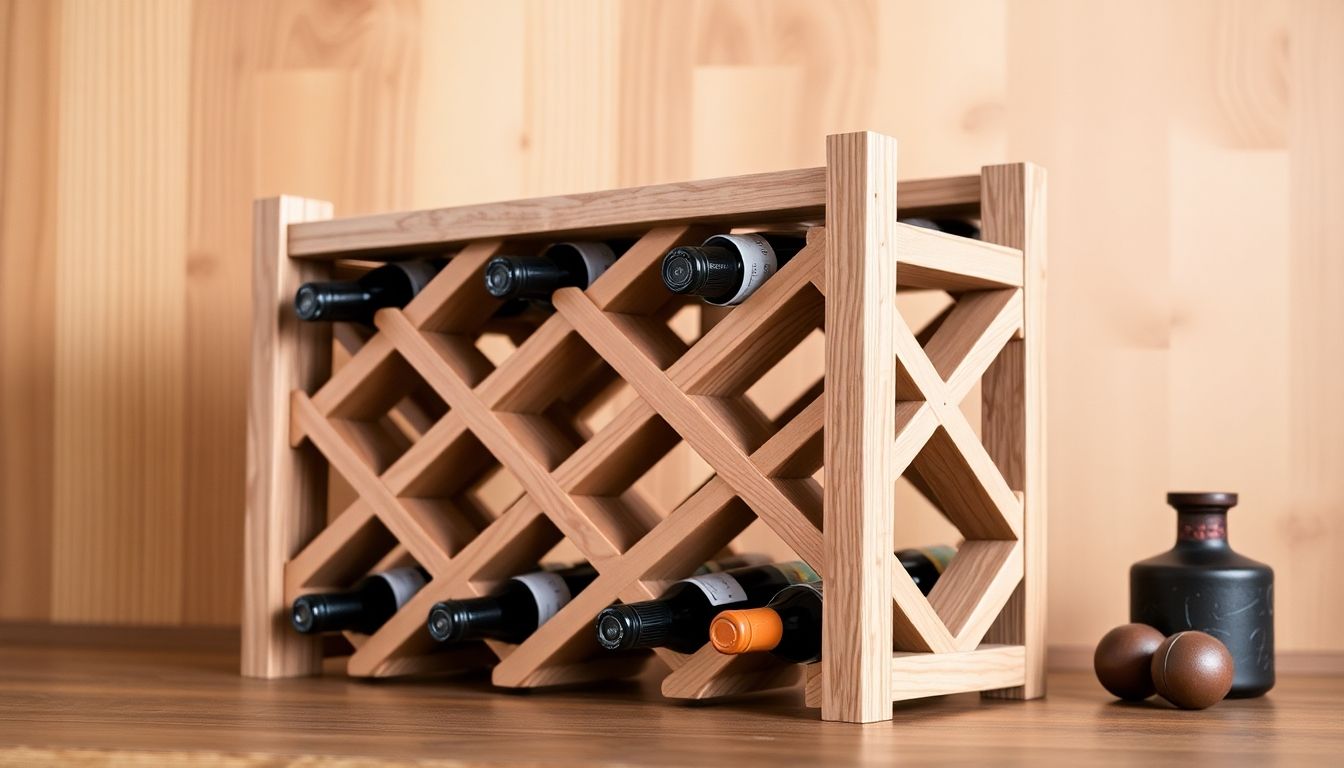
Building a wooden wine rack is a fun and practical project for any homeowner. Not only does it help you organise your wine collection, but it also adds a touch of style to your home. Here’s how to get started:
Choosing the Right Wood
- Pine: Affordable and easy to work with.
- Oak: Durable and has a beautiful grain.
- Cedar: Naturally resistant to moisture and pests.
Tools and Materials Checklist
| Tool/Material | Purpose |
|---|---|
| Saw | Cutting the wood |
| Drill | Making holes for screws |
| Sandpaper | Smoothing the edges |
| Wood glue | Joining pieces together |
| Screws | Securing the structure |
Detailed Assembly Instructions
- Measure and Cut: Start by measuring the space where you want to place the rack. Cut the wood to the desired lengths.
- Assemble the Frame: Use wood glue and screws to attach the pieces together, forming the frame of the rack.
- Add Shelves: Decide how many shelves you want and attach them securely.
- Finish Up: Sand down any rough edges and apply a finish if desired.
Building your own wine rack not only saves money but also gives you a sense of accomplishment. Plus, you can customise it to fit your style!
Creating a Wooden Wall Art Piece
Creating a wooden wall art piece is a fun way to add a personal touch to your home. It’s easier than you might think! Here’s how to get started:
Selecting Your Wood and Design
- Choose the type of wood: Popular options include pine, oak, or plywood.
- Decide on a design: Think about shapes, patterns, or even quotes you want to include.
- Sketch it out: A simple drawing can help you visualise the final piece.
Tools and Materials Needed
Here’s a quick list of what you’ll need:
- Wood (your choice)
- Saw (hand saw or jigsaw)
- Sandpaper (medium and fine grit)
- Wood glue or screws
- Paint or wood stain (optional)
- Brushes or rags for finishing
Step-by-Step Creation Guide
- Cut the wood: Use your saw to cut the wood according to your design.
- Sand the edges: Smooth out any rough edges with sandpaper.
- Assemble the pieces: Use wood glue or screws to put everything together.
- Finish it off: Paint or stain your piece to give it a polished look.
- Hang it up: Use nails or hooks to display your art on the wall.
Making your own wall art is not just about decoration; it’s a way to express yourself and make your space feel more like home.
If you’re looking to add a unique touch to your home, creating a wooden wall art piece is a fantastic project to consider. Not only does it allow you to express your creativity, but it also enhances your living space. For more tips and ideas, visit our website and discover how we can help you bring your vision to life!
Wrapping It Up
So there you have it! Carpentry can be a fun and rewarding hobby, especially for those living in London. Whether you’re crafting a simple shelf or a fancy picture frame, each project is a chance to learn and create something special for your home. Don’t be afraid to dive in and get your hands a bit dirty. Remember, every expert was once a beginner, so take your time, enjoy the process, and soon enough, you’ll be impressing your friends with your handy skills. Happy building!
Frequently Asked Questions
What basic tools do I need to start woodworking?
To begin with woodworking, you’ll need a few essential tools like a saw, hammer, and measuring tape. A drill and some sandpaper are also helpful for finishing touches.
How do I choose the right wood for my project?
When selecting wood, consider the type of project you’re doing. Softwoods like pine are great for beginners, while hardwoods like oak are stronger but can be harder to work with.
Can I build furniture without prior experience?
Yes, many beginner projects are designed for those with no experience. Start with simple designs to build your confidence.
What safety precautions should I take while woodworking?
Always wear safety goggles to protect your eyes and use gloves to prevent splinters. Make sure to work in a clean, well-lit area.
How long does it take to complete a beginner project?
The time can vary, but simple projects like a bookshelf or picture frame can usually be completed in a few hours to a weekend.
Where can I find woodworking classes in London?
There are many places in London offering woodworking classes for beginners. Check local community centres or specialised workshops.
What should I do if I make a mistake while building?
Mistakes are part of learning. Assess what went wrong, and don’t hesitate to ask for help or look for online tutorials to fix it.
Is it expensive to start woodworking?
Starting woodworking can be done on a budget. You can buy basic tools gradually and use affordable materials for your first projects.