Carpentry is a rewarding and creative hobby that allows you to make custom furniture for your home. Whether you’re a complete beginner or have some experience, there are many simple projects you can tackle. This guide will help you get started with various beginner carpentry projects in London, providing you with the skills and confidence to create beautiful pieces of furniture.
Key Takeaways
- Start with basic tools like saws, hammers, and drills to build your skills.
- Look for local workshops in London to learn from experienced carpenters.
- Safety is crucial; always wear protective gear and follow safety guidelines.
- Choose simple projects like shelves and picture frames to build confidence.
- Join a community of carpenters in London for support and inspiration.
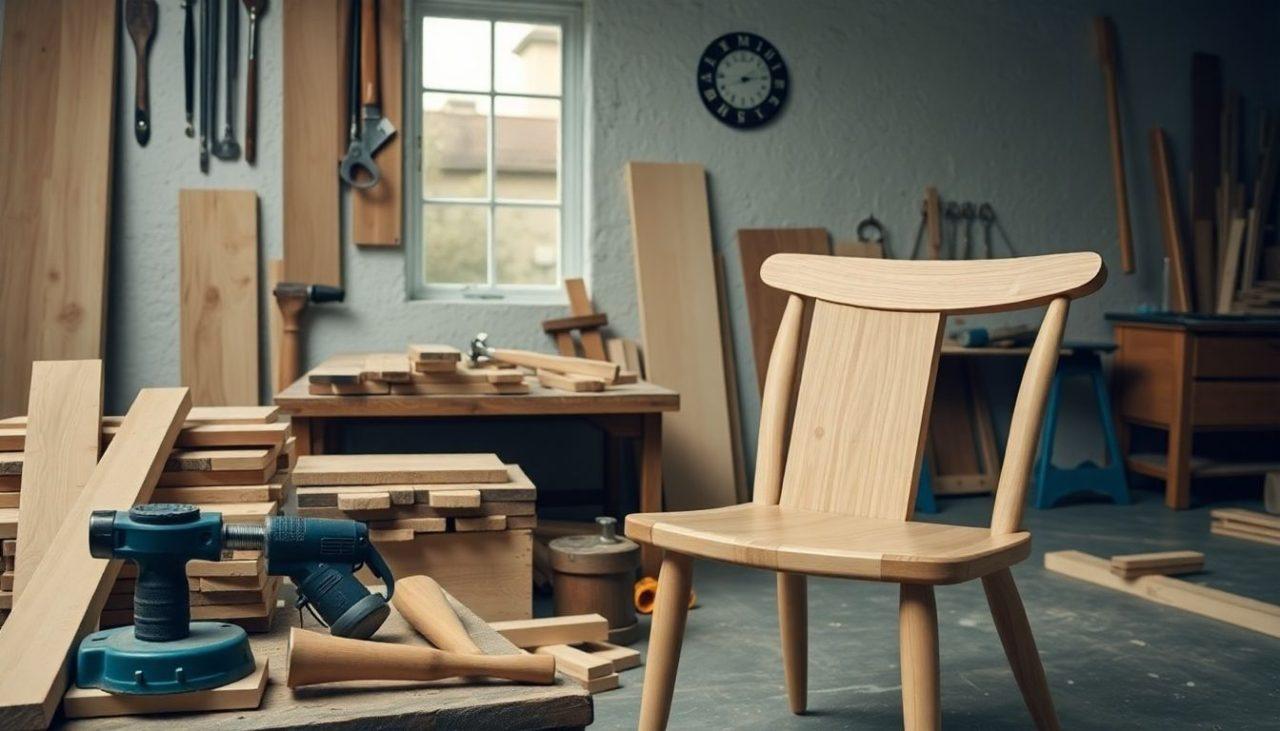
Getting Started with Carpentry in London
Essential Tools for Beginners
Getting into carpentry is exciting, and having the right tools makes all the difference. Here’s a quick list of essential tools you’ll need:
- Tape Measure: For accurate measurements.
- Saw: A hand saw or power saw for cutting wood.
- Hammer: For driving nails and assembling pieces.
- Screwdriver: To tighten screws.
- Level: To ensure your projects are straight.
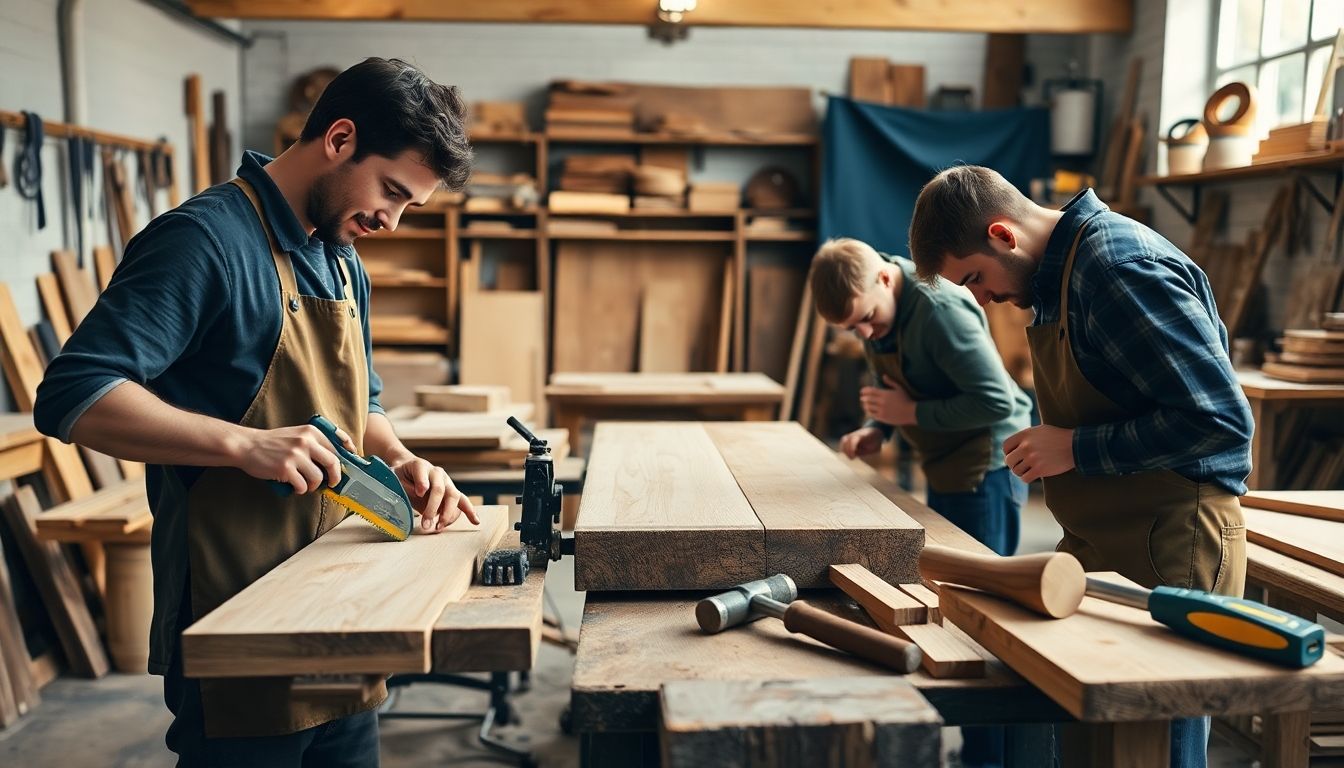
Finding Local Workshops
If you’re looking to learn more, local workshops are a great way to get hands-on experience. Here are some tips to find one:
- Search Online: Look for carpentry classes in your area.
- Community Centres: Check if they offer woodworking courses.
- Ask Around: Friends or family might know of good places.
Basic Safety Tips
Safety is key when working with tools. Here are some basic tips to keep in mind:
- Always wear safety goggles to protect your eyes.
- Use gloves to avoid splinters and cuts.
- Keep your workspace tidy to prevent accidents.
Remember, starting with the right tools and knowledge can make your carpentry journey enjoyable and safe!
Simple Shelving Units

Creating your own shelving units can be a fun and rewarding project. Not only do they help you organise your space, but they also add a personal touch to your home. Here’s how to get started!
Materials Needed
- Wood (choose your favourite type, like pine or oak)
- Screws and brackets
- Sandpaper (for smoothing edges)
- Paint or stain (optional for finishing)
Step-by-Step Guide
- Measure your space: Decide where you want to place your shelves and measure the area.
- Cut the wood: Use a saw to cut your wood to the desired lengths.
- Sand the edges: Smooth out any rough edges with sandpaper.
- Attach brackets: Secure brackets to the wall, ensuring they are level.
- Place the shelves: Set your cut wood onto the brackets and secure them with screws.
Finishing Touches
- Paint or stain your shelves to match your decor.
- Consider adding decorative items like books or plants to make your shelves pop!
Remember, building your own shelves not only saves money but also allows you to create something that fits your style perfectly. Plus, it’s a great way to learn some basic carpentry skills!
Building Your First Coffee Table
Choosing the Right Wood
When it comes to making your first coffee table, selecting the right wood is crucial. Here are some popular options:
- Pine: Affordable and easy to work with.
- Oak: Durable and has a beautiful grain.
- Plywood: Great for a budget-friendly option.
Cutting and Assembly
Once you’ve got your wood, it’s time to cut and assemble. Follow these steps:
- Measure your desired dimensions carefully.
- Cut the wood pieces using a saw.
- Assemble the pieces using wood glue and screws for stability.
Staining and Sealing
To give your coffee table a polished look, you’ll want to stain and seal it. Here’s how:
- Choose a stain that matches your decor.
- Apply the stain with a brush or cloth.
- Seal it with a clear coat to protect the wood.
Remember, building furniture is not just about the end product; it’s about enjoying the process and learning along the way!
Creating Custom Picture Frames
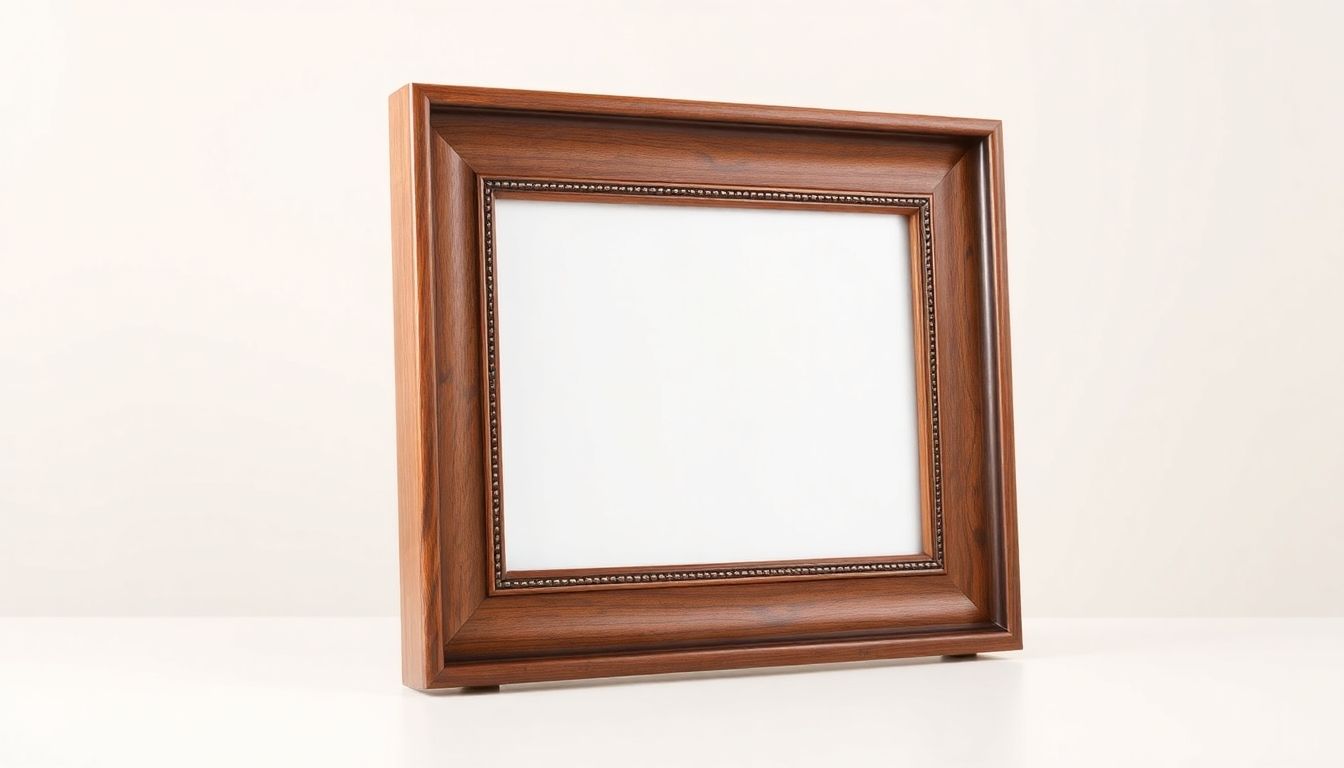
Measuring and Cutting
Creating your own picture frames is a fun way to showcase your favourite memories. Start by measuring the size of the picture you want to frame. Here’s a quick guide to help you:
- Measure the picture: Use a ruler to get the exact dimensions.
- Add extra for the frame: Decide how wide you want the frame to be and add that to your measurements.
- Cut the wood: Use a saw to cut your wood pieces according to the measurements.
Joining Techniques
Now that you have your pieces cut, it’s time to join them together. Here are some methods you can use:
- Mitre joints: Cut the ends of the wood at a 45-degree angle for a neat corner.
- Butt joints: Simply join the ends of the wood together at a right angle.
- Dowel joints: Use wooden dowels to connect the pieces for added strength.
Decorative Options
Finally, let’s make your frame look great! Here are some ideas:
- Paint it: Choose a colour that matches your decor.
- Stain it: Enhance the wood grain with a nice stain.
- Add embellishments: Consider adding decorative elements like beads or carvings.
Creating your own picture frames is a fantastic way to express your creativity! You can make them as simple or as fancy as you like, and they’ll always be unique to you.
With these steps, you’ll be well on your way to making beautiful custom picture frames that will impress your friends and family!
DIY Wooden Planters
Creating your own wooden planters is a fantastic way to add some greenery to your space while flexing your carpentry skills. These planters can be tailored to fit any style or size you need! Here’s how to get started:
Materials Needed
- Wood: Choose rot-resistant types like cedar or redwood.
- Screws: Galvanised screws are best for outdoor use.
- Wood Glue: For extra strength.
- Sandpaper: To smooth out rough edges.
- Paint or Stain: Optional, for finishing touches.
Construction Tips
- Measure and Cut: Decide on the size of your planter and cut the wood accordingly. A simple rectangular shape works well.
- Assemble the Sides: Use wood glue and screws to attach the sides together. Make sure it’s sturdy!
- Add a Base: Cut a piece of wood for the bottom to hold the soil. Drill holes for drainage.
- Finish Up: Sand down any rough edges and apply paint or stain if desired.
Painting and Sealing
- Choose a Weatherproof Sealant: This will protect your planter from the elements.
- Apply Evenly: Use a brush or spray to cover all surfaces.
- Let it Dry: Follow the instructions on the sealant for drying times.
Remember, building your own planters not only saves money but also gives you a sense of accomplishment. Plus, you can customise them to fit your home perfectly!
Crafting a Wooden Bench
Design Ideas
When it comes to crafting a wooden bench, the design is key. Here are some ideas to inspire you:
- Garden Bench: Perfect for outdoor relaxation.
- Storage Bench: A great way to keep things tidy while providing seating.
- Simple Picnic Bench: Ideal for family gatherings.
Building Process
Building your bench can be a fun project! Here’s a simple step-by-step guide:
- Choose Your Wood: Opt for durable types like oak or cedar.
- Measure and Cut: Make sure to measure twice and cut once to avoid mistakes.
- Assemble: Use screws or wood glue for a sturdy finish.
- Sand: Smooth out any rough edges for comfort.
Adding Cushions
To make your bench more comfortable, consider adding cushions. Here are some tips:
- Choose Weather-Resistant Fabric: This will help your cushions last longer outdoors.
- Use Velcro Strips: This keeps cushions in place.
- Mix and Match: Don’t be afraid to play with colours and patterns!
Crafting a wooden bench is not just about the end product; it’s about enjoying the process and creating something unique for your space. Get creative and have fun!
Making a Simple Bookshelf
Planning Your Design
Creating a bookshelf is a fantastic way to start your carpentry journey. It’s simple yet rewarding! Here’s how to get going:
- Decide on the size: Think about where you want to place it and how many books you want to store.
- Choose a style: Do you want it to be tall and narrow or short and wide?
- Sketch your design: A quick drawing can help you visualise your project.
Cutting and Sanding
Once you have your design, it’s time to gather your materials. Here’s what you’ll need:
- Plywood or MDF (medium-density fibreboard)
- Wood screws
- Wood glue
- Sandpaper
Cutting your wood:
- Measure twice, cut once! This saying is key in carpentry.
- Use a saw to cut your pieces according to your design.
After cutting, sand the edges to make them smooth. This step is important to avoid splinters.
Assembly Instructions
Now, let’s put it all together:
- Lay out your pieces: Arrange them as per your design.
- Join the pieces: Use wood glue and screws to secure the shelves to the sides.
- Check for stability: Make sure everything is tight and sturdy.
Building a bookshelf is not just about storage; it’s about creating a piece that reflects your style and needs.
Finishing Touches
Finally, it’s time to make it look great:
- Paint or stain: Choose a colour that matches your room.
- Add decorative elements: Consider adding trim or moulding for a polished look.
- Seal it: A clear coat can protect your finish and make it last longer.
With these steps, you’ll have a lovely bookshelf that’s perfect for your space! Remember, woodworking for beginners is all about enjoying the process and learning as you go.
Constructing a Wooden Headboard
Design Inspiration
Creating a wooden headboard can really add character to your bedroom. You can choose from various styles, like rustic, modern, or even a classic look. Here are some ideas to get you started:
- Rustic: Use reclaimed wood for a warm, vintage feel.
- Modern: Go for sleek lines and a minimalist design.
- Upholstered: Add fabric for a soft touch.
Building Steps
Once you’ve settled on a design, it’s time to get building! Here’s a simple step-by-step guide:
- Measure your bed: Ensure the headboard fits perfectly behind your bed.
- Cut the wood: Use a saw to cut your wood to the desired size.
- Assemble the pieces: Use screws or wood glue to put everything together.
- Sand the edges: Make sure everything is smooth to avoid splinters.
- Finish it off: Paint or stain your headboard to match your room.
Mounting the Headboard
Now that your headboard is ready, it’s time to attach it:
- Wall-mounted: Use brackets to secure it to the wall.
- Bed frame: Attach it directly to your bed frame for stability.
- Freestanding: If you prefer, you can leave it standing on its own.
Building your own headboard is not just a fun project; it’s a great way to personalise your space and show off your style!
Designing Custom Furniture for Small Spaces
When it comes to making the most of a small area, custom furniture can be a game changer. It allows you to create pieces that fit perfectly in your space while reflecting your style. Here are some ideas to get you started:
Space-Saving Ideas
- Foldable Tables: Great for dining or working, these can be tucked away when not in use.
- Wall-Mounted Shelves: Perfect for displaying books or decor without taking up floor space.
- Under-Bed Storage: Use the space under your bed for drawers or boxes to keep things tidy.
Multi-Functional Furniture
- Sofa Beds: Ideal for guests, they can transform your living room into a bedroom.
- Storage Ottomans: These can serve as seating and storage for blankets or games.
- Nesting Tables: They can be separated for use or stacked together to save space.
Compact Storage Solutions
- Built-In Cabinets: Custom cabinets can fit into awkward spaces and provide ample storage.
- Corner Shelves: Make use of corners that often go unused.
- Vertical Storage: Think tall bookshelves or cabinets to draw the eye upwards and save floor space.
Custom furniture not only maximises your space but also adds a personal touch to your home. Get creative and think outside the box!
Exploring Advanced Carpentry Techniques
When you’re ready to take your carpentry skills up a notch, diving into advanced techniques can be a game changer. Mastering these methods will not only enhance your projects but also boost your confidence as a woodworker. Here are some key techniques to explore:
Dovetail Joints
- What are they? Dovetail joints are a strong way to join two pieces of wood, often used in drawers and cabinets.
- Why use them? They provide excellent strength and a beautiful finish.
- How to make them: You’ll need a saw, chisel, and some patience!
Mortise and Tenon
- Definition: This is a classic joint where a ‘tenon’ fits into a ‘mortise’ hole.
- Benefits: It’s incredibly strong and perfect for frames and tables.
- Tools needed: Chisels, a drill, and a saw.
Using a Router
- What is it? A router is a power tool that shapes edges and cuts grooves.
- Applications: Great for decorative edges and hollowing out areas in wood.
- Safety tip: Always use the router with both hands and wear safety goggles.
Advanced techniques can seem tricky at first, but with practise, you’ll find them rewarding and fun! Don’t hesitate to experiment and make mistakes; that’s how you learn.
By exploring these advanced carpentry techniques, you’ll be well on your way to creating stunning custom furniture that showcases your skills and creativity!
Upcycling Old Furniture
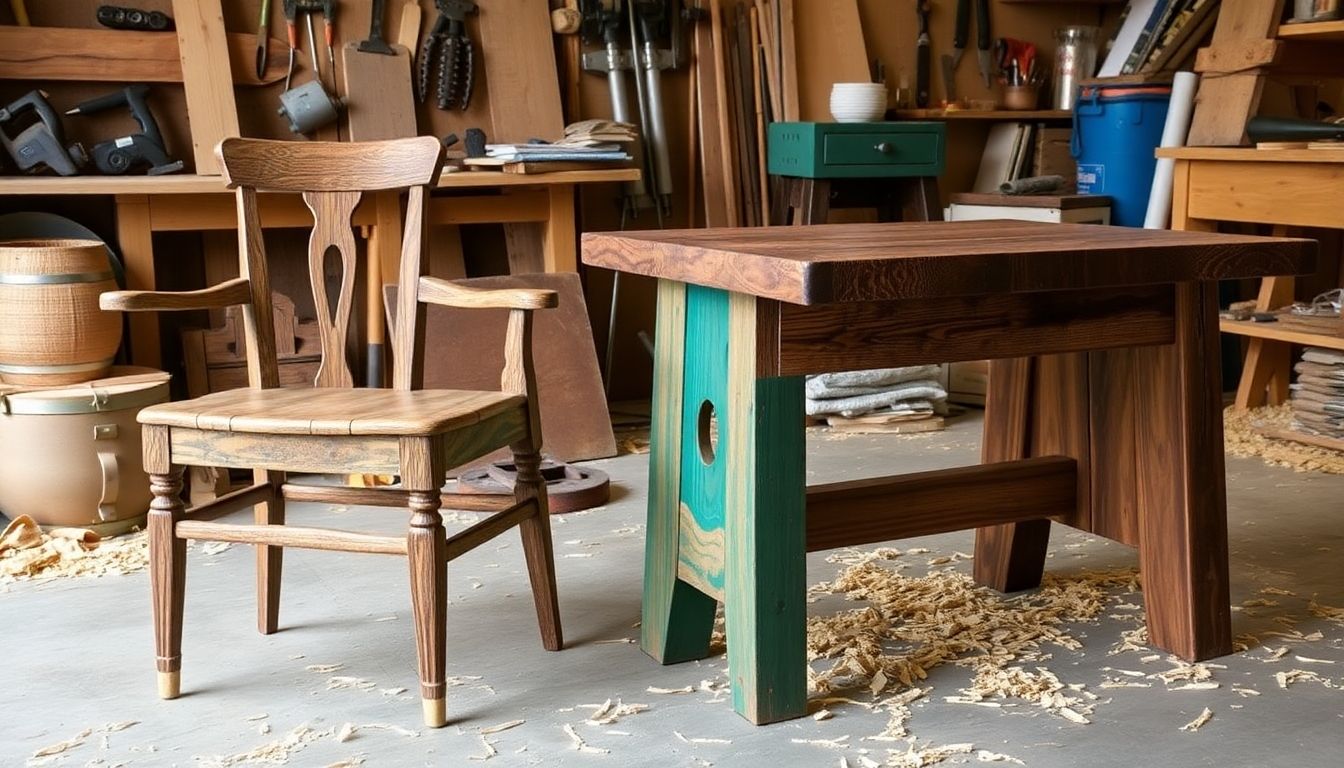
Upcycling is a fantastic way to breathe new life into old pieces. Not only does it save money, but it also helps the environment by reducing waste. You can turn something worn out into a stunning feature for your home! Here’s how to get started:
Finding Pieces to Upcycle
- Check local charity shops or flea markets.
- Ask friends or family if they have any old furniture they no longer want.
- Look for items on online marketplaces.
Sanding and Preparation
- Clean the furniture thoroughly to remove any dirt or grease.
- Sand down the surfaces to create a smooth finish.
- Fill in any holes or scratches with wood filler.
Creative Finishes
- Paint it in a bold colour to make it pop.
- Use stencils for unique designs.
- Consider adding new hardware for a modern touch.
Upcycling is not just about saving money; it’s about creating something unique that reflects your style.
By following these steps, you can transform old furniture into beautiful, custom pieces that fit perfectly in your home. Happy upcycling!
Joining a Carpentry Community in London
Getting involved in a carpentry community can be a game changer for your woodworking journey. Connecting with fellow woodworkers not only helps you learn new skills but also makes the process a lot more fun! Here’s how you can dive into the vibrant carpentry scene in London:
Local Meetups and Clubs
- Find local meetups: Look for groups that meet regularly to share tips and techniques.
- Join clubs: Many clubs offer workshops and social events where you can meet other enthusiasts.
- Participate in events: Keep an eye out for carpentry fairs and exhibitions happening around the city.
Online Forums and Resources
- Join online forums: Websites like Reddit and Facebook have groups dedicated to carpentry.
- Watch tutorials: YouTube is a treasure trove of woodworking videos that can help you learn at your own pace.
- Follow blogs: Many carpenters share their projects and tips online, which can be super helpful.
Workshops and Classes
- Sign up for workshops: Many local schools and community centres offer hands-on classes.
- Take a course: Look for beginner courses that cover essential skills and tools.
- Attend special events: Some places host guest speakers or special projects that can inspire you.
Joining a community can really boost your confidence and skills. You’ll find that sharing ideas and experiences with others makes the learning process much more enjoyable!
If you’re keen to connect with fellow carpenters in London, joining a local community can be a fantastic way to share skills and learn from others. Don’t miss out on the chance to enhance your craft and meet new friends. Visit our website today to find out more about how you can get involved!
Wrapping It Up
So there you have it! Diving into carpentry can be a lot of fun, especially when you start making your own furniture. Whether you’re crafting a simple shelf or a fancy coffee table, each project is a chance to learn and create something special. Don’t worry if things don’t go perfectly at first; that’s all part of the journey! Just grab your tools, get stuck in, and enjoy the process. Before you know it, you’ll have some lovely pieces to show off in your home. Happy building!
Frequently Asked Questions
What basic tools do I need to start carpentry?
To begin carpentry, you’ll need tools like a saw, hammer, tape measure, and a drill. These are essential for most beginner projects.
Where can I find carpentry classes in London?
You can look for local workshops or community centres that offer carpentry classes. Many schools also provide courses for beginners.
How can I ensure safety while working with wood?
Always wear safety goggles and gloves. Make sure your workspace is clean and well-lit, and follow the instructions for all tools carefully.
What materials should I use for simple shelving?
For basic shelves, plywood or pine wood is a good choice. They are easy to work with and affordable.
How do I finish my woodworking projects?
You can use sandpaper to smooth the surfaces, then apply paint or wood stain for a nice finish. Finally, seal it with a clear coat to protect it.
What type of wood is best for a coffee table?
Hardwoods like oak or walnut are great for coffee tables because they are strong and durable.
How do I join pieces of wood together?
You can use wood glue, screws, or nails to join wood pieces. For stronger joints, consider learning techniques like doweling or using brackets.
Can I upcycle old furniture for my projects?
Yes! Upcycling is a fantastic way to reuse old furniture. You can sand it down, repaint it, or even change its shape for a fresh look.