This is a comprehensive, practical, and easy-to-follow guide to getting that professional-looking finish every time. Painting is one of the most basic Do-It-Yourself tasks, and the one thing most of us think we don’t need help with. But the results often paint a different picture. “The Ultimate Guide to Painting Your Home Like a Pro” offers readers expert advice on everything they need to know to get that great-looking professional finish, including: how to select the right paint for each job; how to prepare surfaces to achieve the perfect finish; choosing the right tools for the job; as well as, fully illustrated, step-by-step techniques for painting walls, ceilings, woodwork, exteriors, and more.
Key Takeaways
- Choosing the right paint and finish for each room is crucial for achieving a professional look.
- Having the essential and optional tools can make a significant difference in the quality of your paint job.
- Proper surface preparation, including cleaning, repairing, and priming, is key to a smooth and durable finish.
- Mastering techniques like cutting in, rolling out, and painting high ceilings can elevate your painting skills.
- Advanced techniques and finishes, such as textured walls and faux finishes, can add unique character to your home.
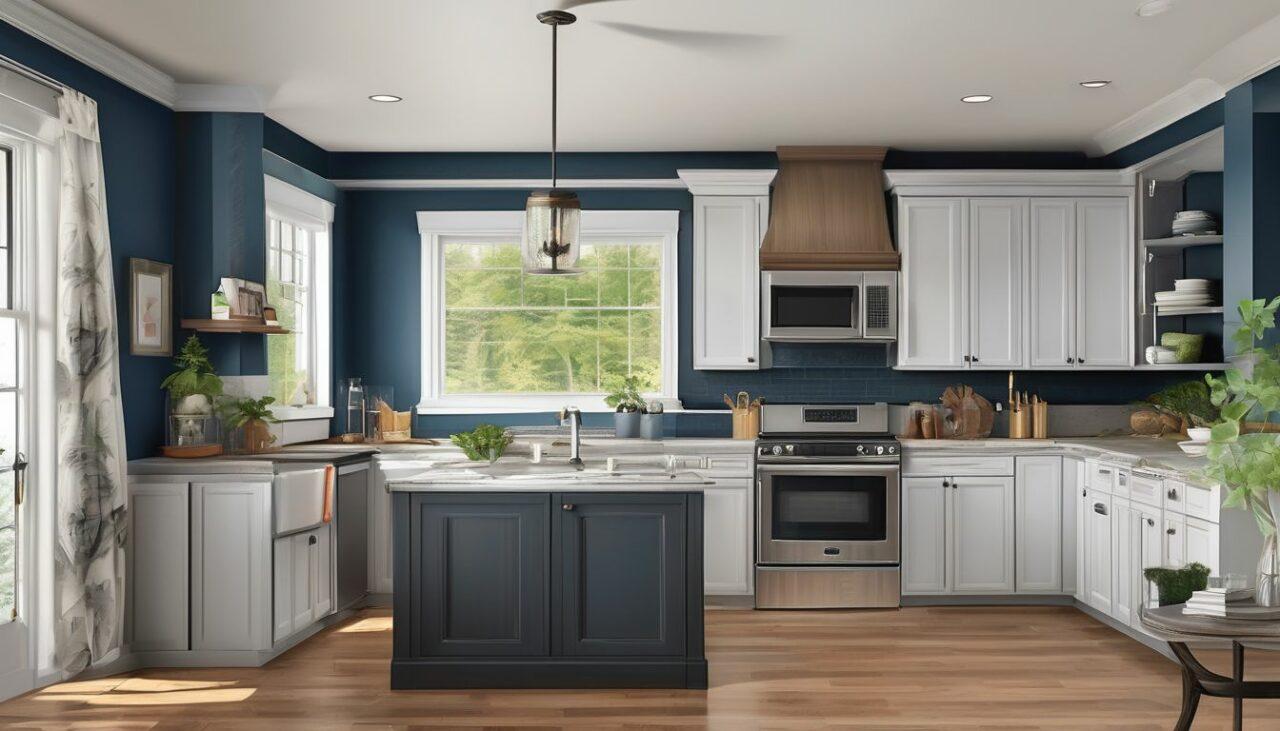
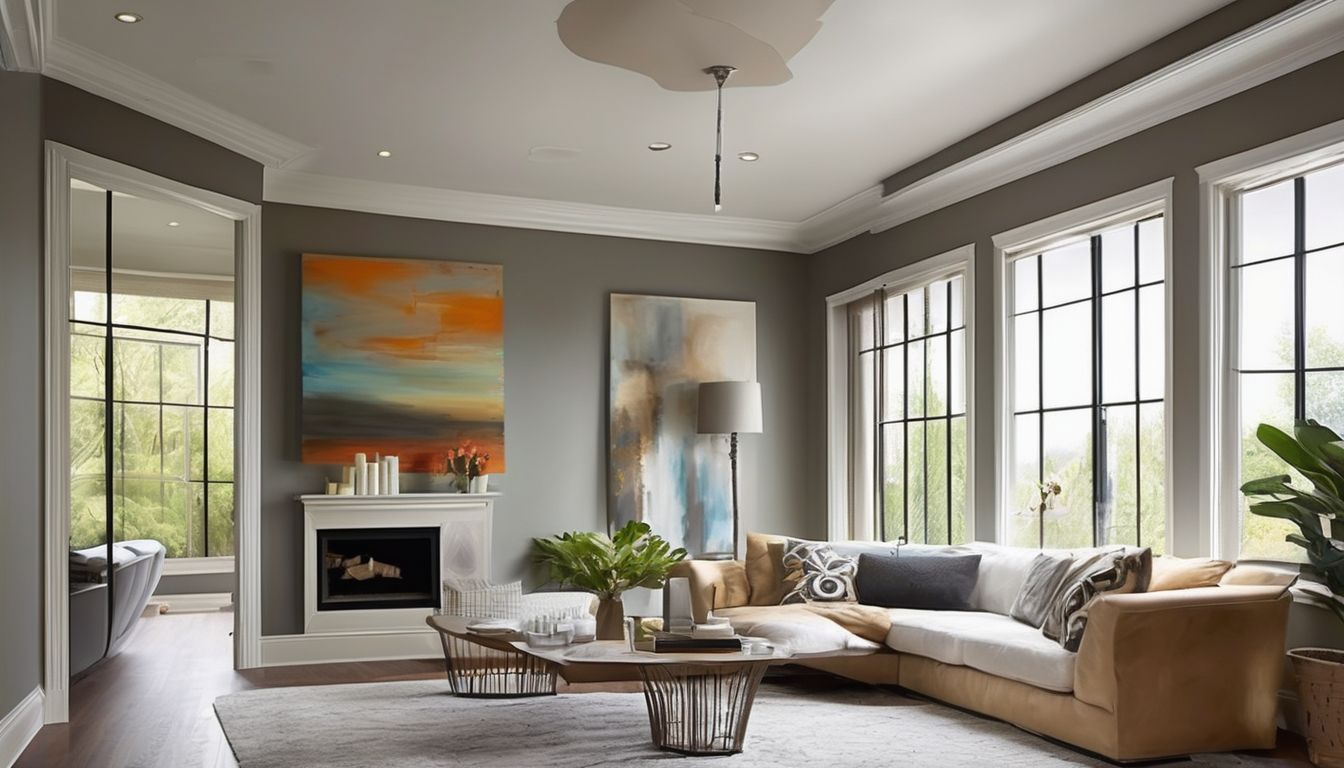
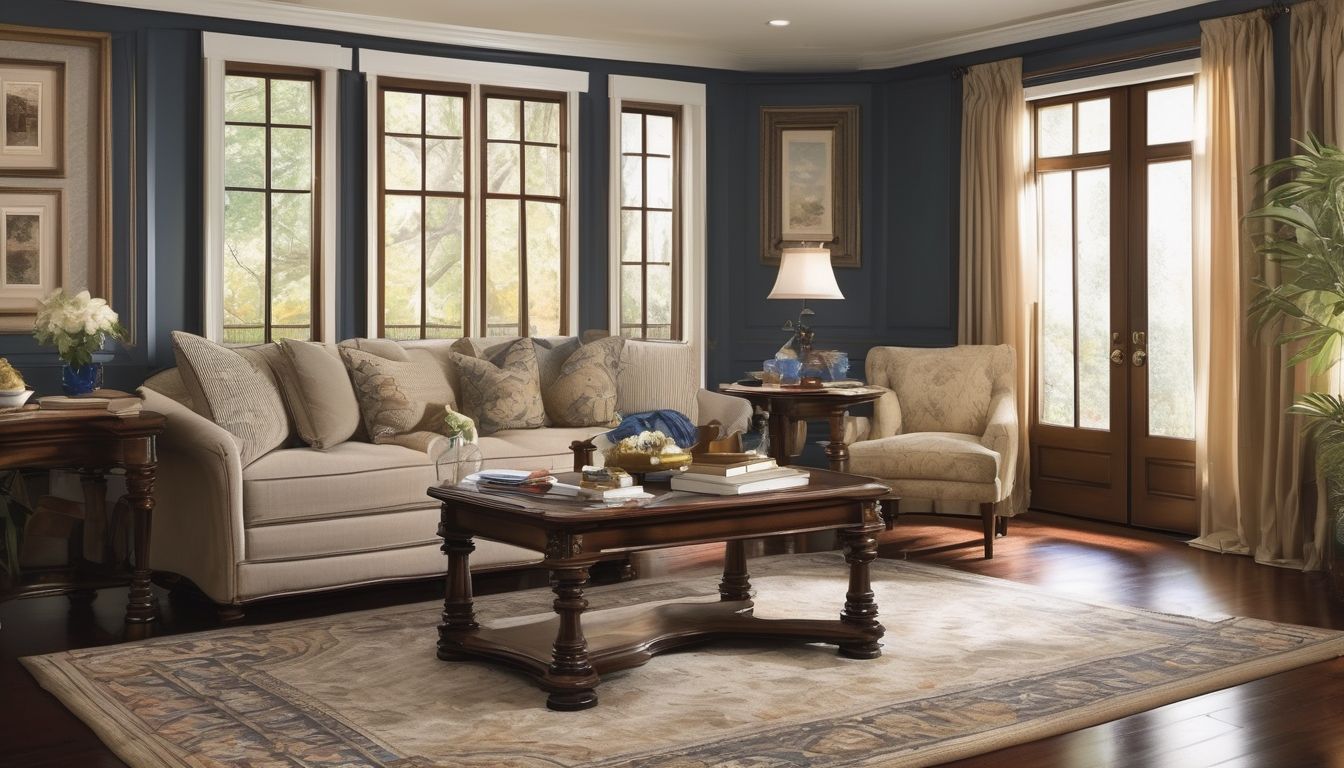
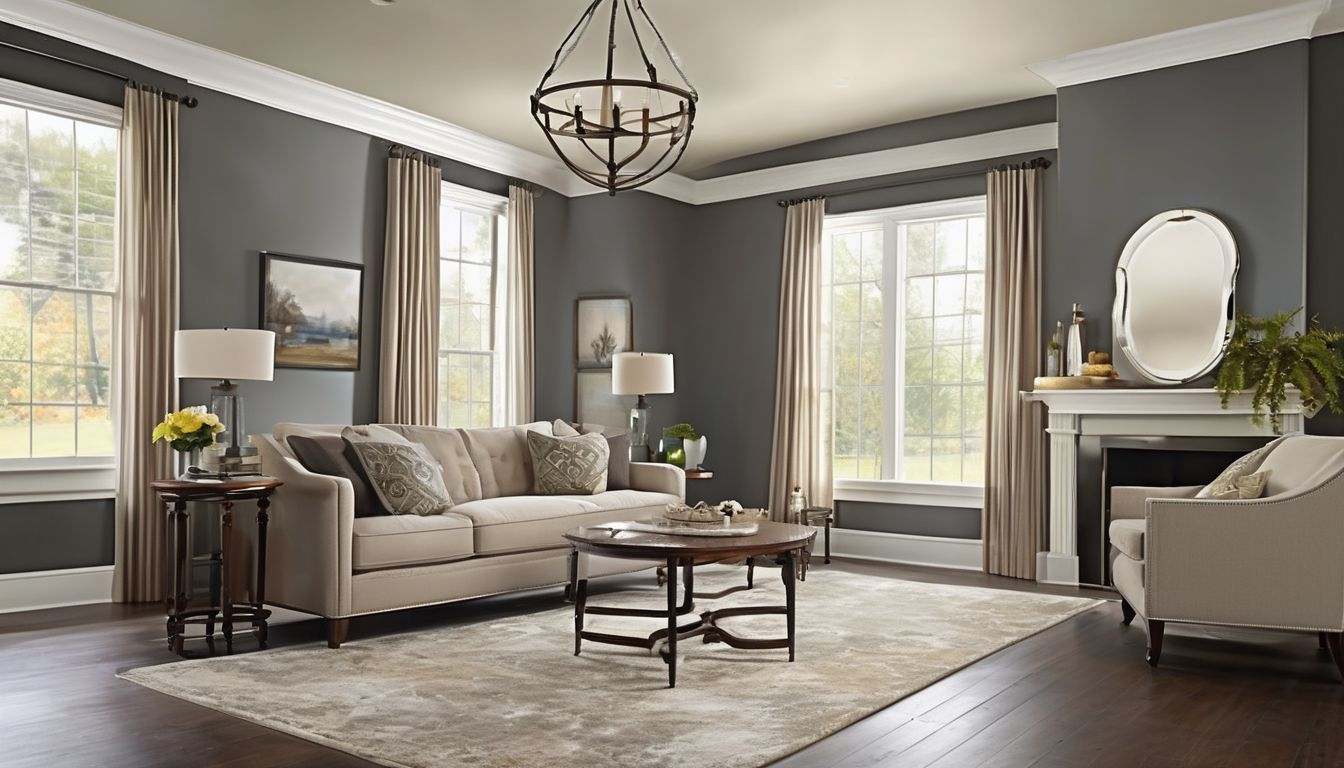
Choosing the Right Paint for Every Room
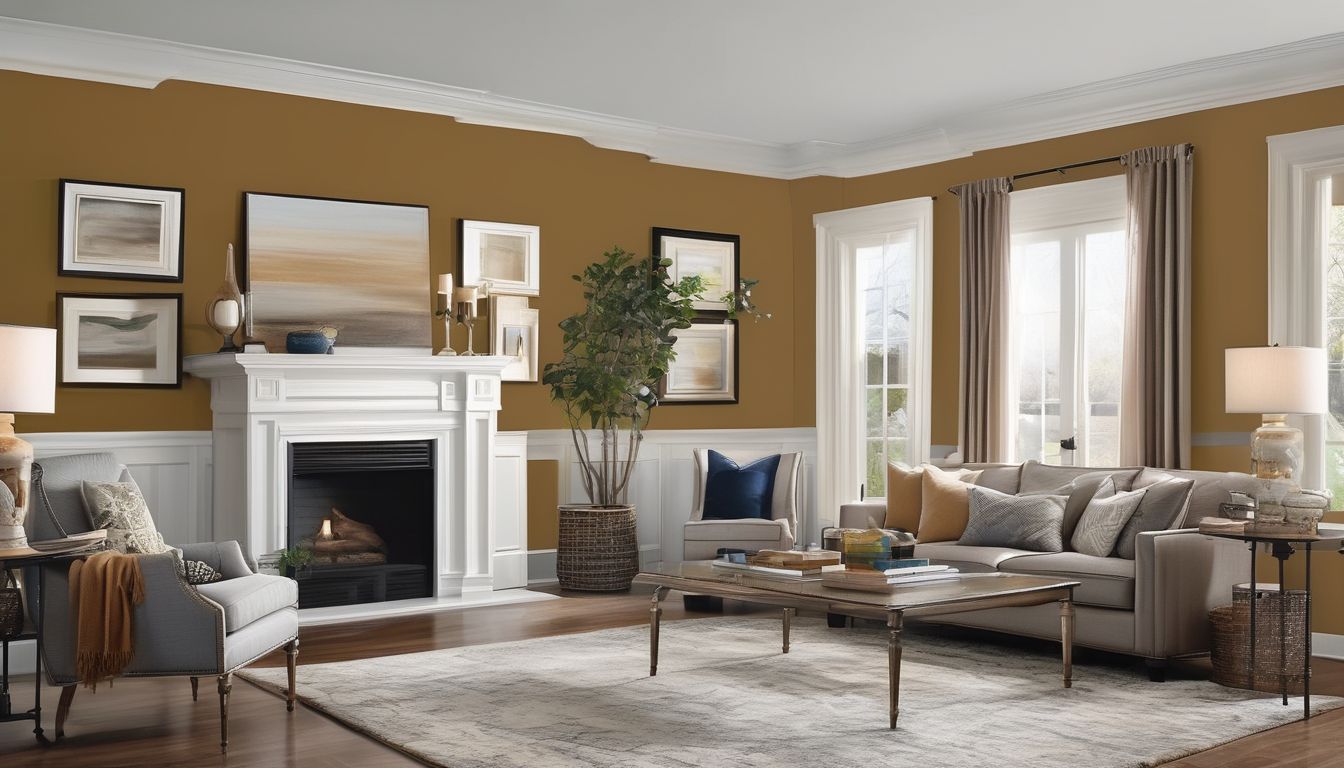
Choosing the right paint color is a crucial step in transforming your room. The color you select will set the mood and atmosphere, so it’s essential to consider your personal preferences and the purpose of the room. If you’re uncertain about which color to choose, consider creating a mood board or gathering inspiration from magazines or online sources. Take note of colors that resonate with you and match the overall style and theme of the room. Additionally, consider the lighting conditions in the room.
Essential Tools for a Professional Paint Job
Having the right tools is crucial for achieving a professional paint job. Investing in high-quality tools ensures that you achieve professional results and enjoy a hassle-free painting experience.
Preparing Your Surfaces for Painting
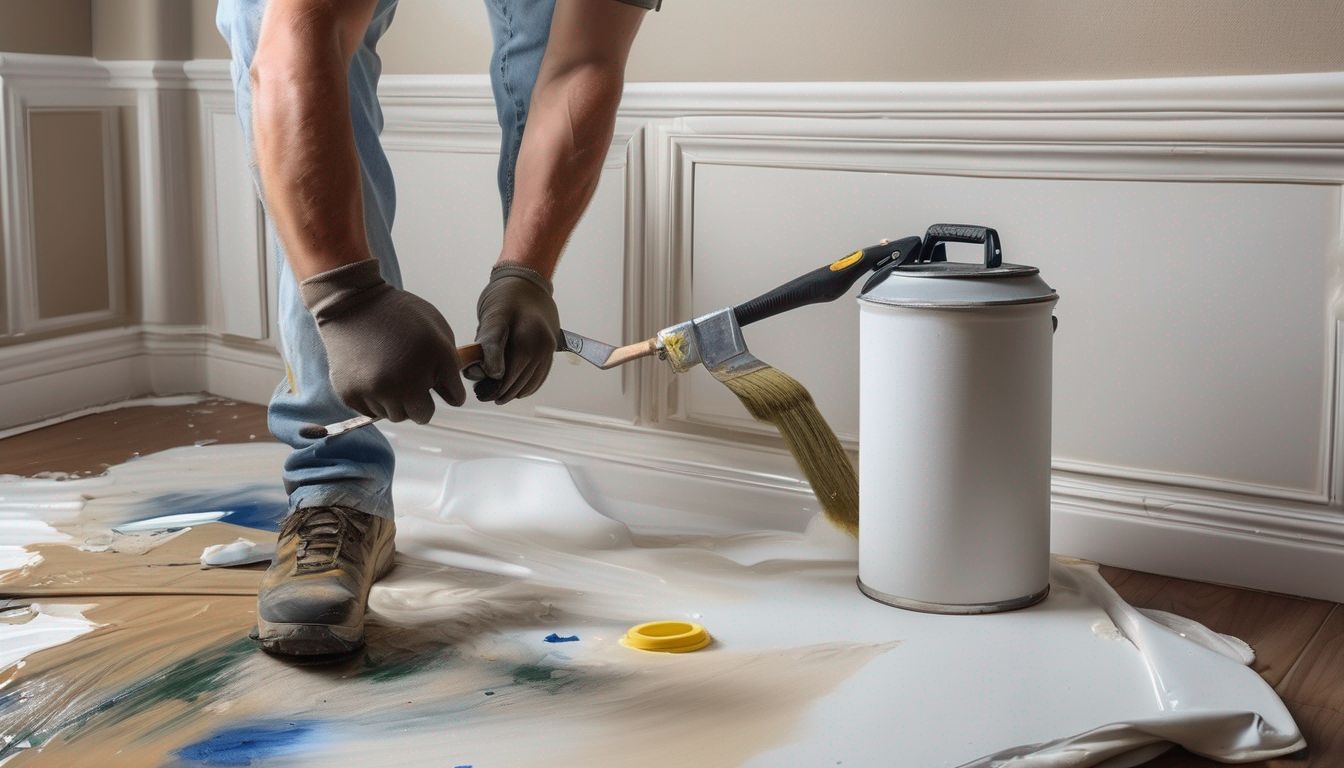
Cleaning and Repairing Walls
Before you start painting, it’s crucial to properly prepare the room to ensure a smooth and successful project. Start by removing any wall fixtures, such as electrical outlet covers and light switch plates. This will make it easier to paint around these areas without getting paint on them. Use a screwdriver to carefully unscrew these fixtures and set them aside in a safe place. Additionally, remove any nails or screws from the walls and fill the holes with spackling compound. Once the compound is dry, sand the area to create a smooth surface. Preparation is key to a good finish so make sure you don’t cut any corners at this stage.
Priming for a Perfect Finish
Once you’ve filled in any cracks, take a piece of fine sandpaper and lightly sand all the walls and any peeling paint. Sanding will give the wall a texture that helps the paint adhere better. After sanding, clean the walls with a mild detergent, paying particular attention to areas where greasy hand marks may be present. Rinse with clean water and let the walls dry completely before applying primer. Priming is essential as it creates a uniform surface and enhances the paint’s durability.
Dealing with Mold and Mildew
If you encounter mold or mildew on your walls, it’s important to address it before painting. Use a mixture of water and bleach to scrub the affected areas, then rinse thoroughly with clean water. Allow the walls to dry completely. For severe mold issues, consider using a specialized mold-killing primer before applying your paint. This will help prevent the mold from returning and ensure a long-lasting paint job.
Proper surface preparation not only ensures a smoother application but also extends the life of your paint job.
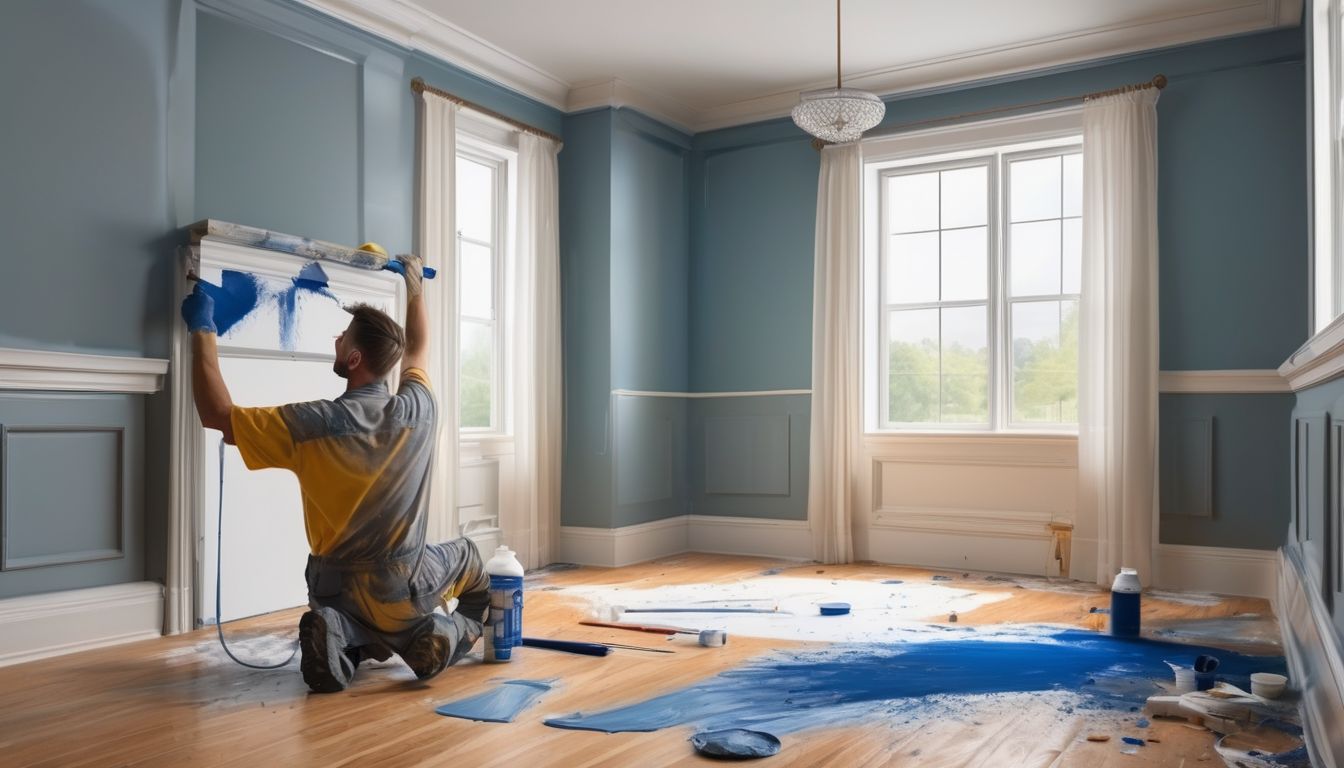
Techniques for Painting Walls and Ceilings
Painting walls and ceilings can be a daunting task, but with the right techniques, you can achieve a professional finish. Starting with the ceiling and working your way down helps to avoid dripping paint onto freshly painted areas. Before you begin, ensure that your surfaces are clean and free of any holes or cracks.
Cutting In and Rolling Out
When painting, start by cutting in around the edges with a brush. This creates a border and makes it easier to paint the larger areas with a roller. For walls, begin painting at the top and work your way down, using a vertical direction and a zig-zag pattern.
Achieving a Smooth Finish
To achieve a smooth finish, use a high-quality roller and apply the paint evenly. Avoid overloading the roller with paint to prevent drips and uneven coverage. If necessary, apply a second coat once the first coat is dry.
Painting High Ceilings Safely
Painting high ceilings can be challenging. Use an extension pole for your roller to reach higher areas without the need for a ladder. Ensure that your ladder is stable and on a flat surface if you need to use one. Always prioritize safety when working at heights.
Remember, preparation is key to a successful paint job. Take the time to properly prepare your surfaces and gather all necessary tools before you start painting.
Painting Trim and Woodwork Like a Pro
The finishing touches make all the difference to a room, but sometimes painting woodwork and other decorative elements can seem like a complicated and long-winded task. With these top tips and easy steps, ensure a perfect finish every time and decorate like a pro!
Choosing the Right Brush
Selecting the right brush is crucial for achieving a great-looking professional finish. Use a high-quality, angled brush for precision and control. This will help you master basic woodworking techniques and ensure smooth, even strokes.
Techniques for Crisp Lines
To achieve crisp lines, use painter’s tape to mask off areas you don’t want to paint. Apply the paint in thin, even coats, and remove the tape before the paint fully dries to avoid peeling.
Protecting Surrounding Areas
Protecting surrounding areas is essential to avoid unwanted paint splatters. Use drop cloths and plastic sheeting to cover floors and furniture. Additionally, keep a damp cloth handy to wipe off any accidental drips immediately.
Remember, the key to a professional finish is patience and attention to detail. Take your time and follow these steps to ensure a flawless result.
Advanced Painting Techniques and Finishes
Creating Textured Walls
Creating textured walls can add depth and character to any room. Using different tools and techniques, you can achieve various textures such as stucco, knockdown, or orange peel. Start by applying a base coat of paint, then use a trowel or sponge to create the desired texture. This method is perfect for DIY enthusiasts looking to add a unique touch to their home.
Using Stencils and Patterns
Stencils and patterns can transform a plain wall into a work of art. Choose a stencil design that complements your room’s decor and secure it to the wall with painter’s tape. Apply paint over the stencil using a brush or roller, then carefully remove the stencil to reveal the pattern. This technique is ideal for those who want to add a decorative element without committing to wallpaper.
Applying Faux Finishes
Faux finishes can mimic the look of materials like marble, wood, or stone. To achieve a faux finish, start with a base coat of paint and let it dry completely. Then, use a glaze and a variety of tools such as brushes, sponges, or rags to create the desired effect. This technique requires some practice, but the results can be stunning and add a touch of elegance to any room.
Mastering these advanced painting techniques can elevate your home decor and give you a professional finish that will impress everyone who visits.
Painting Exteriors: What You Need to Know

Selecting Exterior Paint
Choosing the right exterior paint is crucial for both aesthetics and durability. A fresh coat of exterior paint can revitalize a home’s look. Opt for high-quality, exterior acrylic-latex paint for the best results. This type of paint offers excellent adhesion, flexibility, and resistance to harsh weather conditions.
Weather Considerations
The quality and durability of the exterior paint job hinge on painting the house at the right time and in the right conditions. Morning is generally the best time of day to paint. Make sure that dew has evaporated from the siding before you start. Stop painting or switch to another side when sunlight is directly shining on the siding.
Protecting Landscaping and Fixtures
Before you start painting, take steps to protect your landscaping and fixtures. Use plastic sheeting and painter’s tape to cover plants, windows, and other fixtures. This will prevent accidental splatters and ensure a clean, professional finish.
Regular maintenance, occasional paint touch-ups, cleaning, and the use of primer and quality paint are factors that contribute to longer-lasting exterior paint.
Tools and Materials Needed:
- Paint sprayer
- Pressure washer
- Paint brushes, including trim brushes
- Paint scraper
- Heat gun
- Paint roller cage, covers, and pole
- Cordless drill
- Screwdriver
- Tape measure
- Caulking gun
- Six-foot ladder
- Extension ladder
- Personal protective gear (mask, coverall suit, gloves, and goggles)
Materials:
- Exterior acrylic-latex paint
- Trim paint
- Primer (optional)
- Wood filler
- Exterior-grade caulk
- Painter’s tape
- Plastic sheeting
Common Painting Mistakes and How to Avoid Them

Overcoming Uneven Coverage
Uneven coverage is a common issue that can make your paint job look unprofessional. To avoid this, ensure you apply a consistent amount of paint on your roller or brush. Using a primer can also help achieve a uniform finish, especially when painting over dark or bold colors.
Preventing Paint Drips
Paint drips can ruin the appearance of your walls. To prevent this, avoid overloading your brush or roller with paint. If a drip does occur, clean it up while it’s still wet. Keeping a damp cloth nearby can help you quickly address any mistakes.
Fixing Common Errors
Even the most experienced painters make mistakes. The key is to fix them promptly. For example, if you notice a missed spot or a streak, address it as soon as possible. Newsflash, the paint will not miraculously cover those holes or repair the walls. Proper preparation and attention to detail can help you avoid these common pitfalls.
Remember, the best way to avoid mistakes is to take your time and follow best practices. Rushing through a paint job often leads to errors that could have been easily avoided.
Maintaining Your Paint Job for Longevity

Regular Cleaning Tips
Regular maintenance is crucial for keeping your paint job looking fresh. Lightly sanding to remove any previous sheen and wiping down surfaces can help your paint stick properly for a long-lasting finish. Additionally, paint can act as a protective layer for your walls, preventing moisture and other elements from causing damage.
Touch-Up Techniques
Occasional paint touch-ups are necessary to maintain the clean and polished look of your walls. Here are some steps to follow:
- Monitor weather conditions
- Prep the surrounding environment
- Prep your paint surface
- Use primer
- Choose a quality, eco-friendly paint
- Apply touch-up paint carefully
Protecting High-Traffic Areas
High-traffic areas are more prone to wear and tear. To protect these areas, consider using durable paint finishes and applying an extra coat of paint. Regular cleaning and touch-ups can also help in maintaining the appearance of these areas.
By investing in quality paint and proper application techniques, you can ensure that your walls will stay in excellent condition for years to come.
Eco-Friendly Painting Options

Choosing Low-VOC Paints
When selecting eco-friendly paints, opting for low-VOC (volatile organic compounds) paints is crucial. These paints emit fewer harmful chemicals, making them safer for both your health and the environment. Water-based paints, such as Quick Dry Satin and Quick Dry Eggshell, are excellent choices as they contain fewer VOCs compared to solvent-based paints. Additionally, these paints often feature quick drying times and low odour, enhancing the overall painting experience.
Sustainable Painting Practices
Adopting sustainable painting practices can significantly reduce your environmental footprint. Here are some tips to consider:
- Use water-based paints whenever possible to limit exposure to airborne triggers of asthma and allergy.
- Opt for paints with certifications like Vegan Verified to ensure they meet high environmental standards.
- Clean your painting equipment with water instead of harsh chemicals.
- Choose durable paints for outdoor applications to reduce the frequency of repainting.
It’s easier to clean up your equipment when using water-based paints as you can simply use clean water.
Disposing of Paint Responsibly
Proper disposal of paint is essential to minimize environmental impact. Never pour leftover paint down the drain or into the trash. Instead, consider the following options:
- Donate unused paint to local community centers or schools.
- Take leftover paint to a hazardous waste disposal facility.
- Use up leftover paint for small projects or touch-ups around the house.
By following these eco-friendly painting options, you can create a beautiful home while also being mindful of the environment.
Budget-Friendly Painting Tips
Saving on Paint and Supplies
Before starting your painting project, carefully evaluate your budget and determine how much you’re willing to spend. Consider the size of the room, the complexity of the project, and your personal preferences. If you’re unsure about the cost, it’s always a good idea to consult with a professional painter or visit a local home improvement store for guidance and advice.
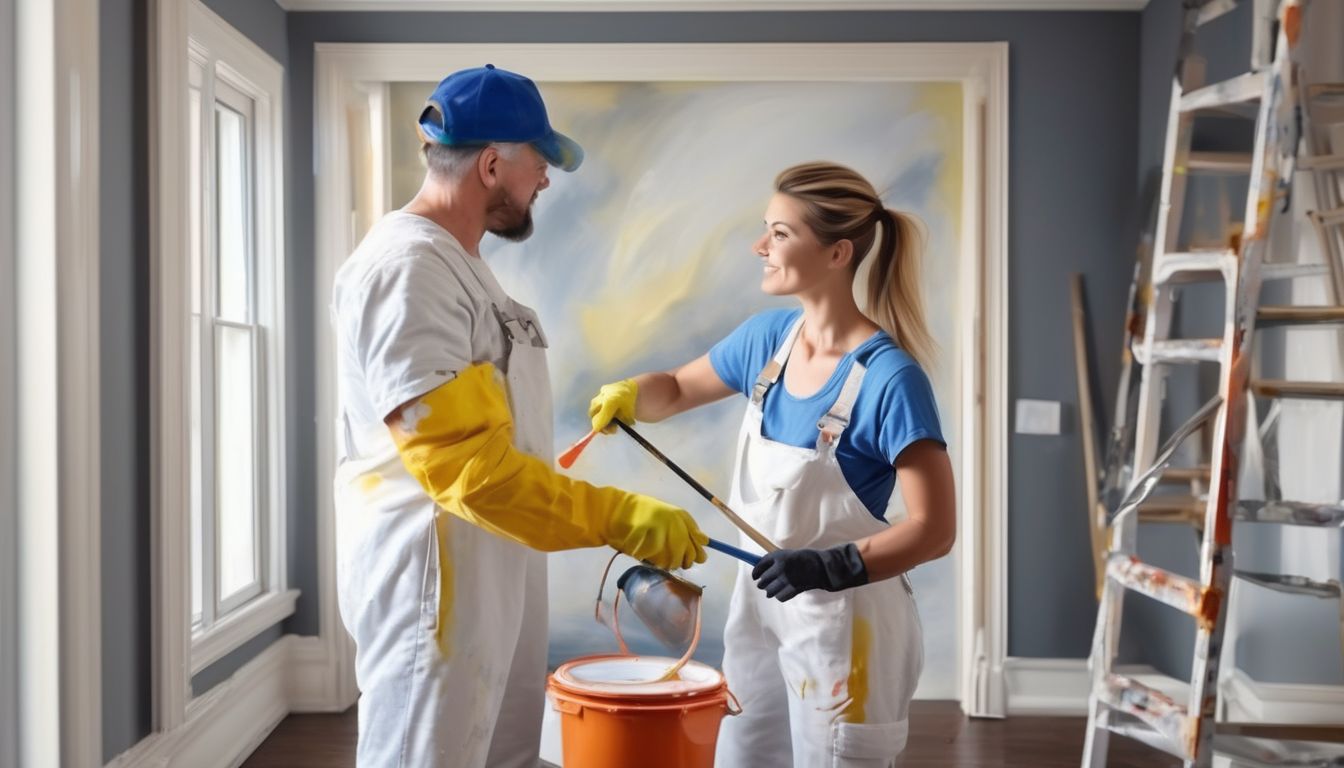
DIY vs. Hiring a Professional
Doing it yourself can save you a significant amount of money, but it’s important to weigh the pros and cons. While DIY projects can be cost-effective, they may also require more time and effort. On the other hand, hiring a professional ensures a high-quality finish but comes at a higher cost. Evaluate your skills and the scope of the project before making a decision.
Repurposing Leftover Paint
Don’t let leftover paint go to waste. You can use it for smaller projects around the house, such as painting furniture or accent walls. This not only saves money but also adds a unique touch to your home decor.
For a budget-friendly upgrade, start by thoroughly cleaning any surface you are painting. It’s best to use sugar soap or methylated spirit to remove grease and grime effectively.
Conclusion
Painting your home doesn’t have to be an overwhelming task. With the right guidance and preparation, anyone can achieve a professional-looking finish. This comprehensive guide has provided you with all the essential tips and techniques, from selecting the right paint and tools to mastering advanced painting methods. By following these steps, you can transform any space in your home into a masterpiece. Remember, the key to a successful paint job lies in the details and preparation. So, take your time, follow the advice given, and enjoy the process of bringing new life to your home with a fresh coat of paint.
Frequently Asked Questions
What type of paint should I use for high-traffic areas?
For high-traffic areas, it’s best to use a durable, washable paint such as semi-gloss or satin finish. These finishes are easier to clean and resist scuffing and staining.
How do I choose the right paint color for a room?
Consider the room’s purpose, natural light, and existing decor. Use color psychology to select a hue that creates the desired mood. Testing samples on your walls can also help you decide.
Do I need to prime the walls before painting?
Priming is essential for achieving a smooth, even finish. It helps paint adhere better to the surface and can cover imperfections, stains, and previous colors.
What tools do I need for a professional paint job?
Essential tools include high-quality brushes, rollers, painter’s tape, drop cloths, a paint tray, and a ladder. Optional tools for advanced techniques include edging tools and paint sprayers.
How can I avoid brush marks and roller lines?
Use high-quality brushes and rollers, apply paint in thin, even coats, and maintain a wet edge while painting. Sanding between coats can also help achieve a smooth finish.
What should I do if I make a mistake while painting?
For minor errors, wait until the paint dries, then sand the area lightly and repaint. For drips, use a damp cloth to wipe them away immediately. Touch up any missed spots with a small brush.
How can I maintain my paint job to ensure it lasts?
Regularly clean painted surfaces with a mild detergent and soft cloth. Touch up any chips or scratches promptly, and protect high-traffic areas with washable paint or additional protective coatings.
Are there eco-friendly paint options available?
Yes, choose low-VOC or zero-VOC paints for a more environmentally friendly option. These paints emit fewer harmful chemicals and are better for indoor air quality.