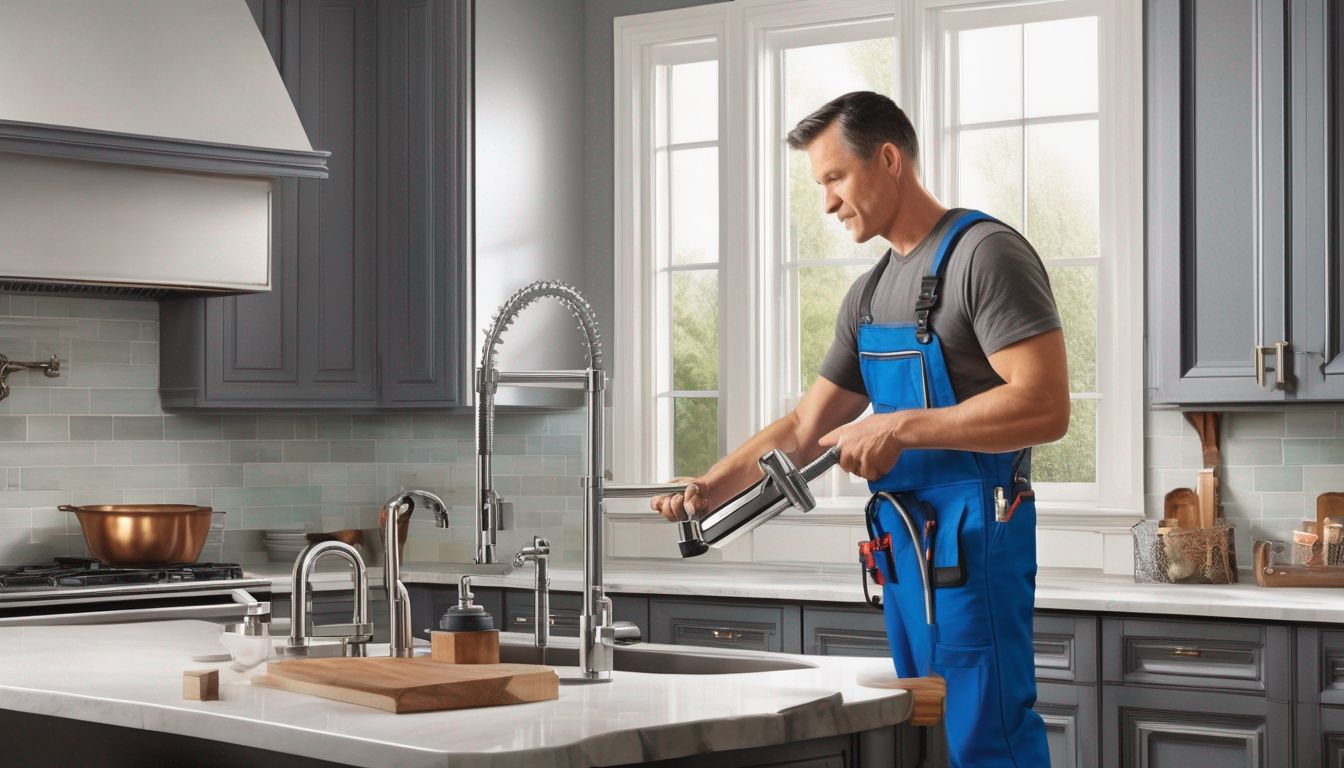
Dealing with a leaky faucet can be both annoying and wasteful. Not only does the constant drip sound become a nuisance, but it also contributes to water wastage and higher utility bills. The good news is that fixing a leaky faucet is often a manageable DIY task. This comprehensive guide will walk you through the steps to fix a leaky faucet, helping you identify the source of the leak, gather necessary tools, and perform the repair yourself. By following these instructions, you can save money and reduce water wastage.
Key Takeaways
- Identifying the type of faucet is crucial for effective repair.
- Common leak points include O-rings, washers, and valve seats.
- Gather all necessary tools and materials before starting the repair.
- Always turn off the water supply before disassembling the faucet.
- Regular maintenance can prevent future leaks and prolong the life of your faucet.
Understanding Different Types of Faucets

When it comes to fixing a leaky faucet, understanding the type of faucet you have is crucial. Different faucets have unique mechanisms and require specific approaches for repairs. Here, we’ll explore the most common types of faucets you’ll encounter.
Compression Faucets
Compression faucets are the most basic type and are often found in older homes. They have two handles, one for hot water and one for cold. These faucets operate by tightening or loosening a valve to control water flow. Most “cheap” faucets are compression-style, making them a common choice for budget-conscious homeowners.
Ball Faucets
Ball faucets are identifiable by their single handle that moves over a rounded ball-shaped cap. This design allows for easy control of both temperature and flow. Inside, a ball bearing regulates the water, making it a bit more complex than compression faucets. Faucets with a single handle are typically ball faucets, and they are commonly found in kitchens.
Cartridge Faucets
Cartridge faucets can have either one or two handles and are known for their smooth operation. The internal mechanism involves a movable cartridge that controls water flow and temperature. These faucets are durable and often found in modern homes. Cartridge faucets are known for their reliability and ease of repair.
Knowing the type of faucet you have can save you time and effort when it comes to repairs. Each type has its own set of components and mechanisms, so identifying it correctly is the first step in any plumbing fix.
Identifying the Source of the Leak
Identifying the source of a leaky faucet is crucial for effective repair. The fastest way to detect faucet drips is by visually inspecting the faucet and sink for water and listening for the sound of dripping water, especially in quiet environments. This initial step can save you time and effort in the long run.
Common Leak Points
Leaks can occur at various points in a faucet. Common areas include:
- The base of the faucet
- Around the handles
- The spout
Each of these points requires a different approach for detection and repair.
Tools for Detection
To accurately identify the source of the leak, you may need some basic tools:
- Flashlight
- Adjustable wrench
- Plumber’s tape
- Small mirror
These tools will help you get a closer look at hard-to-see areas and ensure a thorough inspection.
Signs of Wear and Tear
Look for visible signs of wear and tear, such as:
- Corrosion around the valve seat
- Worn-out washers and O-rings
- Loose or broken parts
If you notice any of these issues, it’s likely the source of your leak. Addressing these problems promptly can prevent further damage and costly repairs.
If, after all of your hard work, you notice the leaky faucet is still dripping, then the cause may be corrosion in your valve seat. If not cleaned over time, it can produce leaks near the spout. Other potential problems are worn-out seals, loose parts, or, even worse, broken plumbing.
Gathering Necessary Tools and Materials

Before you begin, make sure you have the following tools and materials:
Basic Plumbing Tools
- Adjustable wrench
- Phillips and flat-head screwdrivers
- Plumber’s tape
- Bucket or basin
- Towels or rags
Replacement Parts
- Replacement washers and O-rings
- Valve seats
- Cartridges and discs
Safety Gear
- Safety goggles
- Gloves
Collecting the required tools and materials before starting the repair is crucial for a smooth process. Having everything on hand will save you time and prevent unnecessary interruptions.
Before you begin, make sure you have the following tools and materials: adjustable wrench; phillips and flat-head screwdrivers; replacement washers and o-rings …
Turning Off the Water Supply
Before beginning any repair work on your faucet, it’s essential to turn off the water supply to prevent any accidental water flow or spillage that could result in water damage. This step ensures a safe and dry work environment. Locate the shutoff valve under the sink or near the main water line and turn it clockwise to shut off the water. Use an adjustable wrench if necessary.
Locating the Shutoff Valve
Look underneath your sink for the water supply lines that run up to the handles. Locate the valves where those pipes feed into the wall and turn them counterclockwise all the way. This will shut the water off and help you avoid making a mess.
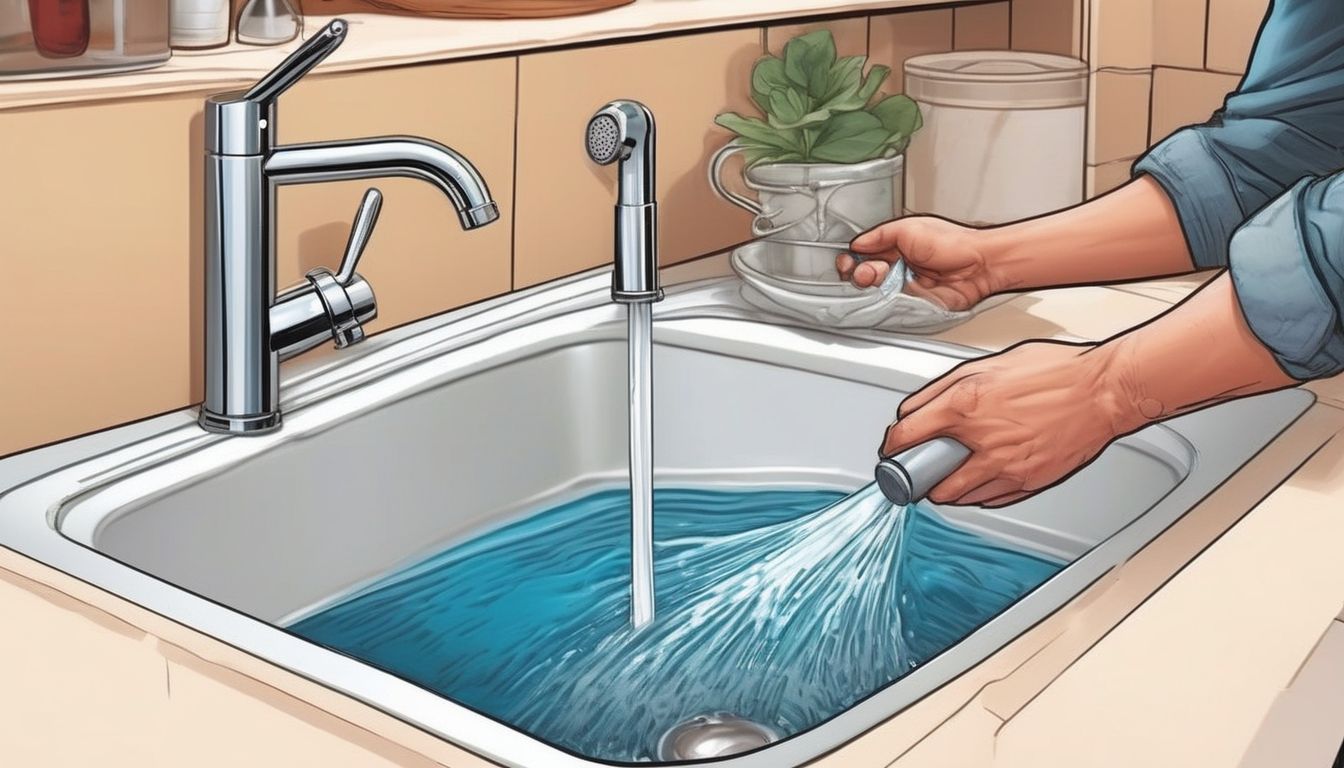
Draining the Faucet
Once the water supply is turned off, run the faucet until water stops flowing – just as you would when putting away the garden hose. This step ensures that when you take apart the faucet, you don’t get a spray of water or a flood in the bathroom.
Ensuring No Water Flow
After you turn off the water, open the faucet in the center position to relieve water pressure and make sure the water is shut off. Finally, cover the sink drain holes with strainer baskets or rags to avoid losing small parts down the drain.
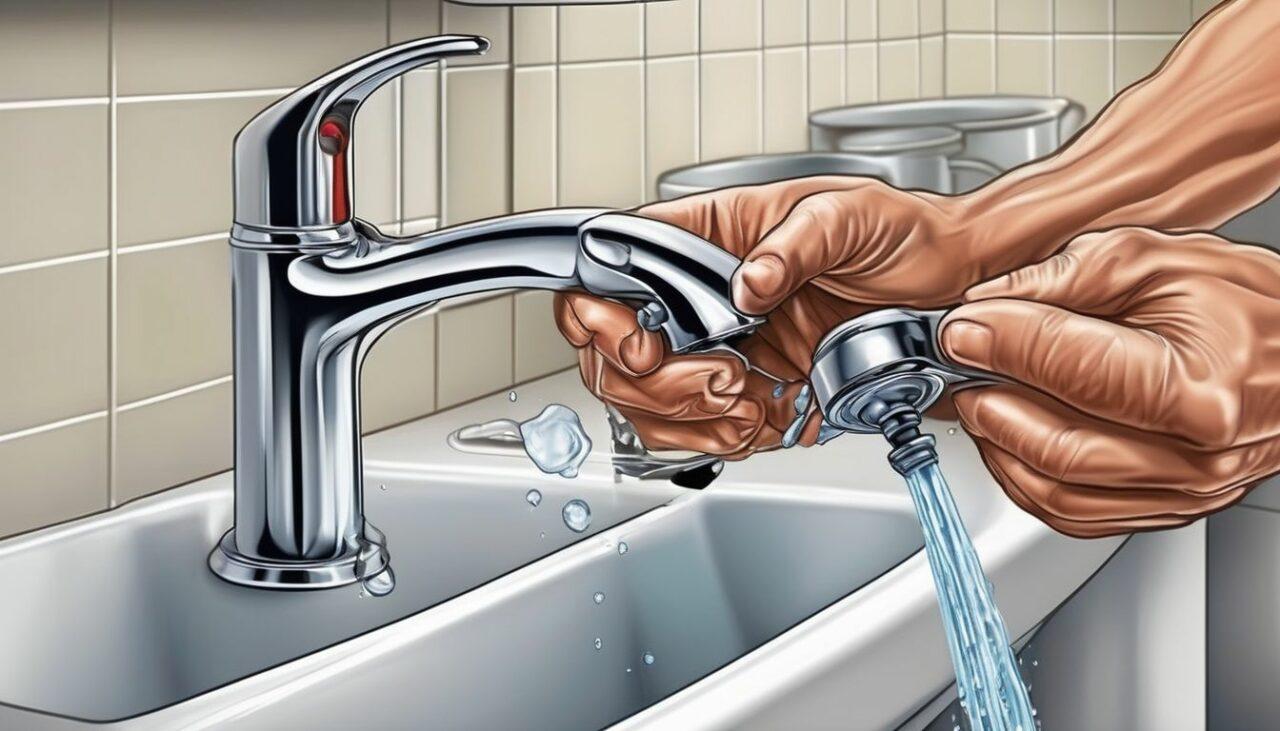
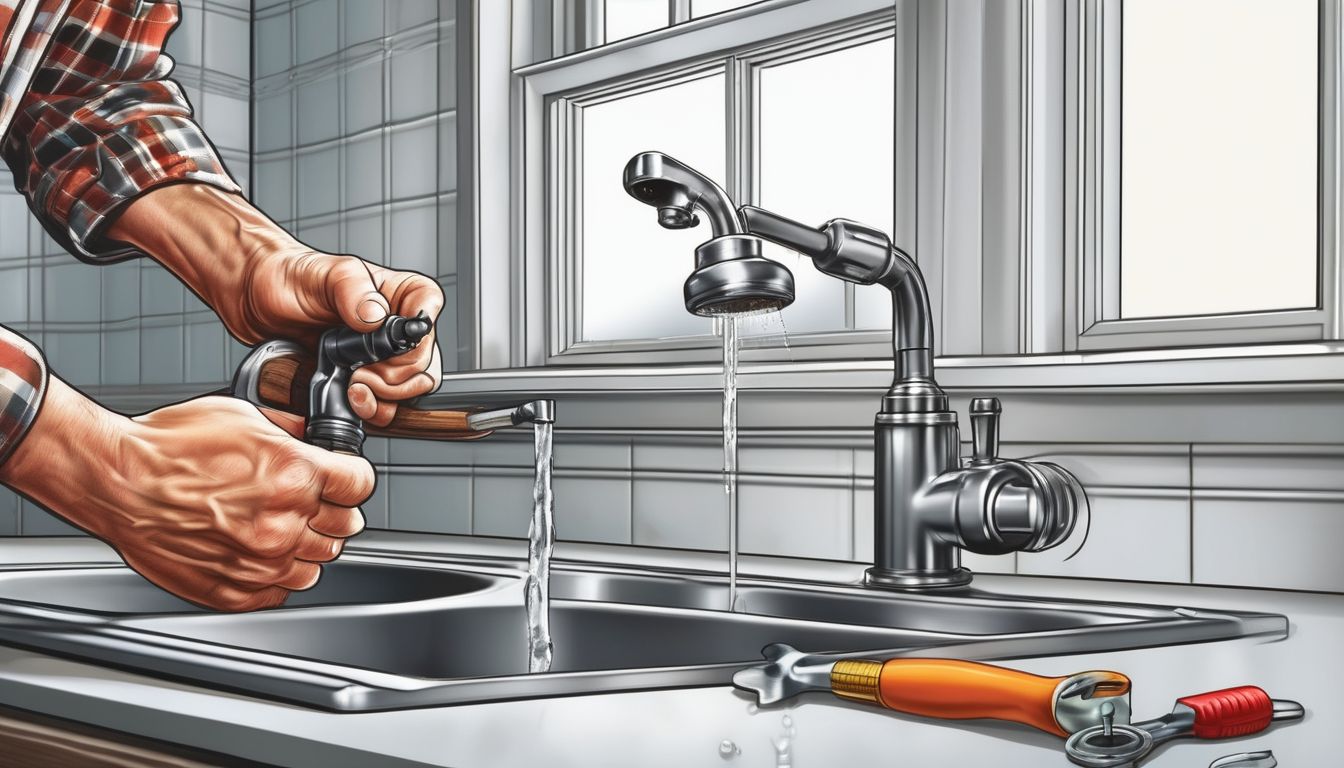
Disassembling the Faucet
Disassembling a faucet is a crucial step in fixing a leak. Different faucets may have various disassembly methods, so it’s essential to follow the correct procedure for your specific type of faucet. Below are the steps to disassemble a faucet effectively.
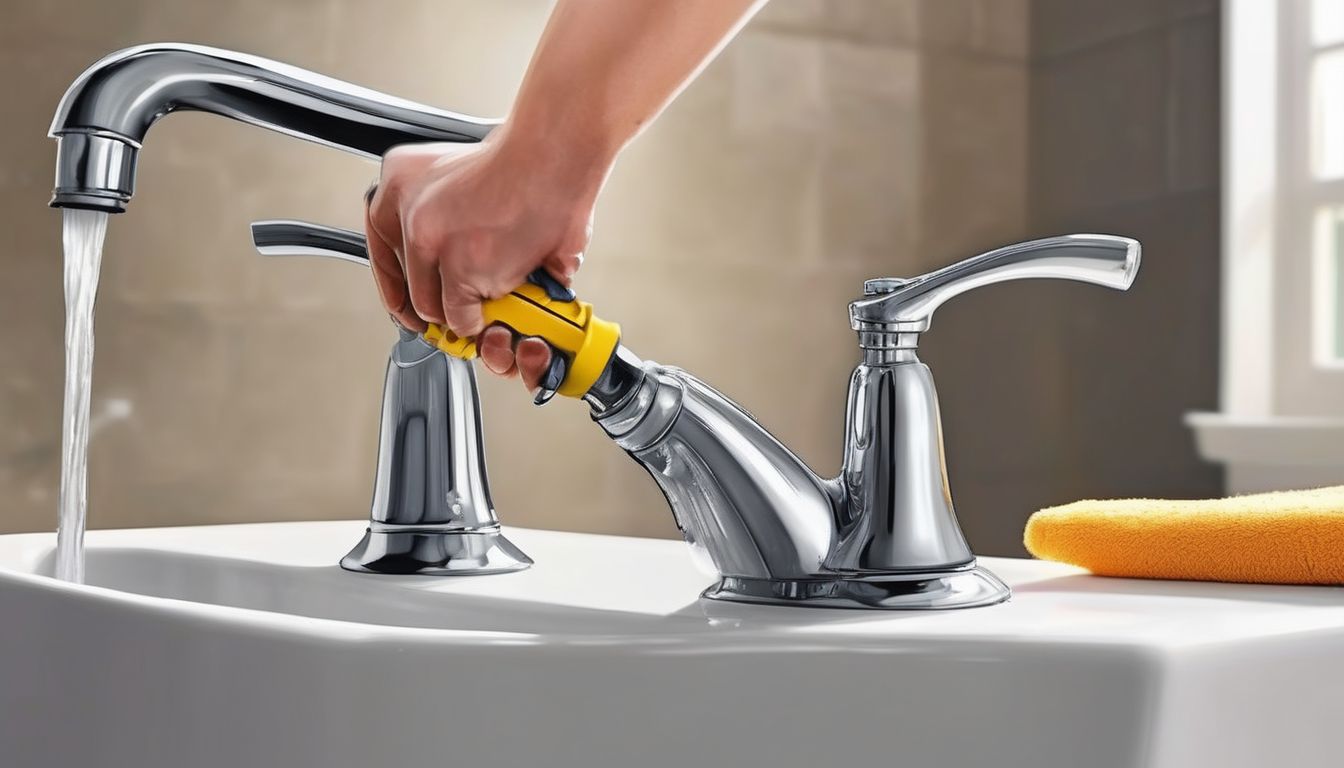
Removing Faucet Handles
To begin, utilize a screwdriver to detach the faucet handle, revealing the internal components. If your faucet has two handles, remove the caps to access the screws in the top center of each handle. For a single lever handle, remove the top lever piece. There may be a small hole in the side to allow you to pry it off or access a small hex nut that holds it in place.
Accessing Internal Components
Once the handles are removed, you can take both types of handles apart vertically and access the faucet mechanism. You may need to pull a retaining clip with needle nose pliers and cut the o-rings with a utility knife to fully disassemble each faucet. Use your flat-head screwdriver to free up parts that may have corroded or fused together with the water scale.
Keeping Track of Parts
Make a careful note of the sequence in which you disassemble the components to facilitate ease of reassembly later on. This will ensure that when you reassemble the faucet, you don’t miss any parts or put them back incorrectly.
Proper disassembly is key to ensuring the safety and security of your plumbing repair. Take your time and follow each step carefully.
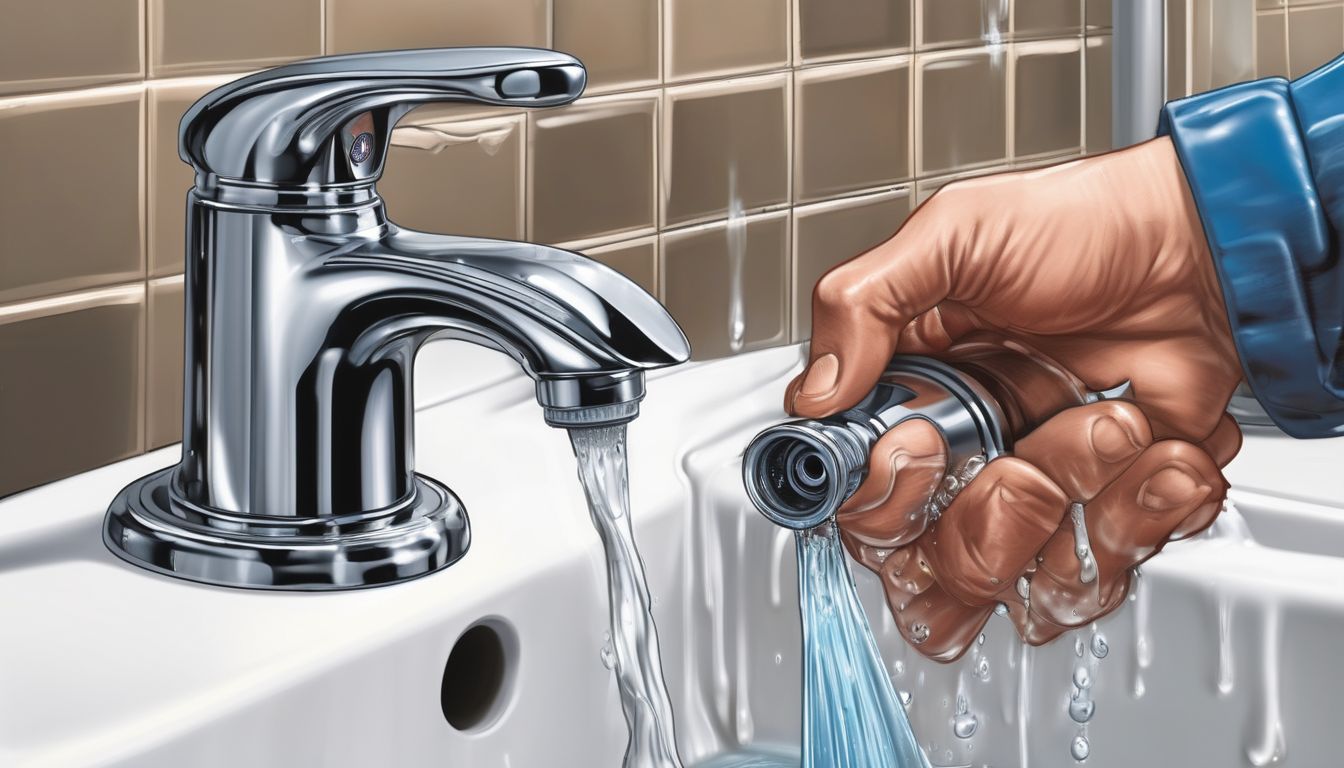
Inspecting and Cleaning Components
When dealing with a leaky faucet, inspecting and cleaning components is a crucial step. This process ensures that all parts are in good condition and free from debris or mineral deposits that could cause further issues.
Replacing Worn-Out Parts
When fixing a leaky faucet, replacing worn-out parts is often necessary to ensure a proper seal and function. Inspect the O-ring, washer, and other components inside for wear or damage. Common culprits for leaks include worn-out washers and O-rings. Substitute any impaired components with new ones, ensuring a precise fit. It’s advisable to take the old parts to a hardware store for accurate replacements.
O-Rings and Washers
Identify signs of wear, such as cracking or misshaping. Obtain a replacement for the faulty part from a hardware store. Install the new part, ensuring correct alignment and seating.
Valve Seats
Valve seats can also wear out and cause leaks. Inspect regularly for early signs of wear, corrosion, or cracking on parts. If damaged, replace the valve seats to maintain a proper seal.
Cartridges and Discs
Cartridges and discs are essential for the faucet’s operation. If these components are worn or damaged, replacing them is crucial. Take the old parts to the store to find replacements. Install the new cartridges or discs, ensuring they are properly seated and aligned.
Replacing worn-out parts is a straightforward process that can significantly extend the life of your faucet and prevent future leaks.
Reassembling the Faucet
Reassembling the faucet is a crucial step to ensure that everything is put back together correctly and to avoid further issues. Follow these steps to reassemble your faucet properly:
Reattaching Handles
Place the handle back on the stem and secure it with the screw. If your faucet has a decorative cap, replace it as well. Ensure that everything is tightened securely but be cautious not to overtighten, as this can cause damage.
Securing Internal Components
Reassemble the valve mechanism based on either your faucet’s old design or the new faucet you decided to install. Place the control nut into the top so that the handles will catch and provide flow control. If there are threaded connections, such as those on the spout or handles, apply plumber’s tape to create a watertight seal.
Testing for Leaks
Turn the water supply back on and check for leaks. If you notice any leaks, you may need to repeat the process or consult a professional. Testing for leaks is essential to ensure that your faucet is functioning correctly and to prevent any water damage.
Testing and Final Adjustments

Turning On the Water Supply
After reassembling the faucet, it’s time to turn on the water supply. Ensure that the shutoff valve is fully open to allow water to flow freely. This step is crucial to verify that the faucet is functioning correctly.
Checking for Proper Function
Once the water supply is on, test the faucet by turning the handles to check for smooth operation. Pay attention to any unusual noises or resistance, which could indicate an issue. If everything operates smoothly, proceed to the next step.
Making Necessary Adjustments
If you notice any leaks or irregularities, make the necessary adjustments. This may involve tightening connections or replacing components. Thoroughly inspect the entire faucet for any signs of wear or damage. Addressing these issues promptly will ensure the longevity of your faucet.
Regular maintenance and timely adjustments can prevent future leaks and ensure your faucet remains in good working condition.
Preventive Maintenance Tips
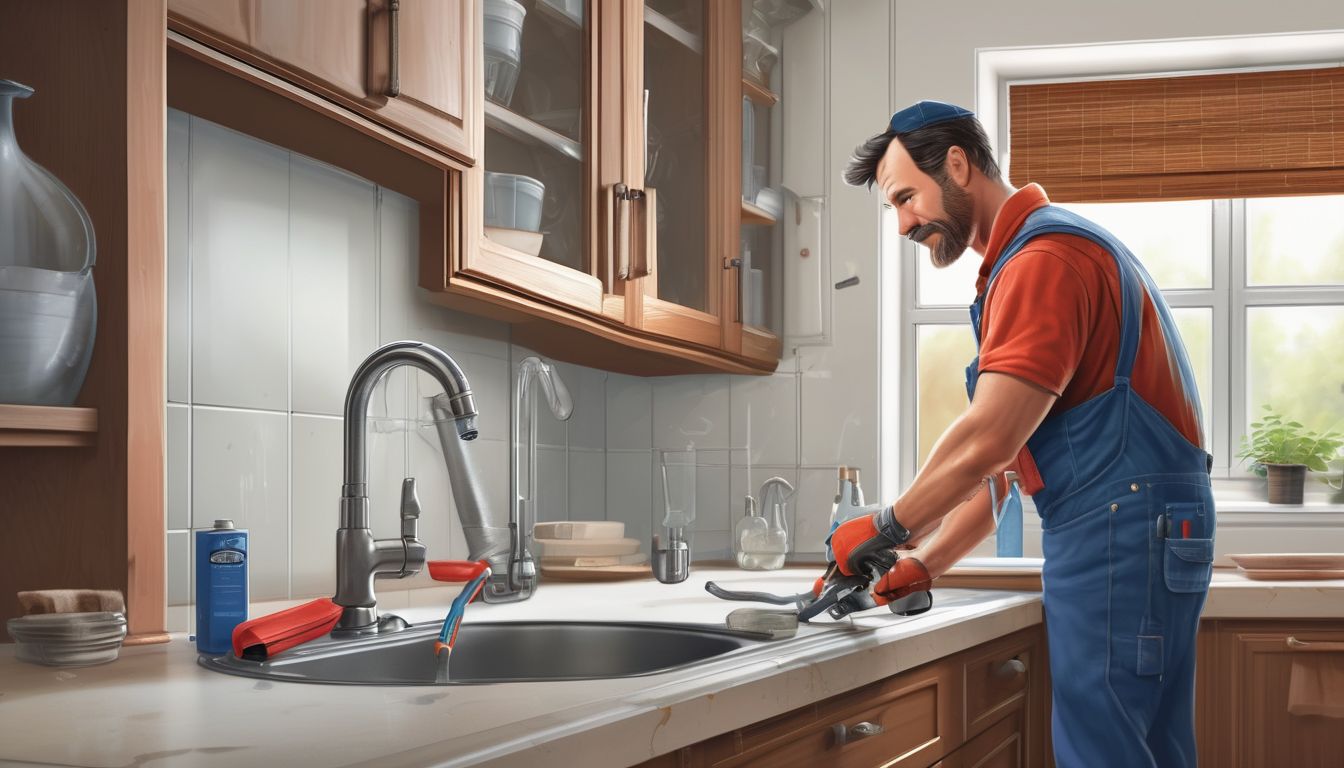
Taking proactive steps ensures the longevity of your plumbing fixtures and helps you avoid costly repairs in the long run. Maintaining a leak-free faucet is essential for both water conservation and the longevity of your plumbing fixtures. By adopting a proactive approach, property owners can prevent many common issues that lead to faucet leaks. Following the tips below can help you keep your faucet leak-free.
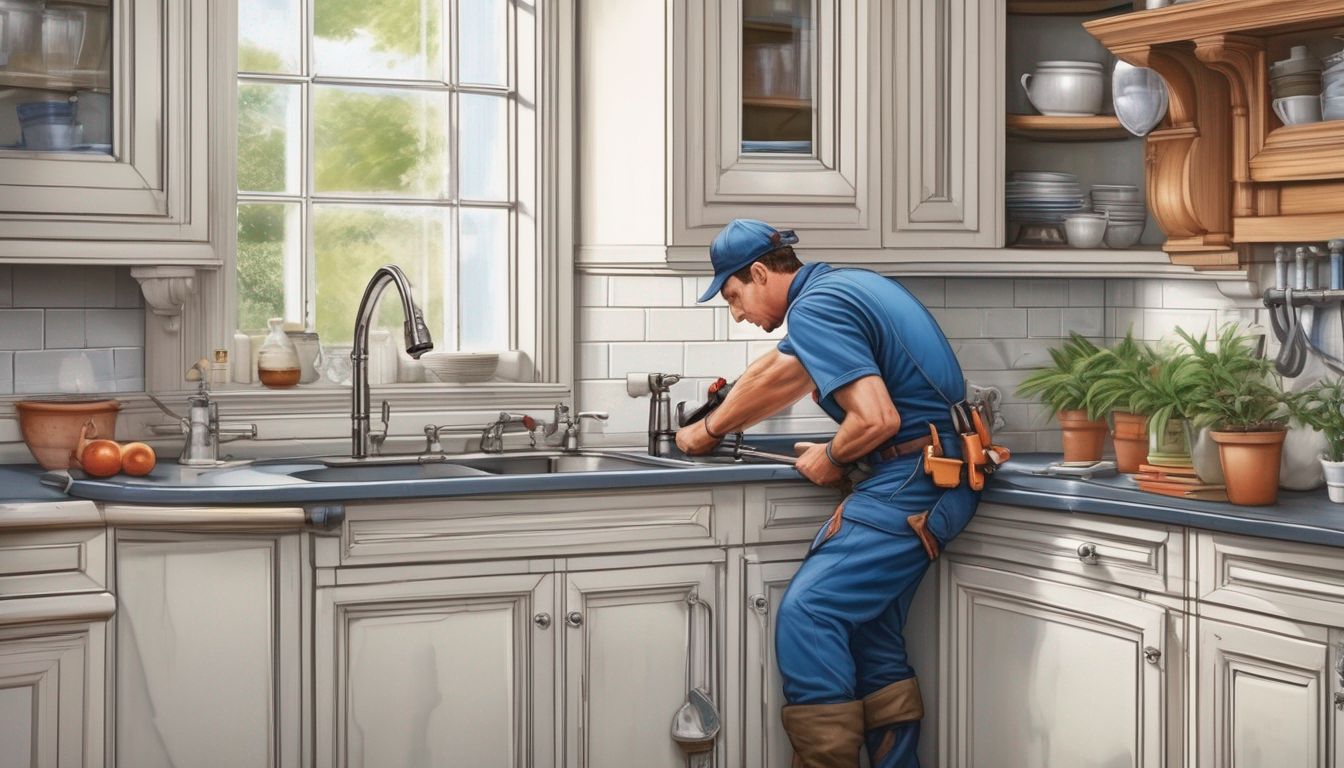
When to Call a Professional Plumber

Persistent Leaks
If you encounter persistent leaks that don’t resolve with basic DIY fixes, it’s time to call a professional plumber. Persistent leaks can lead to significant water damage and higher utility bills if not addressed promptly.
Complex Repairs
For more complex repairs, such as issues with shut-off valves or broken pipes, professional expertise is essential. Attempting to fix these problems without the proper knowledge and tools can result in further damage and costly repairs.
Water Damage Concerns
If a leak has resulted in water damage, it’s crucial to seek professional help immediately. Water damage can compromise the structural integrity of your home and lead to mold growth, which poses health risks.
When it comes to your plumbing system, it’s important to prioritize maintenance and repairs to avoid costly and inconvenient issues in the future. While DIY fixes may seem tempting, hiring a professional plumber ensures that the job is done correctly and efficiently.
Emergency Situations
In emergency situations, such as a sudden increase in water flow or a burst pipe, contact a dependable emergency plumbing service to promptly address the issue. Emergency plumbers are available 24/7 to handle urgent problems and prevent further damage.
Conclusion
Fixing a leaky faucet is a practical and cost-effective DIY task that can save you money and reduce water wastage. By following the step-by-step guide provided in this article, you can confidently address this common household issue and restore your faucet to proper working condition. Regular maintenance and prompt attention to plumbing problems are essential for a smoothly running home. However, if you encounter challenges beyond your expertise or if the leak persists, do not hesitate to seek professional assistance. Taking proactive steps ensures the longevity of your plumbing fixtures and helps you avoid costly repairs in the future.
Frequently Asked Questions
What are the common causes of a leaky faucet?
Common causes include worn-out O-rings, washers, valve seats, and loose or corroded parts.
How can I identify the type of faucet I have?
You can identify your faucet type by its design. Compression faucets have separate hot and cold handles, ball faucets have a single handle that moves over a rounded ball, and cartridge faucets have a movable stem cartridge.
What tools do I need to fix a leaky faucet?
Basic tools include a wrench, screwdriver, pliers, replacement parts (like O-rings and washers), and safety gear such as gloves and goggles.
How do I turn off the water supply before fixing the faucet?
Locate the shutoff valve under the sink and turn it clockwise to stop the water flow. Open the faucet to drain any remaining water.
What should I do if my faucet is still leaking after replacing parts?
Double-check that all parts are correctly installed and tightened. If the leak persists, you may need to consult a professional plumber.
Can I use any type of lubricant for the faucet parts?
It’s best to use a plumber’s grease or silicone-based lubricant to ensure the longevity and proper function of the faucet components.
How often should I perform preventive maintenance on my faucets?
Regular inspections every six months and cleaning aerators can prevent leaks. Replace worn-out parts as needed to maintain optimal function.
When should I call a professional plumber?
Call a professional if you encounter persistent leaks, complex repairs, or water damage that you cannot manage on your own.