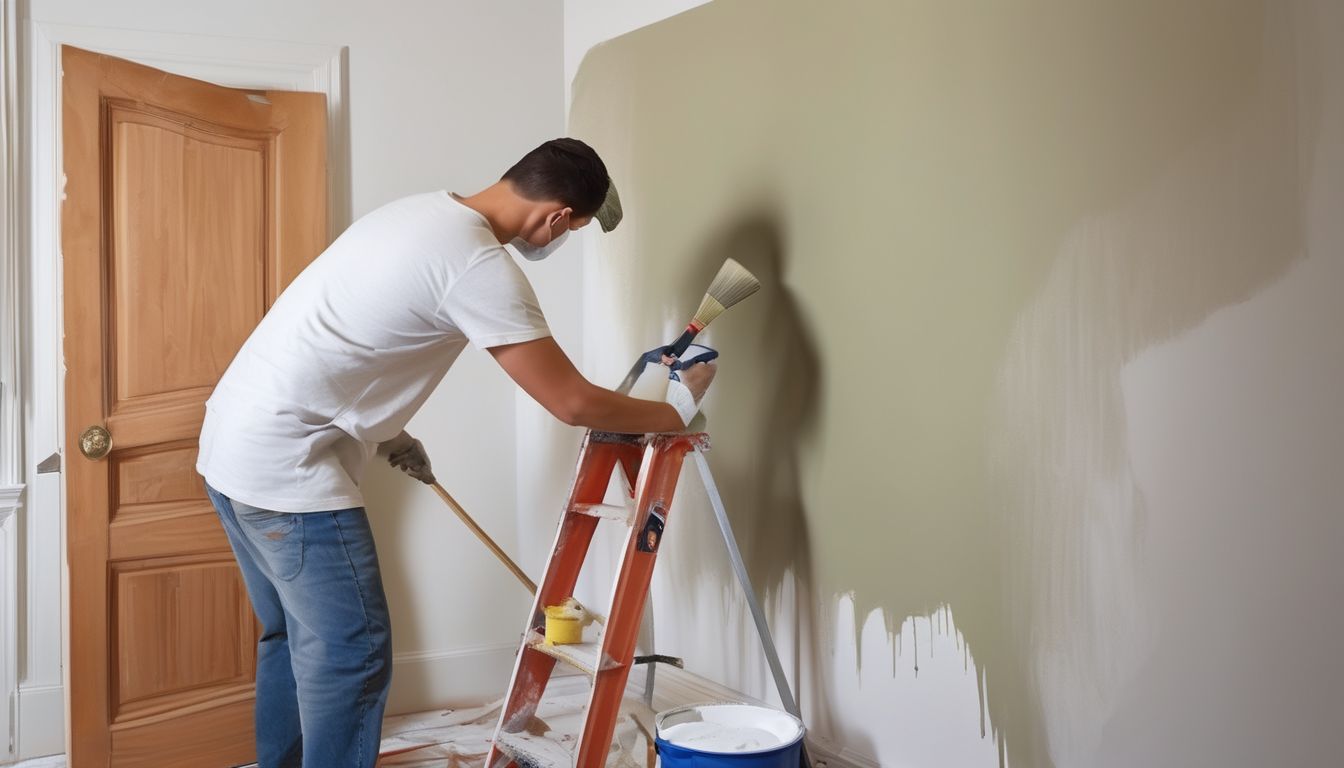
Painting your walls can be a transformative project that breathes new life into a space. Whether you’re a seasoned painter or a complete novice, achieving a professional finish requires the right knowledge, tools, and techniques. This comprehensive guide will walk you through every step of the process, from selecting the best paint and tools to mastering advanced techniques and troubleshooting common issues. Get ready to turn your walls into stunning canvases with our expert tips and advice.
Key Takeaways
- Choosing the right paint and tools is crucial for a professional finish.
- Proper preparation of your walls ensures a smooth and long-lasting paint job.
- Mastering techniques like cutting in, edging, and rolling can make a significant difference in the final outcome.
- Addressing common painting issues promptly will help maintain the quality of your work.
- Safety and budget-friendly tips can make your painting project more efficient and enjoyable.
Choosing the Right Paint and Tools

Once the wall is clean, smooth, and free of imperfections, you’re ready to move on to the next step: choosing the right paint and color. Selecting the right paint and color can make a significant impact on the overall look and feel of your space.
Preparing Your Walls for Painting
Cleaning and Repairing Surfaces
Before you begin painting your walls, make sure the surfaces are prepared for the job so you’re left with a finish to be proud of. Clean walls are key in preparing a room for painting. Most walls can be washed using a sponge and warm water. For surfaces that have exposure to oil or grime, like kitchen walls, wash with a solution of water and grease-cutting detergent and follow up with clean water to remove any residual cleaning agent. Finish by wiping the walls with a damp cloth.
Sanding for a Smooth Base
Make sure to lightly sand down any rough spots you find to ensure you have a clean, smooth surface to work with. This step is crucial for removing flaking paint, bumps, and holes. Sanding provides a better base for the paint to adhere to, ensuring a professional finish.
Applying Primer for Better Adhesion
The most important part of the process is to make sure you let everything dry thoroughly. Applying primer or paint to walls that are still damp can cause a host of issues, including blistering. Primer helps in better adhesion of the paint and provides a uniform surface for the topcoat.
Thorough preparation of your walls can make a significant difference in the final outcome of your painting project. Take the time to clean, sand, and prime your surfaces for the best results.
Techniques for Cutting In and Edging

Cutting in and edging are essential techniques for achieving a professional finish on your walls. Mastering these skills will ensure clean, straight lines and a polished look for your painting project.
Rolling Paint Like a Professional
To take your painting skills to the next level and achieve a truly professional finish, consider the following tips:
Loading Your Roller Properly
Pour your paint into a tray. The ramp of the tray helps distribute paint evenly on the roller. For bigger jobs, using a roller screen combined with a 5-gallon bucket can be even more efficient. Remember to load your roller evenly to avoid drips and ensure a smooth application.
Techniques for Even Application
Work in sections: Divide the wall into manageable sections and complete one section at a time. This will help you maintain control and ensure consistent paint application. Use a technique called feathering to avoid visible brush or roller marks. Once you’ve applied a section of paint, lightly brush or roll over it in the same direction to smooth out any lines or marks.
Maintaining a Wet Edge
To avoid lap marks, always maintain a wet edge. This means you should roll the paint as close to the edge of the previous section as possible before it dries. The closer you can place the end of the roller to the corner of an adjacent surface, the less noticeable any difference between cut-in paint and rolled paint will be.
Rolling paint like a professional involves careful preparation and technique. By following these tips, you can achieve a seamless and professional finish on your walls.
Dealing with Common Painting Issues
By using these techniques, you’ll be well on your way to achieving a flawless paint job. However, it’s essential to be prepared for common painting problems that may arise.
Painting projects don’t always go as smoothly as planned. Here are some common painting problems you may encounter and how to deal with them:
Special Tips for Painting Ceilings and High Walls
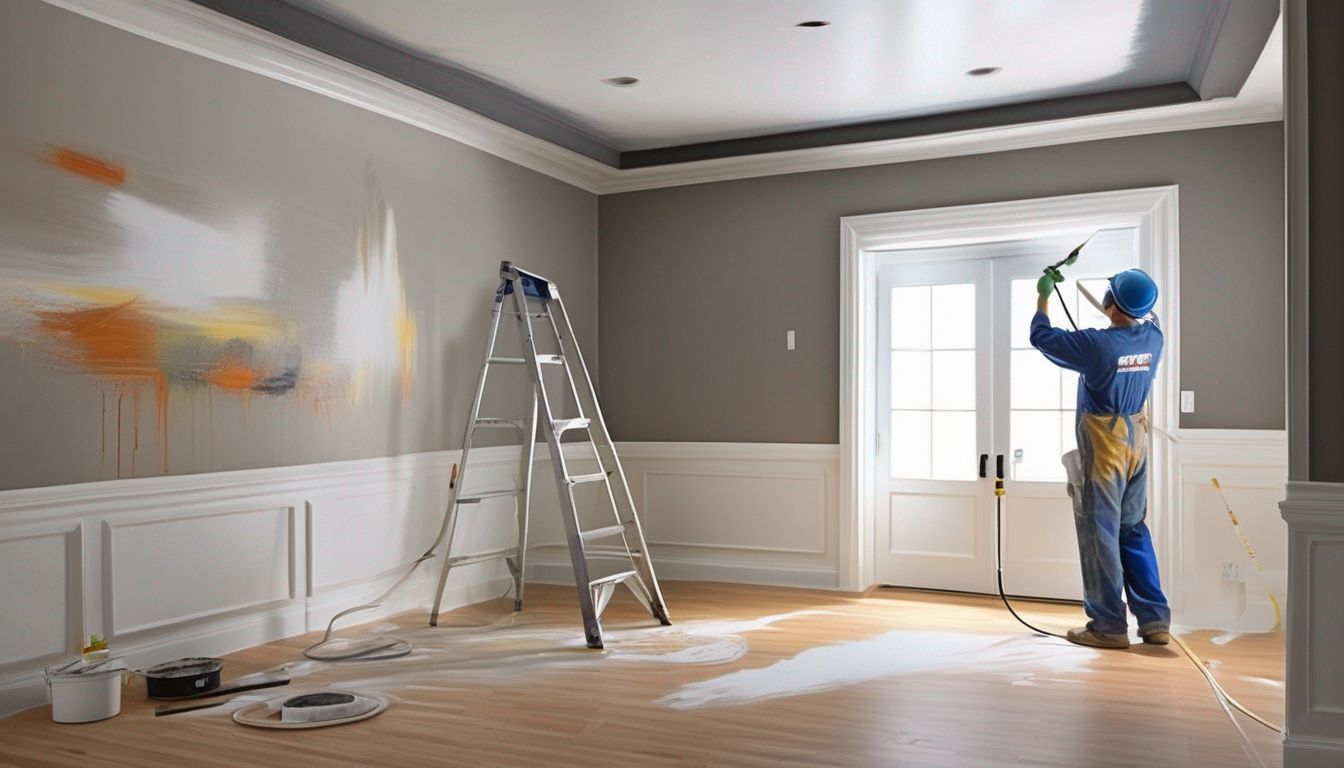
Painting ceilings and high walls can be a daunting task, but with the right techniques and tools, you can achieve a professional finish. Here are some special tips to help you tackle these challenging areas effectively.
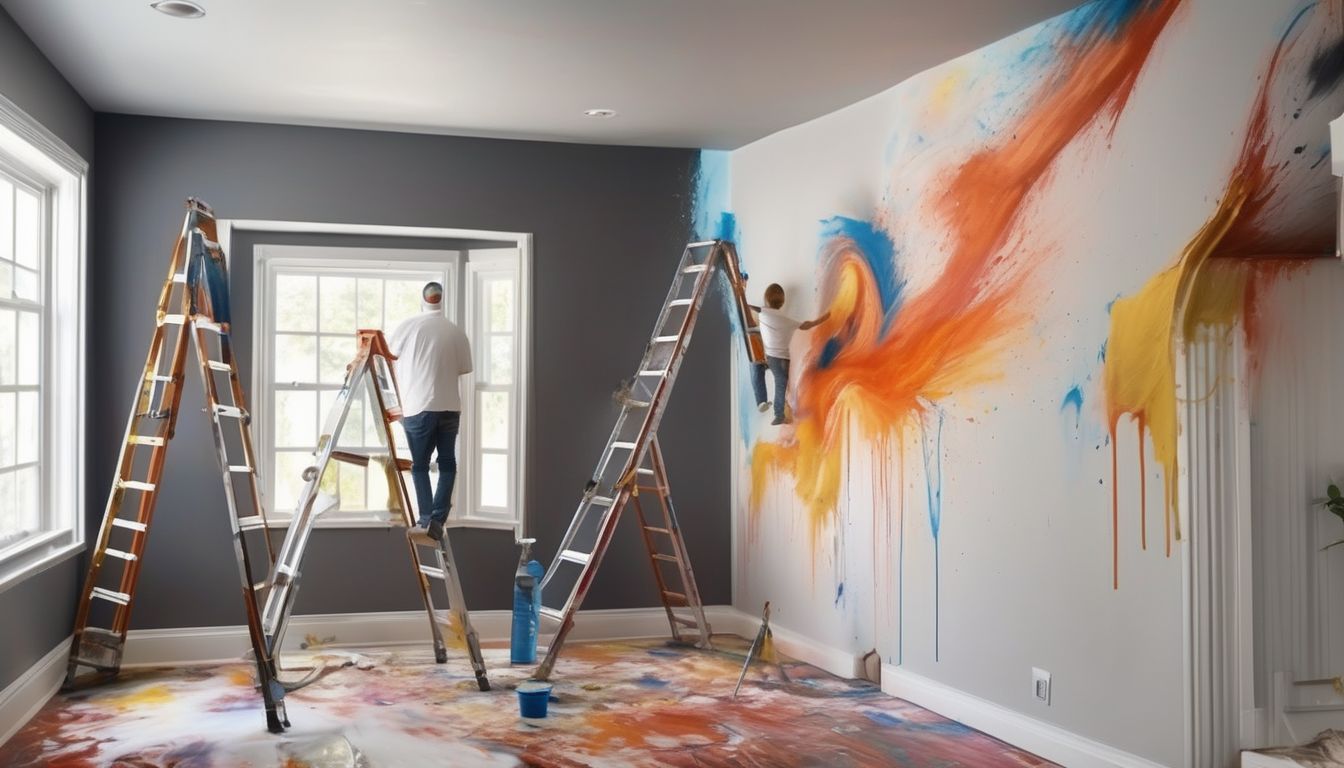
Creating Decorative Finishes
Decorative finishes can transform a plain wall into a stunning focal point. Experimenting with different techniques allows you to add personality and style to any room. Here are some popular methods to consider:
Using Stencils and Patterns
Stencils are a great way to add intricate designs to your walls without the need for freehand painting skills. You can find a variety of stencil patterns, from geometric shapes to floral designs. Simply secure the stencil to the wall and apply paint using a brush or roller. For a more dynamic look, try layering multiple stencil patterns.
Creating Textured Effects
Textured effects can add depth and interest to your walls. Techniques like sponge painting and rag rolling are easy to execute and can create a variety of looks. For a more dramatic effect, consider using a textured paint or adding sand to your paint. These methods can help hide imperfections and give your walls a unique finish.
Incorporating Accent Walls
An accent wall can serve as a focal point in a room, drawing attention and adding visual interest. Choose a bold color or a different finish to make the accent wall stand out. You can also use techniques like color washing or ombré to create a gradient effect. Accent walls are a great way to experiment with new styles without committing to an entire room makeover.
Decorative finishes are not just about aesthetics; they can also enhance the overall feel of a space, making it more inviting and personalized.
Cleaning Up After Painting
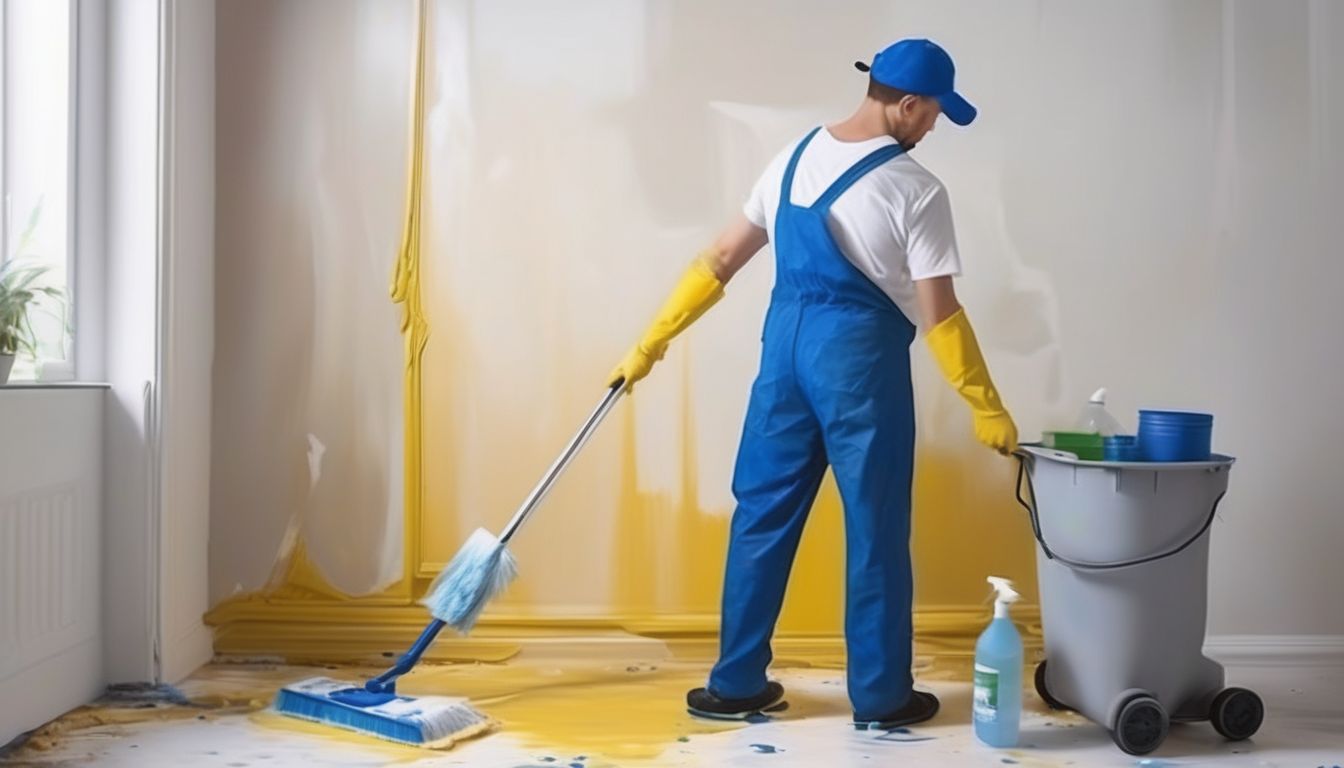
Once you’ve completed your painting project, it’s time to clean up. Properly cleaning your tools and tidying the workspace will ensure they remain in good condition for future use. Here’s what you need to do:
Maintaining Your Painted Walls
Cleaning Painted Surfaces
Regular cleaning is essential to keep your painted walls looking fresh and vibrant. Use a soft cloth or sponge with mild detergent to gently wipe away dirt and stains. Avoid using harsh chemicals that can damage the paint finish. For tougher stains, consider using a specialized paint cleaner.
Touching Up Paint
Over time, your walls may develop small nicks and scratches. Keep some leftover paint for touch-ups. Lightly sand the area, apply primer if necessary, and then paint over the spot. This will help maintain a consistent look across your walls.
Protecting Your Walls from Damage
Preventing damage is easier than fixing it. Use furniture pads to avoid scratches, and be mindful of high-traffic areas. If you have kids or pets, consider using washable paint finishes for easier maintenance.
Regular maintenance not only keeps your walls looking good but also extends the life of your paint job, saving you time and money in the long run.
Safety Tips for Painting Projects
When embarking on a painting project, ensuring your safety and security is paramount. Here are some essential tips to keep in mind:
Ventilating Your Workspace
Proper ventilation is crucial when painting. Open windows and use fans to circulate air, reducing the inhalation of fumes. This is especially important when using solvent-based paints.
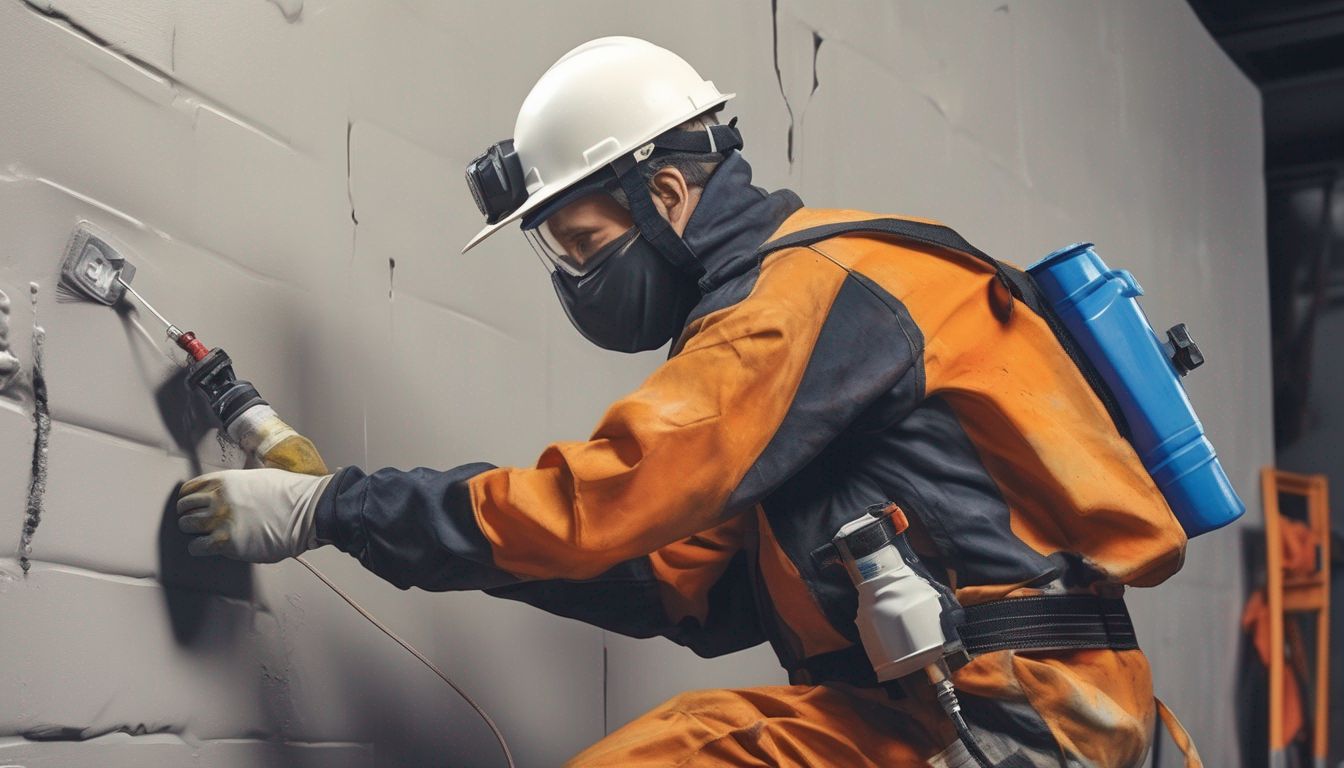
Using Protective Gear
Always wear appropriate protective gear, including gloves, goggles, and masks. This will protect your skin, eyes, and respiratory system from harmful chemicals and dust.
Handling Paints and Solvents Safely
Store paints and solvents in a cool, dry place away from direct sunlight. Ensure containers are sealed tightly to prevent spills and evaporation. When disposing of these materials, follow local regulations to avoid environmental contamination.
TOP TIP: Cover your furniture and flooring with dust sheets the night before you start your painting project. That way you can get stuck in straight away the next morning.
Budget-Friendly Painting Tips

Saving on Paint and Supplies
When it comes to painting, comparing the pricing of different brands can help you find one that fits your budget. Don’t forget to buy the extras like paintbrushes, rollers, and dust sheets. Expect to pay at least £50 for these essentials.
DIY vs. Hiring a Professional
Painting a wall or two can transform the feel of a living room or bedroom and is the cheapest and most popular DIY home improvement. However, for more complex projects, hiring certified experts might be worth the investment.
Repurposing Old Materials
Before you start buying new supplies, check if you have any leftover materials from previous projects. Repurposing old materials can save you a significant amount of money.
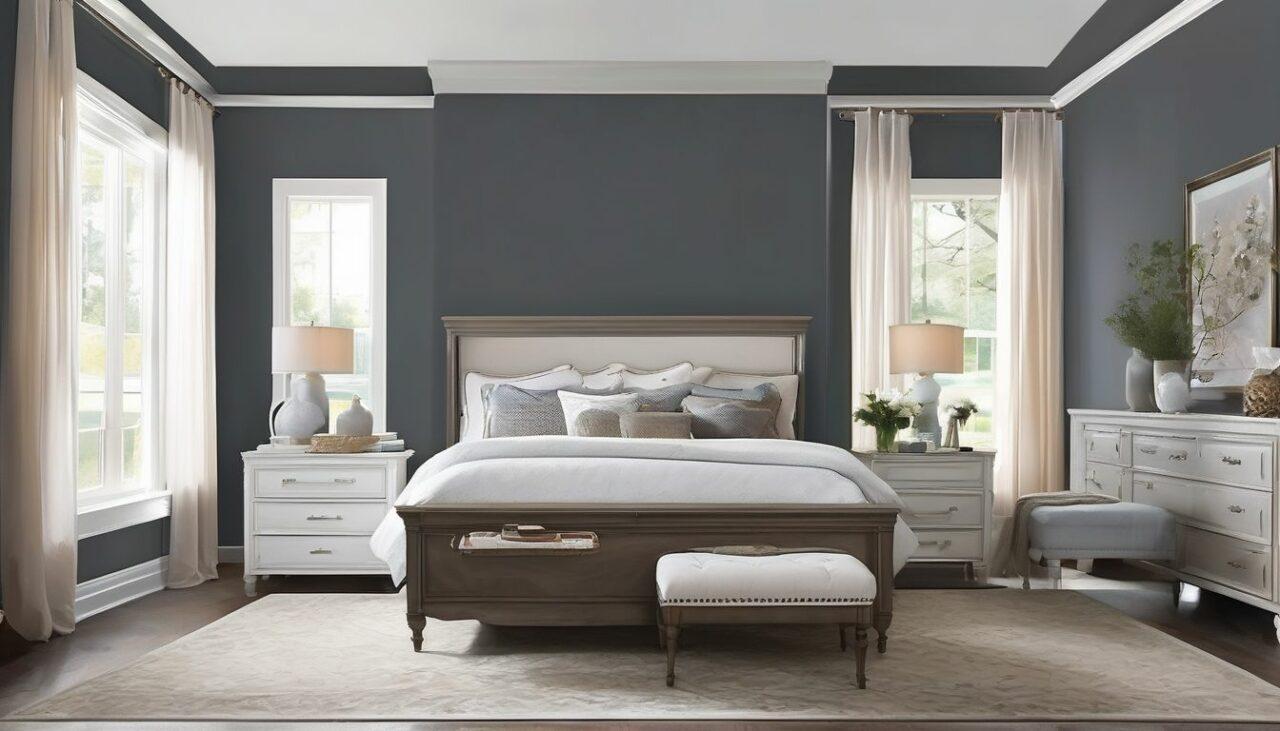
Adding a new coat of paint can bring new life to any room in your home. Whether you opt for trendy ‘colour drenching’ or simply wish to create a neutral background for pictures and plants, the right approach can make it happen.
Conclusion
Painting a wall may seem like a daunting task, but armed with the right knowledge and techniques, you can achieve professional-looking results. This Painting 101 guide has provided you with a comprehensive overview of all the essential steps involved in painting a wall like a pro. From choosing the right tools and materials to preparing the surface and applying paint with precision, each step plays a crucial role in achieving a flawless finish. Remember, practice makes perfect, and with each painting project, you’ll gain more experience and improve your skills. With these tips in mind, achieving a professional finish is within your reach. Happy painting!
Frequently Asked Questions
What type of paint finish is best for walls?
Satin or semi-gloss finishes are popular for walls as they are easy to clean and provide a smooth, durable finish.
How do I prevent paint drips?
To prevent paint drips, avoid overloading your brush or roller with paint. Apply paint in thin, even coats and always maintain a wet edge.
Do I need to use primer before painting?
Applying a coat of primer before painting helps the paint adhere better and ensures a more even finish. It’s especially important for new or repaired surfaces.
How can I achieve a smooth finish when painting?
To achieve a smooth finish, use high-quality brushes and rollers, sand the surfaces before painting, and apply paint in thin, even coats.
What tools are essential for painting walls?
Essential tools include high-quality brushes, rollers, painter’s tape, an extension pole, a paint tray, and a drop cloth to protect your floors.
How do I clean my brushes and rollers after painting?
Clean brushes and rollers immediately after use with warm soapy water for water-based paints or paint thinner for oil-based paints. Rinse thoroughly and let them dry completely.
What’s the best way to store leftover paint?
Store leftover paint in a cool, dry place with the lid tightly sealed. Label the can with the date and color for future reference.
How can I fix uneven paint coverage?
To fix uneven paint coverage, apply an additional coat of paint, ensuring each layer is thin and even. Use a primer if necessary to achieve a uniform base.