
As a homeowner, it’s inevitable that you’ll encounter various home repair projects throughout the years. Whether it’s a leaky faucet, a squeaky door, or a cracked tile, knowing how to handle these repairs can save you time and money. In this article, we’ll provide you with ten essential home repair tips that every homeowner should know. These tips will empower you to tackle common issues confidently and efficiently, ensuring your home remains in top-notch condition.
Key Takeaways
- Knowing basic home repair skills can save you time, money, and stress.
- Regular maintenance and prompt repairs are crucial for a well-maintained home.
- Essential repairs include unclogging toilets, fixing leaky faucets, and repairing squeaky doors.
- Preventive measures, such as caulking and sealing, can prevent future damage.
- Maintaining your HVAC system and preventing frozen pipes are vital for home safety and efficiency.
1. Unclogging a Toilet
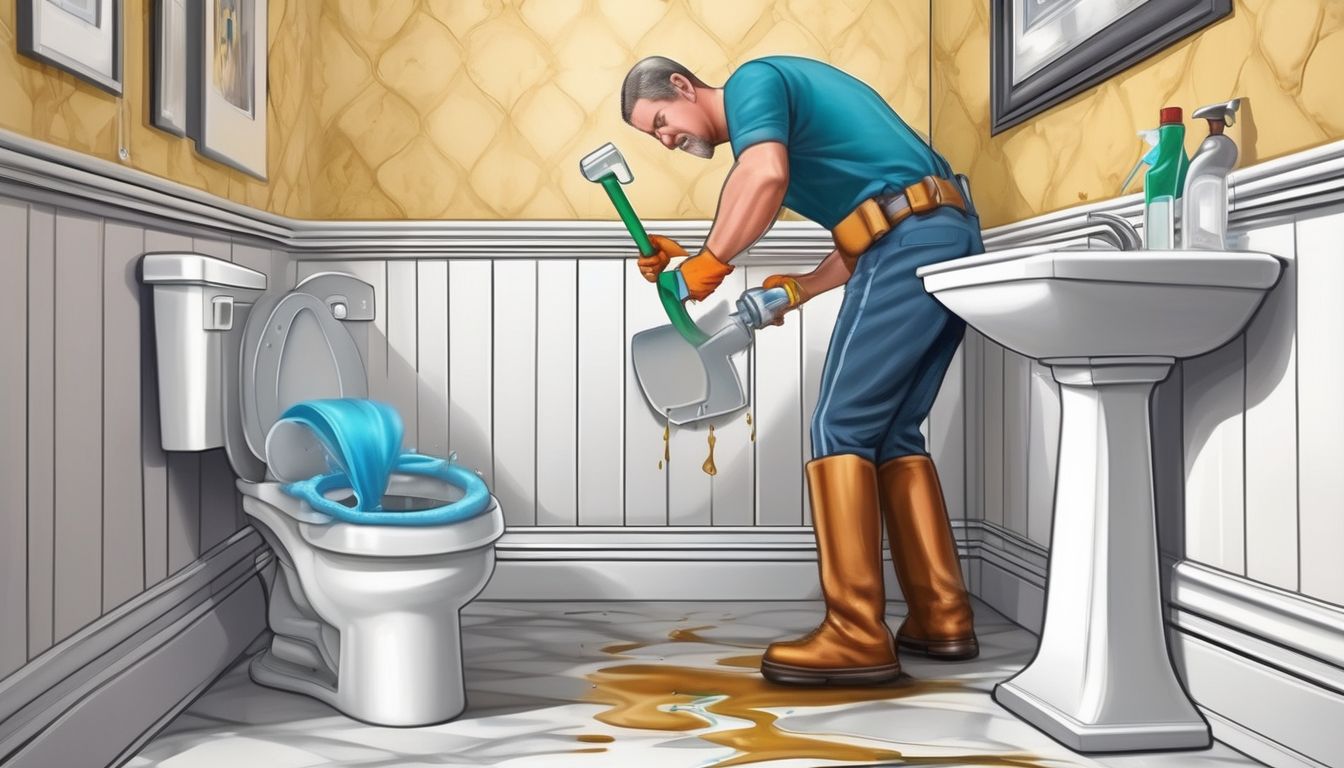
Knowing what to do when your toilet is backed up could prevent serious water damage and win the hearts and minds of everyone in your household. The most obvious way to solve the problem is with a plunger, but every so often that won’t do the trick. In that case, you want to prevent potential overflow, so make sure you shut off the water supply valve and empty half of the water from the bowl. Then, put on some rubber gloves and use an auger to unblock the toilet. That should do the trick, and then just clean up any mess and flush everything back to normal.
Steps to Unclog a Toilet
- Shut off the water supply valve to prevent overflow.
- Empty half of the water from the bowl.
- Put on rubber gloves.
- Use a plunger to try and dislodge the blockage.
- If the plunger doesn’t work, use an auger to unblock the toilet.
- Clean up any mess and flush everything back to normal.
Tips for Success
- Always have a plunger and an auger on hand for emergencies.
- Avoid using chemical drain cleaners as they can be harsh on pipes and harmful to the environment.
- Regular maintenance can prevent future clogs. Consider using drain screens to catch debris and periodically flush drains with hot water.
DIY repairs using inexpensive tank components rectify most toilet troubles without fully shutting off home water feeds.
2. Fixing a Leaky Faucet
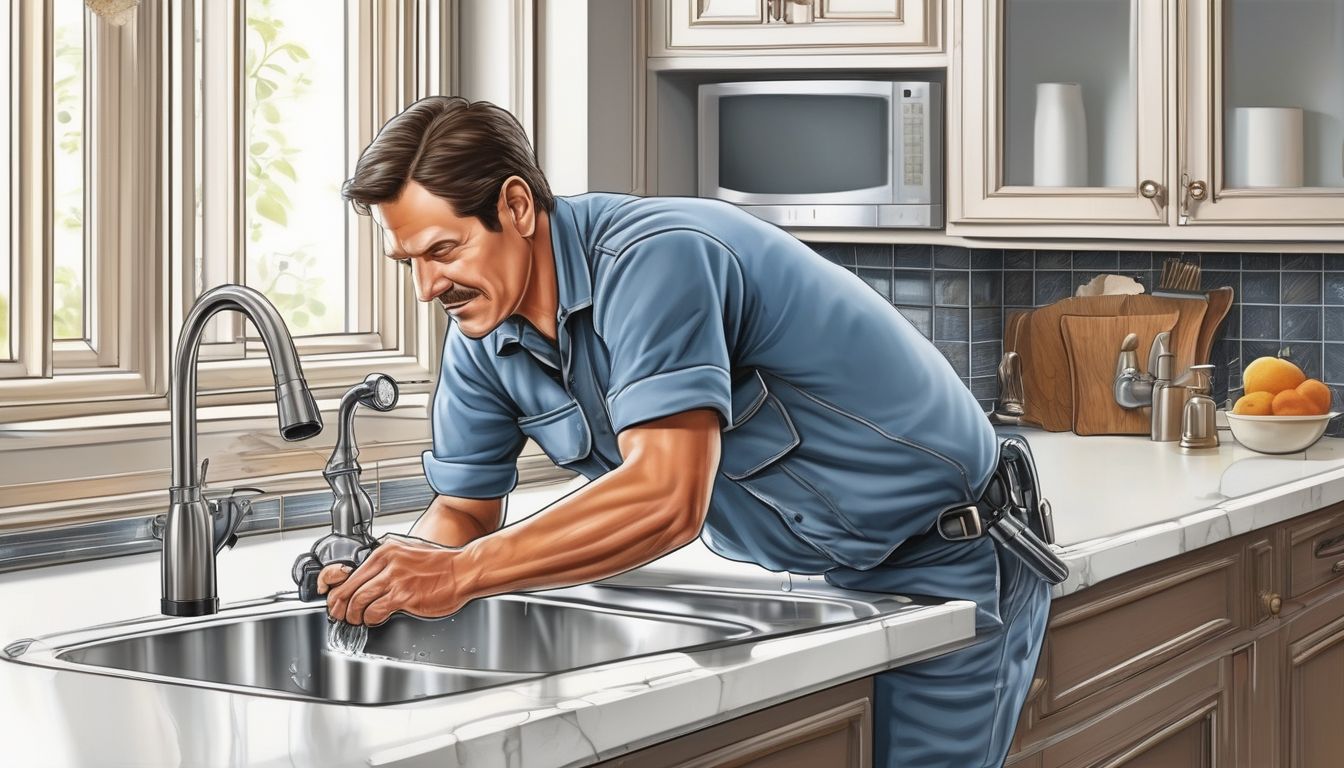
A leaky faucet can be both annoying and wasteful. Fixing it yourself can save you money and water. Follow these steps to repair a leaky faucet efficiently:
3. Repairing a Squeaky Door
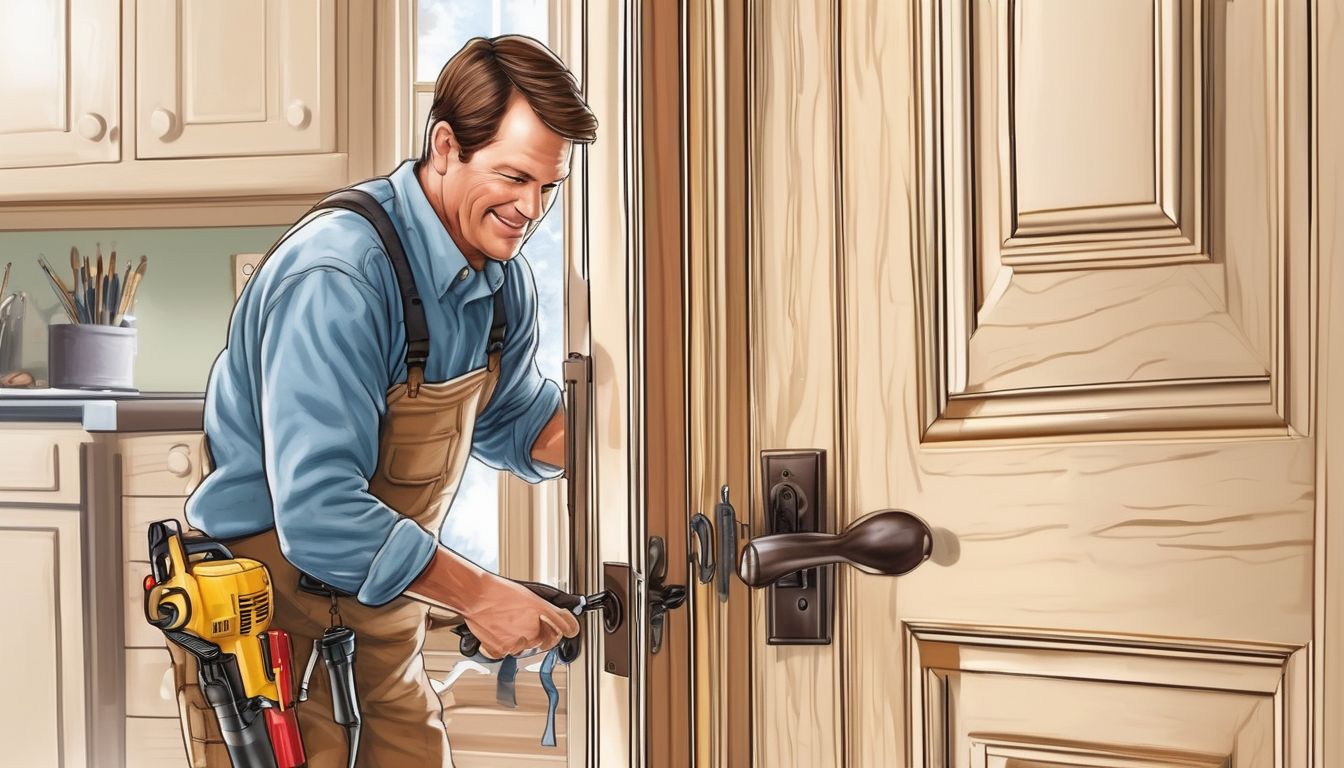
Squeaky doors can be irritating but are often simple to fix. Apply a few drops of lubricant, like WD-40 or oil, to the door hinges. Open and close the door several times to work the lubricant into the hinges. If the squeak persists, consider removing the hinge pins, cleaning them with steel wool, and applying a light coat of lubricant before reinserting them. Addressing squeaky doors promptly enhances your home’s tranquility and prevents further wear and tear on the hinges.
4. Replacing a Cracked Tile

Cracked or broken tiles can be an eyesore and a safety hazard. To replace a damaged tile, carefully remove the grout around it using a grout saw or rotary tool. Break the tile into smaller pieces with a hammer and chisel, and remove them carefully. Apply thin-set mortar to the back of a new tile and press it into place. Once the mortar dries, re-grout around the new tile to match the surrounding area. This simple repair will restore the polished look of your flooring or backsplash.
5. Caulking and Sealing

Caulking might sound like a fancy term, but it’s really not. It’s like giving your home a cozy sweater and an umbrella at the same time. Understanding how to caulk around windows, doors, and other openings is a simple, yet effective way to improve energy efficiency and prevent water damage to your home.
Why Caulking and Sealing is Important
When your openings aren’t caulked, your home is prone to structural damage, water damage, mold infestation, and higher energy bills. Caulking creates a waterproof seal that prevents water and air from entering your home.
How to Caulk and Seal
- Remove old caulk: When applying caulk, ensure the old caulk is completely removed and the area is clean before installation.
- Apply new caulk: Use a caulk gun to apply a steady bead of caulk along the seam.
- Smooth it out: Use a caulk smoothing tool or your finger dipped in soapy water to smooth the caulk and create a neat, even finish. Wipe away any excess caulk with a damp cloth.
- Check for leaks: After caulking, check for any remaining air leaks. You can do this by carefully lighting a stick of incense near the sealed area. If you notice any smoke being drawn toward the opening, there may be gaps that need further sealing.
- Inspect: Make sure to regularly inspect the areas to ensure they remain in good condition. Reapply caulk as needed and repair any damage promptly.
Regular inspection and maintenance of caulked areas can save you from costly repairs in the future.
6. Maintaining HVAC System
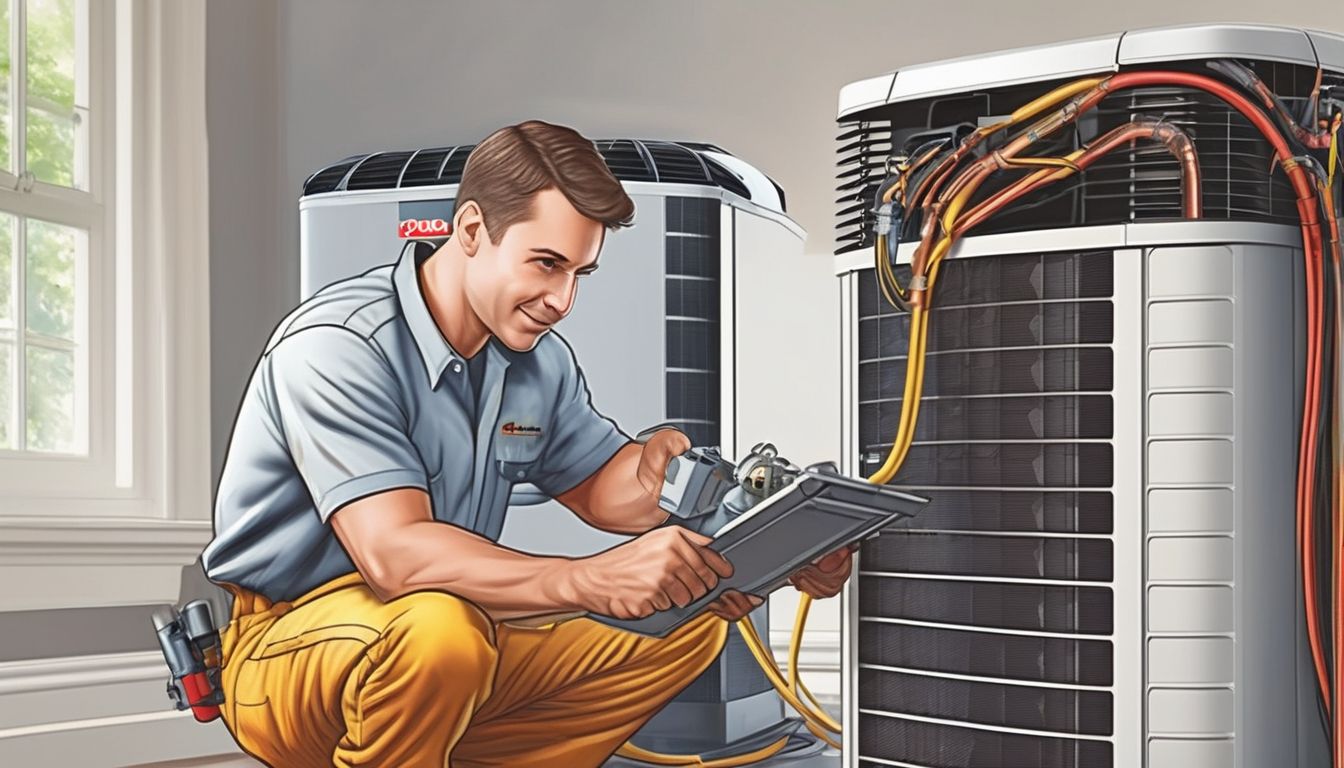
Your HVAC (Heating, Ventilation, and Air Conditioning) system keeps your home comfortable year-round, so regular maintenance is vital. Replace air filters every 1-3 months to ensure efficient airflow. Clear debris around outdoor units and clean the coils to improve efficiency. Schedule annual professional inspections to identify and address potential issues before they become major problems. A well-maintained HVAC system will operate efficiently, reducing energy costs and prolonging its lifespan.
Replace Air Filters Regularly
Depending on the type of filter, your HVAC filter could need replacing every 30 days. Additionally, if you have pets, that number could reduce to every 20 days. To keep your HVAC system running efficiently all year long, it’s worth getting to know how often you should change your HVAC filters. And if your HVAC system utilizes reusable filters, follow these instructions for cleaning an air filter.
Clear Debris and Clean Coils
Clear debris around outdoor units and clean the coils to improve efficiency. This simple step can prevent larger issues down the line and ensure your system is running smoothly.
Schedule Professional Inspections
Schedule annual professional inspections to identify and address potential issues before they become major problems. This proactive approach can save you money and extend the life of your HVAC system.
Take the time to check and maintain your HVAC system before each season to keep it performing its best.
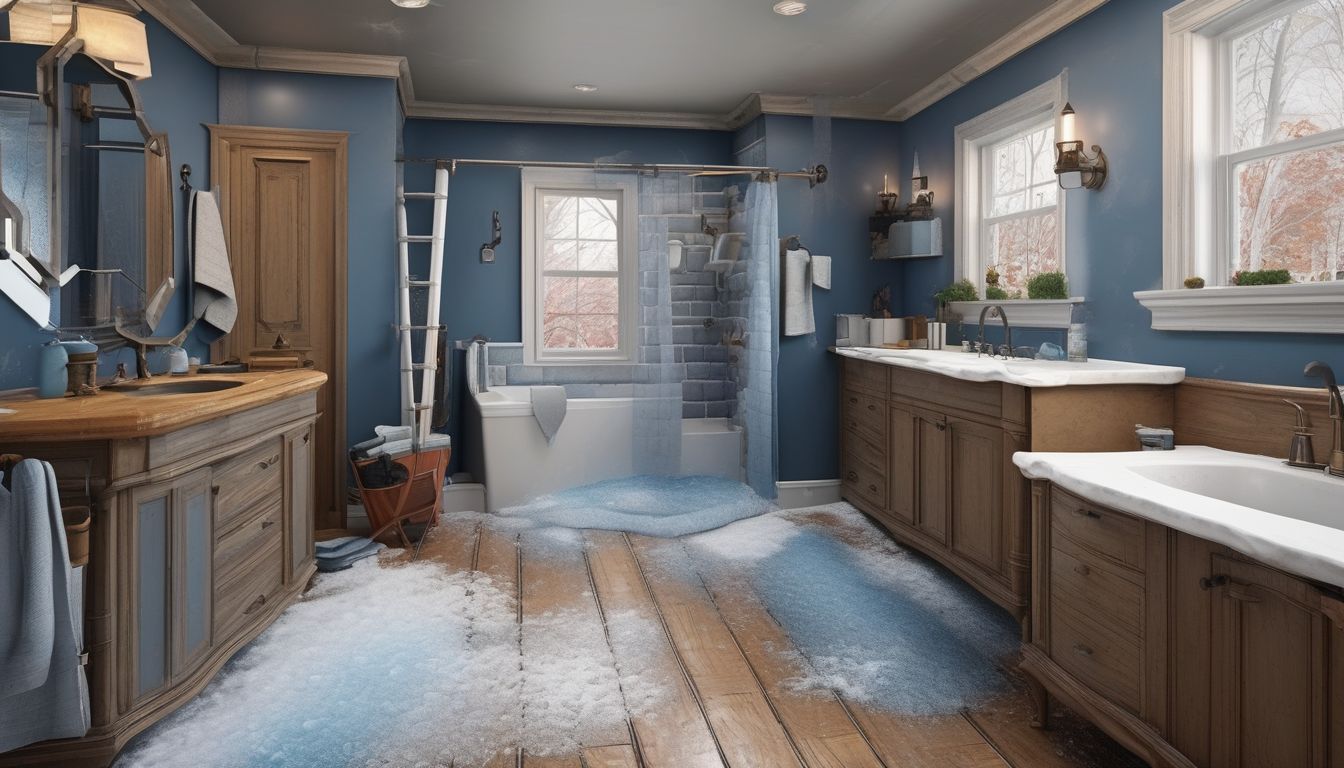
7. Preventing Frozen Pipes
Understanding the Risks
Frozen water pipes can burst in cold weather – leading to damage, repair costs, and stress. Preventing your pipes from freezing can help you avoid this.
Insulating Pipes
To prevent your pipes from freezing, start by insulating them. Use foam pipe insulation or heat tape, especially in unheated areas like basements and attics.
Keeping a Steady Temperature
Maintain a consistent temperature in your home. Set your thermostat to at least 55°F, even when you’re away. This helps ensure that your pipes stay warm enough to prevent freezing.
Draining Outdoor Faucets
Before winter hits, make sure to drain and disconnect all outdoor hoses and faucets. This prevents any remaining water from freezing and causing damage.
Letting Faucets Drip
During extremely cold weather, let your faucets drip slightly. This keeps water moving through the pipes, reducing the risk of freezing.
Sealing Cracks and Openings
Seal any cracks or openings in your home’s foundation and walls. This helps keep cold air out and warm air in, protecting your pipes from freezing.
Taking these preventive measures can save you from the hassle and expense of dealing with burst pipes in the winter.
8. Fixing Ceiling Cracks
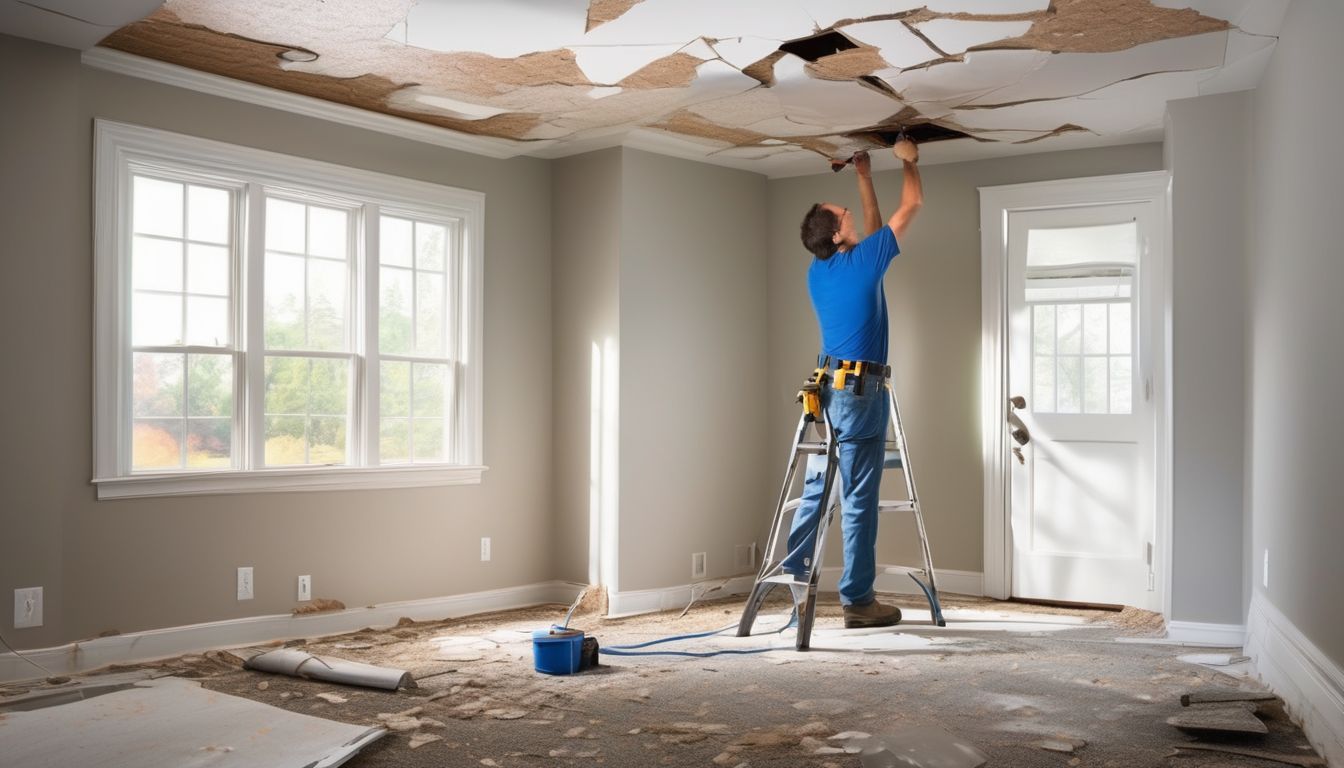
Ceiling cracks can be an eyesore and may indicate underlying issues. Addressing them promptly can prevent further damage and maintain your home’s aesthetic appeal.
1. Gather Your Materials
You will need spackling or a lightweight joint compound, a putty knife, sandpaper, and a damp cloth.
2. Clean the Area
Clean the area around the crack to remove any dust. Use the damp cloth to wipe the surface clean.
3. Apply the Compound
For small cracks, apply a small amount of spackling to the crack using the putty knife. Smooth it evenly, slightly overfilling the crack.
4. Let It Dry
Allow the patched area to dry completely, following the manufacturer’s instructions on the compound container (it usually takes a few hours).
5. Sand It Down
Once dry, use fine-grit sandpaper to sand down the patched area until it is smooth and flush with the surrounding ceiling surface.
6. Wipe the Dust
Wipe away any dust from sanding with a damp cloth. Then, touch up the patched area with matching paint to blend it with the rest of the ceiling.
Regularly inspecting and repairing drywall keeps your walls looking fresh and helps maintain your home’s value.
9. Defrosting a Freezer

Defrosting your freezer is an essential maintenance task that ensures it operates efficiently. Over time, ice can build up, reducing the appliance’s efficiency and storage capacity. Here are the steps to defrost your freezer effectively:
1. Turn Off and Unplug
First, turn off the freezer and unplug it from the power source. This is crucial for safety and to prevent any electrical issues.
2. Remove Contents
Take out all the food items and store them in a cooler or another freezer to keep them from thawing.
3. Remove Shelves and Drawers
Remove and clean all drawers, shelves, and bottle holders. Don’t try and force them out if they’re stuck – you’ll be able to remove them later as the ice melts.
4. Let the Ice Melt
Allow the ice to melt naturally. You can place towels around the base to soak up the water. Avoid using sharp objects to chip away the ice as this can damage the freezer.
5. Clean the Interior
Once the ice has melted, clean the interior with a mixture of water and baking soda. This helps to remove any odors and sanitize the space.
6. Dry and Reassemble
Dry the interior thoroughly before replacing the shelves and drawers. Plug the freezer back in and turn it on.
7. Restock
Finally, restock your freezer with the food items. Make sure to organize them properly to maintain good airflow and efficiency.
Regular defrosting can extend the life of your freezer and improve its performance. If you’re unsure about any step, consider consulting a professional for assistance.
10. Using a Laser Level

A laser level is an essential tool for any homeowner looking to achieve precision in their home improvement projects. Mastering precision with a laser level can make tasks like hanging pictures, installing shelves, and aligning tiles much easier and more accurate.
Types of Laser Levels
There are several types of laser levels available, each suited for different tasks:
- Line Laser Levels: Projects horizontal and vertical lines across a surface.
- Rotary Laser Levels: Emits a 360-degree level line around a room.
- Dot Laser Levels: Projects reference points onto a surface.
How to Use a Laser Level
Follow these steps to use a laser level effectively:
- Read the manual: Before using a laser level, thoroughly read the manufacturer’s instructions.
- Set up the laser level: Place it on a tripod or a flat surface.
- Turn on the laser: Adjust the settings to project the desired lines or points.
- Align your project: Use the laser lines or points to guide your work.
- Double-check your work: Ensure everything is level by checking with two or three different points.
Safety Tips
Here are some essential safety tips:
- Wear protective eyewear: Laser beams can be harmful to your eyes.
- Use a ladder safely: If you need to reach high places, ensure your ladder is stable.
- Avoid direct eye exposure: Never look directly into the laser beam.
Using a laser level can significantly improve the accuracy and quality of your home improvement projects. By following the proper steps and safety precautions, you can ensure your projects are completed efficiently and safely.
Conclusion
Taking care of your home requires regular maintenance and prompt repairs. By following these ten essential home repair tips, you’ll keep your living space in top condition and save on costly future repairs. From fixing leaky faucets to maintaining your HVAC system, these tips empower homeowners to tackle common issues confidently and efficiently. Incorporate these practices into your home care routine and enjoy a safe, comfortable, and well-maintained home for years to come.
Frequently Asked Questions
What tools do I need to unclog a toilet?
You will need a plunger, a toilet auger, and possibly some rubber gloves and a bucket for water overflow.
How can I fix a leaky faucet?
First, turn off the water supply. Then, disassemble the faucet to identify the faulty component, which is often a worn-out washer or O-ring. Replace the faulty part and reassemble the faucet.
What causes a door to squeak and how can I fix it?
A squeaky door is usually caused by friction in the hinges. You can fix it by applying lubricating oil to the hinges and moving the door back and forth to spread the oil evenly.
How do I replace a cracked tile?
To replace a cracked tile, first, remove the grout around the damaged tile. Then, carefully remove the tile using a chisel and hammer. Apply adhesive to the back of the new tile and set it in place. Finish by reapplying grout around the edges.
What is the best way to caulk and seal?
Clean the area thoroughly before applying caulk. Cut the tip of the caulk tube at a 45-degree angle and apply it at a steady pace. Smooth the caulk with a caulking tool or your finger for a neat finish.
How often should I maintain my HVAC system?
It’s recommended to have your HVAC system inspected and maintained at least once a year, preferably before the heating or cooling season begins.
How can I prevent my pipes from freezing during winter?
To prevent frozen pipes, insulate exposed pipes, keep your home heated, and let faucets drip slightly to keep water flowing. You can also open cabinet doors to allow warm air to circulate around pipes.
What should I do if I find a crack in my ceiling?
Small cracks can be repaired with joint compound and a putty knife. For larger cracks, you may need to apply drywall tape before using the joint compound. Sand the area smooth and repaint for a seamless finish.